
I LOVE making these GOOGLY EYES for my softies and it’s so easy too… and I’ve made a “How to sew eyes photo tutorial” to show you how it’s done!

Let’s sew some EYES…
Step 1:
Sew a line of gathering stitches around the edge of the EYE PIECE. Use 2 strands of WHITE sewing machine thread. (I am using brown thread so you can see where I am stitching!)

TIP: I like to use fleece fabric because it stretches so nicely to form a nice big fat eyeball! You can find LOTS of links for places to buy fleece online here. You can also use any stretchy fabric, felt is good too. Non-stretch fabrics like cotton can be used, but your eyeball may have a few wrinkles!
Step 2:
Hold the EYE PIECE in the middle with your thumb and pull the thread to gather the EYE PIECE into a cup shape.

Step 3:
Stuff the cup with toy stuffing. I like to use a wooden chopstick to help me hold the stuffing in place. An old paintbrush is also great for this!

TIP: I like to use Poly fill toy stuffing because it is nice and fluffy and easy to find too. There are so many different types of toy stuffing you can use for your (toy’s) eyeballs. You can find out about other types of toy stuffing here. Experiment and see what you like the best!
Step 4:
Pull the thread tightly to gather the cup to form a ball – your first EYE BALL!
Stitch back and forth across the back of the eye ball, catching all the edges securely then end off with a knot. Repeat for the 2nd eyeball.

Step 5:
Sew the 2 eyeballs together. Use a white thread. I do a few stitches from the back, then

…turn them over and do a couple of stitches from the front to make sure they fit nice and tightly together.

Step 6:
Use a permanent black marking pen to mark a dot at the centre of each eyeball. This will make sure you sew the beads in the right place. (My pen actually a laundry marker!)

Step 7:
Push you needle in through the back of the eyeball and come out at the dot. Sew a small bead over the first dot. Sew back into the eyeball at the bead and sew out through the back of the eyeball and finish off with a knot. Repeat on the other eyeball.

You’re ALL done!!!!
Let’s have some fun…
Now your eyeballs are ready to sew on to the Funky Friend soft of of your choice!!!!
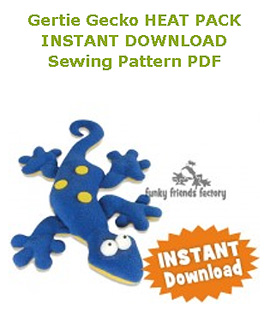
Here, I used them for my Gecko Pattern!
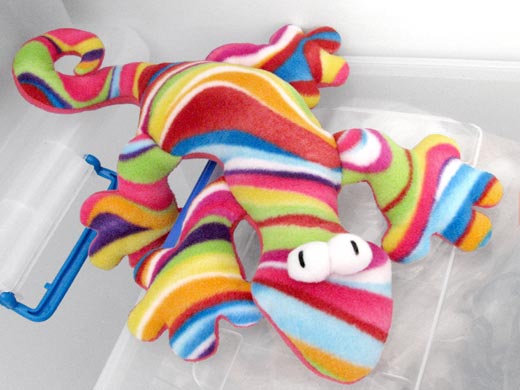
Click HERE to purchase the Gecko Pattern
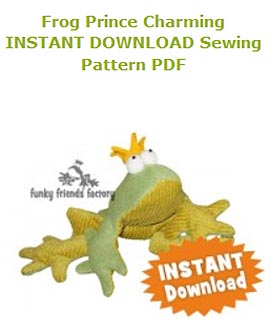
Here, I used them for Prince Charming Froggy!

Click HERE to buy the Prince Charming Frog Pattern
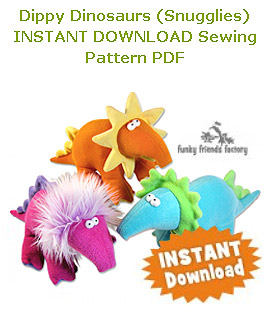
Here, I used them for my Dippy Dinosaurs!
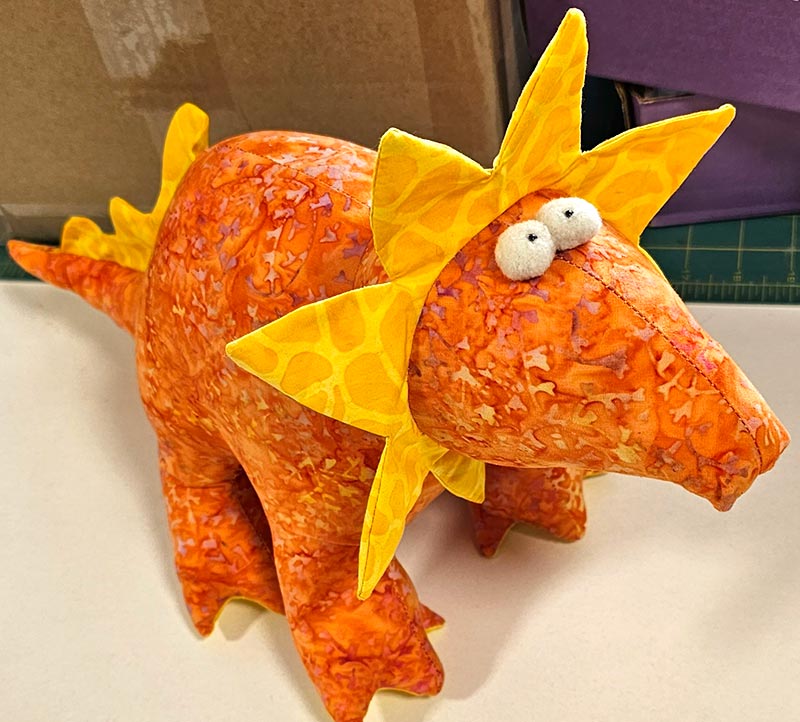
Click HERE to purchase the Dippy Dinosaurs pattern.
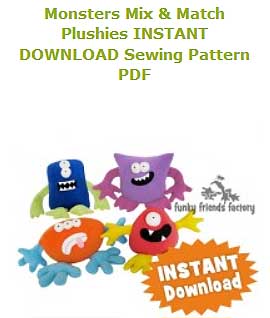
Here, you can see Karen Anderson used them for my Gecko Pattern!
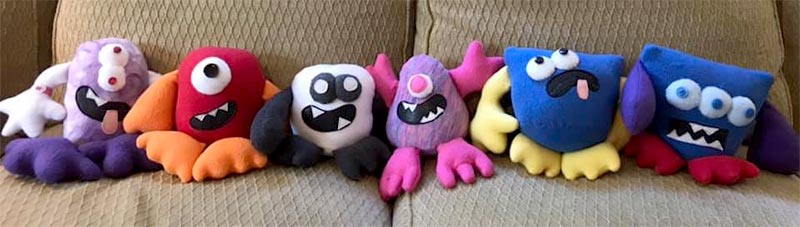
Click HERE to buy the Mix & Match Monsters pattern.
I hope I have inspired you to give these fabulous googly plush eyes a go?
 .
.
.
Till next time,
Happy Sewing,
Pauline
![]()

I have used googly eyes and the give the stuffed animal such character. Very fun to use.:-)
I am starting to teach my 8yr old daughter to sew. She wants to sew honey bear as one of her projects (for her new baby cousin) maybe we could move on to gecko heat pack next. Sounds really good for freezing canadian winter.
I would love to use the googly eyes on Diggles the Dragon and maybe even Plattie Platypus. They are so cute! Thanks for the tutorial….as always, your tutorials are VERY helpful and easy to follow. Happy Holidays to you and yours!
I absolutely LOVE your designs! I haven’t tried the googly eyes yet but thank you for the tutorial. I’d love to try them on the Frog Prince.
I haven’t used googly eyes before but they would be PERFECT for Pete the Puppy. Then he would look just like one of my most favourite softies I owned as a little girl… I am planning to make him but have held off getting the pattern as I wanted to come up with a way to recreate his googly eyes. Thankyou, thankyou!
I have not tried to make googly eyes yet, but would like to try it with the gecko pattern. They look much easier to make now that you’ve posted a tutorial about how to make them. Thanks!
Thank you for the tutorial 🙂 I have my eyes on cute Puppy Pete! I think I would sew the pupils on after the eyes are attached to the head or he would end up all askew!
Thanks for your easy instructions for making googly eyes, I have to try these now! I would love to give Gertie Gecko a go.
I have used this technique to replace the pig tails in the Sugar Plum fairy for a ballerina bun! They look amazing! thanks for sharing!!!
I think that Dilby would look cute with googly eyes or even Chook 🙂
Jeepers, Creepers, where’d you get those peepers! I always wondered how to make them, thanks so much for posting this tutorial. I am going to make some on my next creature! You rock, girl!
That’s so C@@L will definitely try this.
Thanks Olivia, it was fun to make the photo tutorial too! 😀
I always wondered how to do this. I am going to try on my next funky friend toys, I’m making some dippy dinosaurs in colours of the rainbows.