
I love using felt for my softies and doll sewing patterns. These days it comes in so many groovy colours it’s hard to pick! The best thing about felt is that it doesn’t fray when cutting out so felt is so easy to work with! BUT for great looking toys you want to make sure the pattern templates don’t slip while you’re cutting out your felt pieces.

BUT it’s HARD to cut small felt pieces ACCURATELY!
When you are cutting out very small, fiddly pieces, PINNING felt pieces is NOT as accurate as you’d think. This is because the pattern templates move or slip as you cut and you can end up with some very wonky shapes!

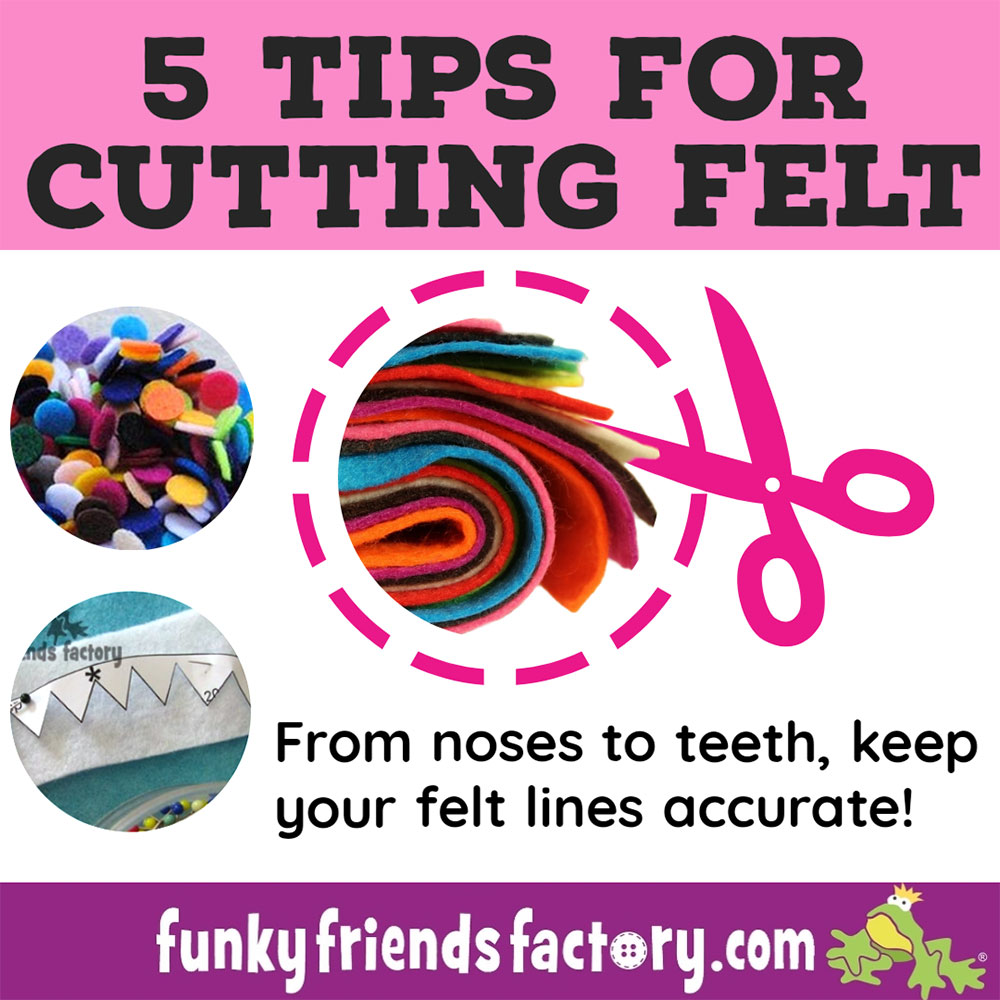
How to cut Felt EASILY & ACCURATELY – 5 different techniques!
I no longer use pins myself, so I have put together this photo tutorial to show you 5 different techniques that I use to cut out Felt EASILY and ACCURATELY! First up is the K.I.S.S technique!
1. ‘Keep It Simple Stupid’ Technique!
I love that saying!!! 🙂 AND it’s true – most of the time the simplest techniques work just fine. So don’t think you have to use anything fancy or expensive to get great results when you cut out felt pieces! All you need – some sharp scissors and a steady hand!!! I use this technique for cutting out SIMPLE SHAPES that are an easy size to hold in place on the felt without slipping – so not too big and not too small.

- Hold the pattern piece and felt firmly together and cut out around the pattern piece, as far as I can go WITHOUT LETTING GO!
- You will need to turn the pattern piece and felt to cut the last little bit under your thumb.
- I put the scissors down while I turn the felt and pattern piece so I can hold the felt and pattern piece with both hands as I turn, this way it shouldn’t slip.
- Double check that the pattern piece is lined up with the part you have already cut, then cut out the last little bit. Too easy!
You’ll be surprised how accurate you can get with a bit of practice!
2. Trace & Cut Technique.
There are lots of types of pens that will mark on felt. From right to left – fabric markers, black permanent markers (and laundry markers) ball point pen, EVEN pencil!

I like to use fabric markers. My favourite fabric markers are a purple disappearing fabric marker or a blue water-erasable fabric marker. Usually I decide which pen to use, based on which colour will show up best on the felt… or whichever pen I can find at the time!
(For darker felt, use a white fabric / paint marker.)

- Trace around the pattern piece, directly onto the felt with a fabric marker.
- Cut just ‘inside’ the line you traced so your felt piece is the same size and the pattern piece and you don’t have too much pen ink on your felt piece.
- Felt doesn’t have a right or wrong side, so if the pen is still noticeable, you can turn the felt piece over and place it on your soft toy with the traced side down.
- As they say, practice makes perfect so don’t worry if you are a little bit shaky at first! If you have given it a good go and don’t feel you have a good grip (on this technique!) you may need to use technique 3 or 4.
* please support your local patchwork/quilting shop by buying one of these fabric markers from them if you can!
3. Tape it down Technique!
I use this method for VERY FIDDLY SHAPES, like Sammy Shark‘s teeth, or VERY SMALL SHAPES of felt. The tape stops the template from slipping so you can be very accurate with your cutting!

- Tape the pattern piece to your felt using normal sticky tape for small pieces. Clear packing tape is great for larger pattern pieces.
- Don’t press it too hard, the tape sticks easily to the felt. If you press it on too firmly it can pull and stretch the felt when you pull if off.! Test the tape on a small piece of your felt, some thinner acrylic craft felt will distort, so try and use better quality wool or wool-blend felt if you can.
- Cut out you pattern piece.
- The felt and pattern pieces should come apart easily. Gently pull the tape off the remaining felt so as not to distort it.
The great thing about this technique is that you can tape the pattern piece again and again because you are only cutting through the new tape. Perfect pieces again and again! The other thing that is good about this technique is that you do not end up with marker pen ink on your pieces, which is great for lighter coloured felt. Great for black felt too – where it’s impossible to see any traced lines!:D
4. ‘Fancy’ Freezer Paper Felt Technique
This is probably the technique that I recommend the LEAST! Why???
Well… I like things that are simple! 🙂
Freezer paper can also be expensive, hard to find and a bit more of a pain to use as you have to use an iron. I avoid housework if I possibly can – so ironing, in my mind at least, is extra work, especially when I find the tape method so quick and easy! BUT having said that, it IS a very accurate way of cutting out felt and some people swear by it. I would recommend using this technique for very fiddly pattern pieces that are highly likely to slip as you cut out.

- Trace the pattern piece onto the freezer paper, paper side, not the shiny side!
- Turn on your iron to heat up – be sure to set it to a LOW heat setting WITHOUT steam.
- Cut out a big square/rectangle shape around the pattern piece, and iron it onto the felt. I place a piece of cotton fabric over my felt and freezer paper when I iron to make sure I don’t damage the felt with the heat of the iron.
- Cut the piece out on the tracing line.
- Peel off the freezer paper piece.
- MAKE sure the iron is turned OFF!!!!!!
* One good thing – is that at least the Freezer paper is reusable so it’s great if you will be cutting out lots of the same piece!
5. Last but not least, the ‘Cheating’ or NO CUT technique!
I love this technique! 🙂 So simple, quick and guaranteed to give perfect results every time! You don’t need to do any cutting either…. simply BUY the shapes pre-cut like these felt dots! So as far as cutting goes – it is cheating – BUT hey, the shapes look fantastic! haha!🤣

I found these pre-cut felt dots on Etsy…. So far I have only found acrylic/craft felt pre-cut pieces and there are so many ways to use them! They work well for eyes – look how they really highlight Diggles the Dragon‘s eyes! The craft eyes hold them in place – no glue needed!

You can also sew the felt spots in place so they are secure. I use a dot of craft glue in the middle of each felt dot/spot to hold them in position. Then once the glue has dried, I hand sew over the felt with embroidery thread. (If the toy is for a young child or baby, sewing over the pieces with a satin stitch gives a lovely raised eye that won’t pill.)

Felt dots look great for dolls faces too! I used them for the cheeks for my Christmas Elf Doll Sewing Pattern. Red for the boy elf and lighter pink for the elf girl doll’s cheeks!

Well,
there you have it!
5 Felt Cutting Techniques to try!
If you haven’t used them before, I hope I have inspired you to try them out for your next felt project! I always LOVE to see your creations so please post some pics of YOUR Funky Friends on the Funky Friends Factory Facebook page when they’re done!
If you already use these methods – which technique is best for you?
 .
.
.
Till next time,
Happy Sewing,
Pauline
![]()

Hi Pauline,
Great tips! I have been using a marker that disappears with heat from the iron or a hair dryer! I love the tape idea or buying the circles pre-cut! A real light bulb moment for me ha ha :). So simple why didn’t I think of that before! Love your work 🙂
It’s a pleasure guys – I LOVE those light-bulb moments too Jenny!!!! 😀
I do the cut & turn method if it is large enough to hold onto & turn. I also bought one of the disappearing purple ink pens the other day – have used it a bit. I think I am going to try the freezer paper & iron technique & see how it works for me!
Thanks for the tips, I always battle with felt as I have arthritis in my hands.
Great tips, I love them all but I think the tape is the best.
WOW just what I was looking for! 😀
My favorite thing ever to do is to run the felt through the sizzix big kick! perfect shapes, little effort! Made all those easter eggs a breeze!
I learnt many new tricks here! Thanks xxx kisses from Germany!
That’s great! Hello in Germany! 😀
Thanks for the great tips! The tape idea worked great when everything else failed. I was cutting a black felt and nothing left a visible mark on it.
Your hand-make is so cute!I learned a lot from it!
Hi i am a 1st time grandma… 🙂 and I am making my grandsons high chair banner for his 1st birthday.. and of course I am stressing ,,, I have bought black felt and red felt – i have an outline of his head I just don’t know how to put the image of the head from the paper to the felt , I tried to copy with a sharpie hoping it would go through but no such luck. And help would be appreciated.. any suggestion on the banner as well.. lol..
Hi Pauline, thank you for these great tips! I love your work! I have a hard time with glue working on felt. Do you have a brand you recommend. The one that I use requires ALOT of glue in order for it not to be absorbed by the felt and it often dries where you can see it…even though it is clear. I feel like there is a better glue out there. I was using Fabric Fusion.
Hi Karlene, I use a rather generic looking brand – Crafter’s Choice Craft Glue. It says it bonds fabric, paper, leather plastics and glass(!) It dries clear and quite quickly – which helps. I got it at Spotlight (Australia) but I am sure most fabric stores would carry something similar. Hope that helps!
Hi, I use the clear tape method & use quilters tape if pieces need sticking in place before sewing ,
Love heat removing pens but have noticed it disappears if using on a hot day 🤔 but we don’t get many if those in the UK 😅
Bet you have air con so you probably wouldn’t notice lol x
Thank you for the awesome tips!
Hey, it’s a pleasure Sandra…. it’s sometimes the simple things that make a BIG difference when you are sewing toys because the pieces are so small. xxx Pauline
Love your Tips! I’m an ‘experienced’ sewer/embroiderer but a Novice at Stuffies, and your Tips have helped – a Lot – as I explore this new ‘world’ lol. I’m 69 and you make “teaching this old dog new tricks” a very enjoyable process! So, Thank You Very Much for your Tips, Blogs and Instructional Tutorials – very happy I discovered your patterns!
Hi Pauline I have a sixteen month old grandson and plan to give him your Ben the beginner’s bear. What colors of felt do you recommend for his eyes? His body will be brown with a tan snout. Thanks for all your tips!!
Hi Sandy, I ALWAYS use black eyes! I think they stand out the best but this may just be me – feel free to ec=experiment with bits of felt before you choose and sew them on! 🙂