
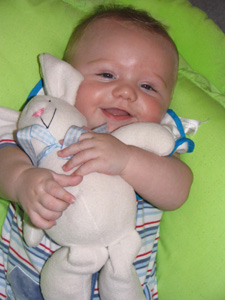
My Baby Bunny sewing pattern is one of my oldest AND most popular toy sewing patterns. I think it’s because it’s a baby safe toy. NOW I’ve put together a photo tutorial so you can see how to sew your own baby toy Baby Bunny ~> scroll down for step-by-step photos!

*** PLEASE NOTE – this is ONLY a PHOTO TUTORIAL ***
The FULL PATTERN IS NOT included here.It is NOT A FREE PATTERN!
I have made this photo tutorial so people who have purchased the pattern can SEE how to sew this stuffed toy Baby Bunny! (I wanted to explain this so you are not disappointed if you have found this page via a search engine and not from the link in my Baby Bunny toy sewing pattern!)
Choose some fabric to sew Baby Bunny!
Baby Bunny looks great in ALL sorts of colours – even plain white!

We start sewing Bunny’s EARS:
STEP 1
Sew the EAR PIECES together in pairs (1 main and 1 contrast fabric)

STEP 2a
Turn the EAR PIECES right sides out. Mark the pattern markings to EAR PIECE you cut from the contrast fabric.
STEP 2b
Fold the inside edge of each ear (the edge with the dot pattern marking) to the center of the ear and use pins or a tacking stitch to hold them in position.


ARMS:
STEP 3a
Sew the ARM PIECES together.
STEP 3b
Turn them right sides out.
STEP 3c
Stuff them quite firmly with toy stuffing BUT do not stuff the top 1cm/ ½ inch. This is so that you can pin the ARM PIECES closed at the top.


LEGS:
STEP 4a
Sew the LEG PIECES together and turn right sides out. Stuff them quite firmly with toy stuffing.
STEP 4b
Again, do not stuff the top 2cm/ 1 inch.
STOP!!!!!
*** The legs are pinned a little bit differently to the arms ~>
Fold the top of the legs so that the seams lie in the centre of each leg when you pin the top of the legs closed.


BODY:
STEP 5
Sew the FRONT BODY PIECES together from A – B.

STEP 6
Sew the BACK BODY PIECES together from C – D.

LEGS:
STEP 7
Pin the LEGS to the FRONT BODY PIECES. Position the top of the legs between the pattern markings on the FRONT BODY PIECES. (To make sure the bunny’s legs will face the front, you must pin the legs with the “feet” touching. the FRONT BODY PIECES).

STEP 8
Sew the legs to the FRONT BODY PIECES then let them hang down so that they are ‘outside the body’.

EARS:
STEP 9
Pin the EARS to the FRONT BODY PIECES, between the pattern markings. (To make sure the ears will face forwards, place the ears so that the fold of the ears touch the right sides of the FRONT BODY PIECES.)

ARMS:
STEP 10
Pin the ARMS in position between the pattern markings on the FRONT BODY PIECES. (The arms are placed facing into the body and pointing downwards).

STEP 11
Sew the BACK BODY PIECES to the FRONT BODY PIECES – REMEMBER to leave the gap across the tops of the legs open for you to turn and stuff your bunny.
* I’ve added the purple arrow in the photo below
to show you where the gap should be.

ASSEMBLY:
STEP 12
Turn your bunny right side out through the gap at the top of the LEGS.

STEP 13
Stuff the head and body quite firmly with toy stuffing. Make the nose area fairly firm – this makes it easier when sewing on the eyes and mouth.

STEP 14
Sew the face before you sew the body closed! Follow the steps by step instructions in the pattern.
TIP: If the toy is NOT for a baby, you can use a bead or safety eye instead of a French knot. It is NOT safe to use small parts for eyes when you are making a toy for a baby or a child under 3 years old. Use embroidery thread to sew a French knot for each eye instead. I have a blog post with lots more information about toy safety here.

TAIL:
STEP 15
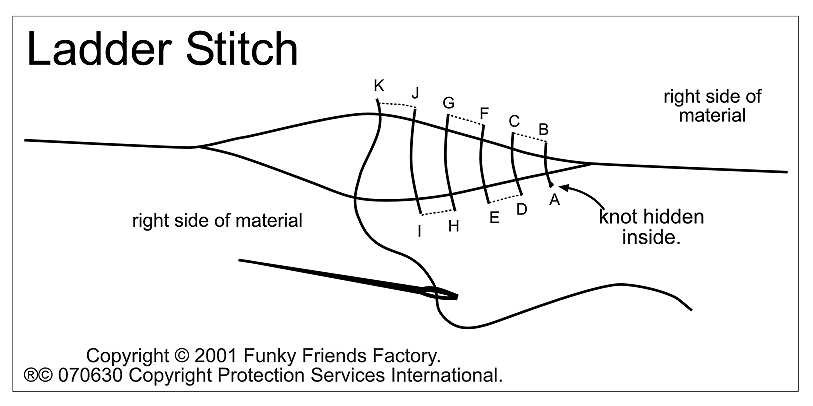
Use a strong thread and a running stitch to gather the TAIL PIECE to form a cup shape. Fill this with toy stuffing and pull tightly to gather the TAIL PIECE to form a ball. Sew the TAIL closed and finish off securely. Sew the tail in this position using ladder stitching.

STEP 16
Sew the gap at the top of the legs closed with a ladder stitch.
OOPS! I forgot to take a photo of this step but…
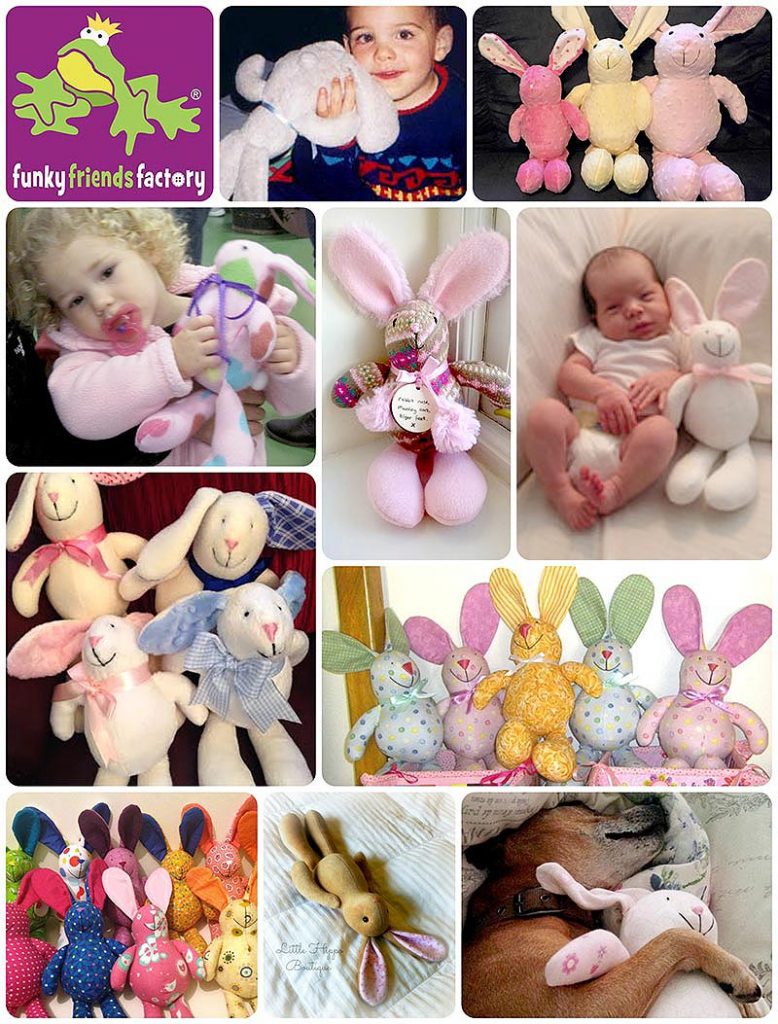
here are some finished Baby Bunnies
for you to see instead!😊
Your Baby Bunny is ready to LOVE!
Come join the fun on Facebook!
![]()
I LOVE to see how your Funky Friends toys turn out!
When you’ve made your own stuffed toy Baby Bunny you can come show them off ~>
Post a photo on my Funky Friends Factory Facebook page for me to see and YOU could win a FREE PATTERN!

Till next time,
Happy Sewing,
Pauline

Nice and very cute!
Thanks Trinity!
Are the ears supposed to be really floppy and not stuffed?
Hey Sarah, It’s a personal preference! 😀
You’re very welcome!
P.S. I finally finished Timmy T rex! I used my mum’s sewing machine all by myself to make him for the first time!
Hi! I bought the Baby Bunny pattern in San Antonio, Tx and loved it! I then did the free Honey Bear pattern and saw your video. The video helped so much! I even saw errors I made with the Baby Bunny (sewing legs and arms together with body cavity!) Do you do videos for all your patterns? I did not see one for the Baby Bunny. Thank you!
Hi Susie! Thanks for your lovely message. 😁 I have designed my toys to be as easy as I can without compromising on cute! 😁😁 Once you get to know my style – you’ll realize that all my patterns go together in a similar way. I have created a step by step photo tutorial for each toy and ALL you need to do is MAKE sure to transfer the letters to the fabric pieces so you can match them up – and you can’t go wrong! xxx Pauline
How do u make the ears floppy on baby bunny?
Hi Debbie, The ears are floppy because of the shape and weight of the fabric. The photo where they are “standing up” are with the bunnies laying flat. 🙂