Eeeeeek!
If your sewing machine has got a little bit over-excited and swallowed up your fabric before, you will know HOW ANNOYING it can be to have to cut your fabric free and untangle your sewing machine threads before you START ALL OVER AGAIN.
If this starts to happen with EVERY seam you sew, then something’s definitely NOT right! This started happening to me the other day so this time I decided to take some photos to show you the SIMPLE STEPS I use to fix this!

OK, who hates HOUSEWORK?
I do!!!! I hate the dreariness of cleaning and dusting the house and the thought of cleaning my sewing machine is just as painful – ha!ha! BUT I LOVE to sew and if I want my machine to work properly, I just have to give it
a clean and service!
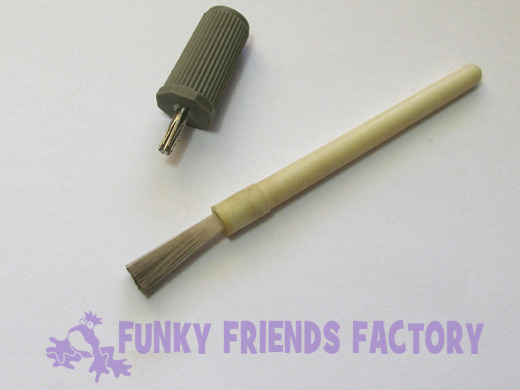
So I dig out my handy tools – a cute little screw driver and brush that came with my sewing machine. NOW, looking at this photo, I’m soooooo embarrassed – they look filthy!!! I guess that shows that I use them!
First thing I check… is under the bonnet – oops, I think the correct term is under the needle plate! I use the tiny screw driver to unscrew the needle plate and remove it so I can see what’s lurking below…
OMG – how embarrassing!
It looks so dirty!
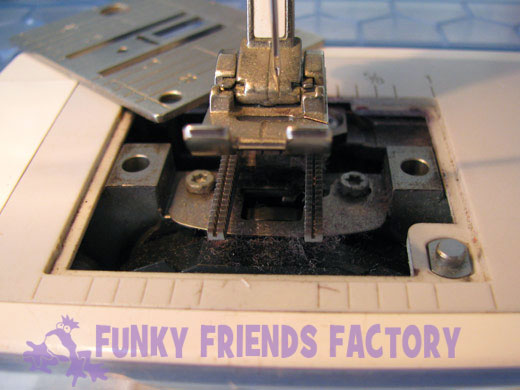
Well, it’s fabric fluff – NOT normal dust and dirt – so I guess I can be forgiven! BUT it is quite amazing just how quickly all this fluff or lint builds up! I know that if I am sewing with fluffy fabrics like fleece, minky, chenille, flannelette, even corduroy, the lint builds up MUCH quicker.
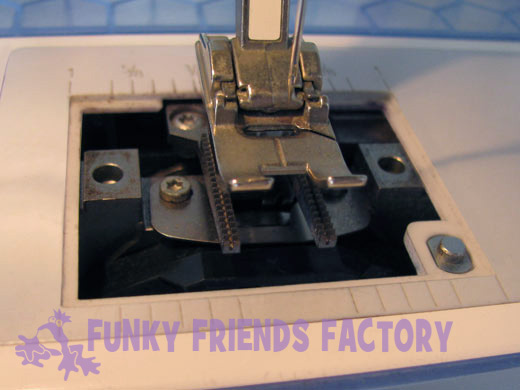
OK, here is a pic after I have used the teeny brush to give it a good sweep clean!
My mum would be proud!
Then I check the bobbin mechanism. Yuk! That is full of fluff too! No wonder the threads are NOT running through smoothly!
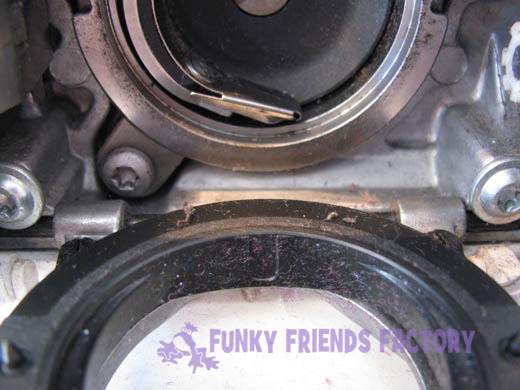
You can use a hair dryer to blow out the fine particles but I prefer just to use my LUNG POWER to blow it out myself! WOW – what a difference a quick dust can make!!!
Clean as a whistle!
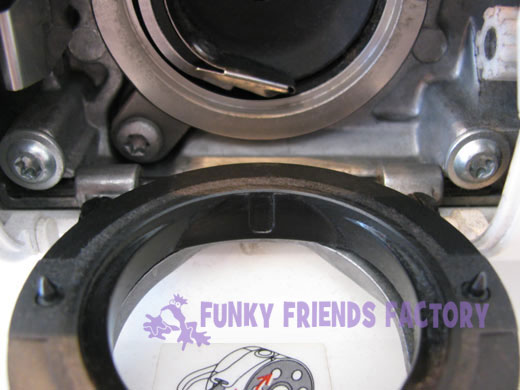
Then I oil my sewing machine. I only put the teeniest drop of sewing machine oil where the manual says… don’t want to flood the engine!!! Please CHECK YOUR MANUAL – some sewing machine do NOT NEED OIL!
I’m feeling a bit like a mechanic by now!
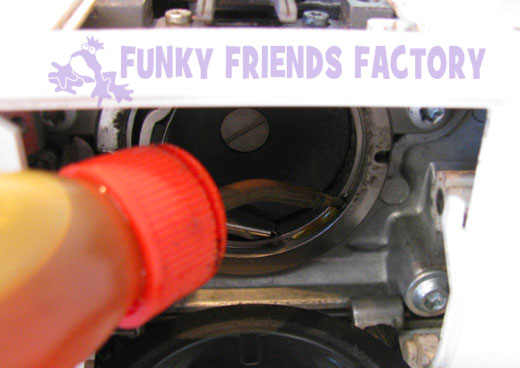
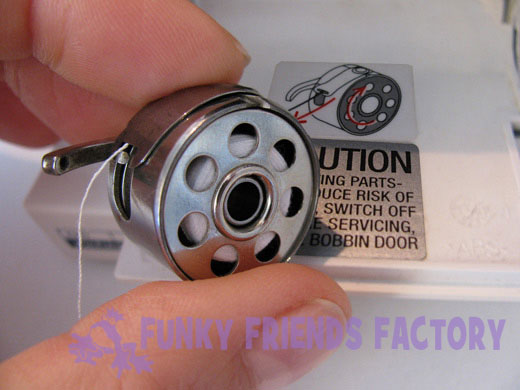
Then I run the sewing machine for a bit without any thread – just to allow the oil to work in. Then I reload my bobbin in the bobbin cartridge. I make sure the thread is threaded in the right direction and flowing freely before I put the bobbin back in the machine and check it is locked in place, nice and tight.
Then I change my sewing machine needle and make sure I don’t have it back to front!
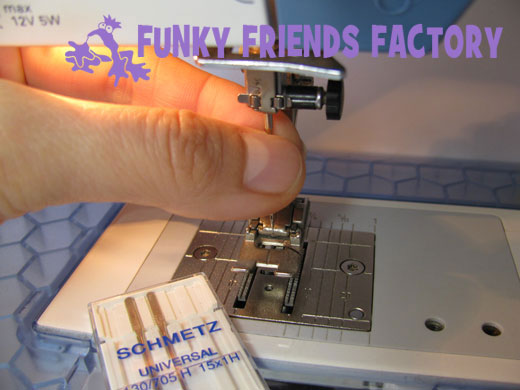
HOW often should you change your sewing machine needle?
Mmmmmm…
MORE OFTEN than I do??? 🙂
No,seriously, it depends on the individual and what you are sewing and how much sewing you are doing. I have heard that you should change your needle after every 4-5 hours of sewing. I’m terrible with changing needles, probably because I don’t realize how much time I have spent sewing (time flies when you’re having fun!) I just know by the time things start choking and snagging, my needle is WAY PASSED its USE BY DATE!!!!
Back to the top of the sewing machine…
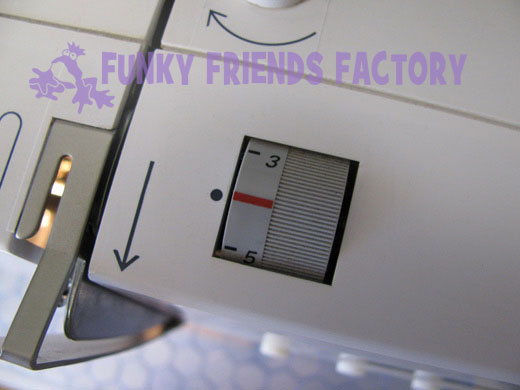
Next I checked my sewing machine’s tension dial. When I bought my sewing machine, I went for lessons and they told me it is unlikely I would need to change the tension and to their credit – they were right! So I just like to make sure that I haven’t knocked it and changed the tension by mistake and that it is still set to the default setting.
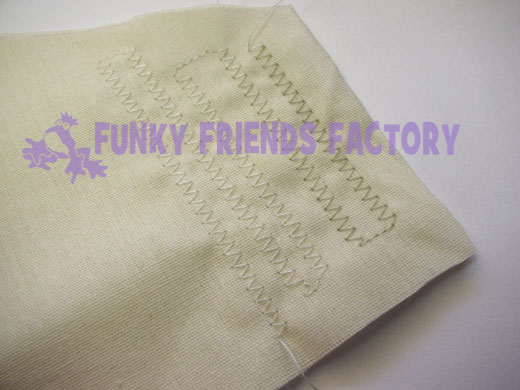
Then I re-thread my top thread and give the sewing machine a test! I like to use a zig-zag stitch and sew back and forth until the white cotton actually looks white! 🙂 This cleans up the excess oil – now you can see why I only use the tiniest drop of oil!
Then I try sewing a seam again… fingers crossed… have I fixed it????
HOORAY! What a difference!

My machine is back to
sewing like a NEW one!
MOST TIMES once I have tried ALL these simple home-maintenance steps, things are good as new, BUT if my sewing machine is still not sewing perfectly, then I know it is beyond MY own abilities to fix it and I need to take my sewing machine in for a professional service. BUT for now, I’m a VERY HAPPY BUNNY as I can carry on sewing!!!!
It’s not rocket-science, but I hope this info may have helped someone with THEIR jammed sewing machine…
Have you got any sewing machine maintenance tips?
 .
.
.
Till next time,
Happy Sewing,
Pauline
![]()


Thanks Sabrina, don’t get lazy like me and forget to clean out the fluff!!! 🙂
We are always time poor and forget to do these things so thanks for the reminder!
Uh oh… You’re supposed to clean it? 😉
Actually, I’ve had my machine snag a couple of times, and each time I’ve just removed the plate and the bobbin mechanism, used some lung power (it’s free!), put it all back together, and said a prayer to the Cheap Sewing Machine Gods. So far, the gods have been merciful, and that’s all my cheap machine has needed. Of course, I’ve only had it for a few months — the thing might catch fire and explode the day after the one-year warranty runs out.
But it doesn’t need oil, so that’s nice. 🙂
Funny, I just did a cleaning of my machine yesterday. I took the entire front off of my computer machine. I did read somewhere that “blowing” into the machine isn’t a great idea, that it could make matters worse, forcing the lint and threads deeper inside, a gentle vacuum would be better, but I am chicken to do that. I use a brush and sweep out the amazing amounts of lint. I think I will still need to bring my machine in, I keep getting thread breaks. Now I need to go tackle my serger.. there is a project!!
When my machine eats fabric, it’s a dull needle. Fleece and appliqué projects kill needles so fast! I can get through 2-3 garments on a single needle though. If it isn’t the needle, then I have a wonky bobbin. If not that, it’s time to clean.
One thing I do between fleece, felt and flannel projects is to use a little compressed air to blow off the fuzzies before they settle into the machine. It’s really made cleaning a lot easier.
I love this post! First, I just had a fabric jam up and not that I wish it on someone else, it does help a little knowing it happens to other people. Next, the state of your sewing machine looks a lot like mine: fuzz, threads, dust, etc. I was just thinking that I needed to clean it up when POW here is your post! Thanks for being there for me and inspiring me all in one post!
I just had my 35yo Singer Stylist serviced for the 1st time. Gotta say, it does sew better. Live and learn…..
Having moved to Japan I needed to buy a new sewing machine… It was really cheap but isn’t that crash hot. I do enjoy not having a foot pedal though! It’s controlled by a little button so I can sit on the floor and sew at the coffee table Japanese style! As yet I haven’t cleaned it :/ super bad I know! I tried last week but couldn’t unscrew the plate!!! So I’m waiting for a chance to get my fiancé to use brute force to unscrew it so I can clean it, then maybe it will start working better again!
Thanks for another great post! I have been inspired to lift the cover on my much loved machine and clean out the fluff bunnies! A tip for knowing when it is time to change the needle – listen to the sound it makes when sewing through your fabric. A blunt needle will make a popping sound as it goes through, a sharp needle should go through without this sound. Blunt needles are more likely to bend and break which can cause damage to the machine. Good quality needles will last longer than cheap ones too!
thanks for the tips, i suppose i should do some preventative maintenance cleaning so this doesn’t happen to me
If i could a ford or had a machine i would clean it at least once a month, as i would never be off the thing. lol.
My machine is overdue for a dusting and a needle change!
I clean my machine each time I start a new project and as I have quite a few WIPs (works in progress) it is fairly often. (I make quilts as well.) I try to change the needle each 6-8 hrs at least but it can be hard to realise when it is due as I love to sew and all the little 10-15 minute grabs of sewing time add up. I clean my machine the same way as you Pauline except for lung power. When I bought my machine, I was told the moisture in your breath is bad for the machine, so I use the brush and a lint free cloth.
I brush-clean the shuttle quite often, as fleece is notorious for shedding, but oiling only gets done when I just know I’m not going to be sewing for a few days….like when I’m sick! I can’t stay off it otherwise!
Great post. i change my needle when it breaks :). I did not know about this rule
Im still laughing about this! I fight with my old and dirt cheap machine and I threatened many a time with tossing it and buying a fancy one! Poor thing, it has been doing the job for over 8 years with not even a brush! I must now apologies to the poor thing and as a token of my great sadnes for being so unfair, I will follow u
Your steps for a nice pampering session! Thanks for the tips! We are truly grateful!
I just got a new machine and unfortunately I never cleaned my old one, eek! Thank you for the tips! 🙂
I have the brush that came with my machine, but I prefer to use q-tips. Well, not q-tips – they are too plush. I use generic cotton swabs. I know – be careful of the lint, but I find that when I stick them in the little holes, I bring up a ton of lint that has escaped into the machine. Also, with my older model, I take out the bobbin casing and get back there, too (NOT recommended with any modern machine!!!!)
Not the best person to give advice, (as I grew up being able to disassemble and reassemble mother’s machine when needed – it’s older than I) I would suggest that if folks do disassemble any portion of their machine for cleaning – get a magnet to hold those itty bitty screws and have the garbage close by for all the lint! 🙂 and sew away my friends!
Thanks a lot for sharing!
nice articles
Soooooooooooooo helpful. I have a thread-eating sewing machine!
Your comment made me laugh, Irina! Glad this helped. 😀
I love the way my sewing machine sounds after it’s been cleaned and oiled. It sort of purrs!
It does! LOL! 😀
This happens to me all the time! Thanks for the tips Pauline.
No worries Carol, I’m bad – I wait till things go wrong with my machine, should service it more!~ 🙂
You might need to adjust the tension, too, depending on what type of fabric you’re using.
My new machine was eating fabric last year, so was not dirty.
I went back to the shop I purchased it from to get advice, and learned from the shop owner that I needed to put a stabilizer behind the stretchy fabric i was sewing (tear away worked well, but in a pinch, i used coffee filters!).
Using a lead and/or end piece of fabric (in other words, start sewing on a non-stretchy square of fabric and then right onto the stretch piece- before and after the piece you are working on) also helps this issue.
Hi Lorilyn… that’s happened to me! So yes, always look at fabric related issues first! 😀
My friend and I have been having issues with our sewing machine. Googled “eating my fabric” and your fantastic article showed up. Fortunately, I was able to manually force the piece of fabric out of the sewing machine (Violently lol). We are quite bad sewers, but your blog helped a bunch!!!! 🙂
That’s so cool to hear! I have to remind myself to stop and clean out the fluff from my machine instead of moving onto the next fun sewing project! 😁