Let’s peek at Jo’s toy-making DIARY!
Since Jo became a part of the Funky Friends Factory team, she has been sewing her way through the Funky Friends Factory patterns, and sharing her experience as she learns how to sew them…
.. and this time… she’s made
Cheeky Chook (Chicken)
Pauline : Hey Jo, I was so excited to see your Cheeky Chook… you are already choosing such divine fabrics and this is only … about the 4th toy you’ve sewn! Where did you find such gorgeous fabrics?
Jo : I was in the city with my aunt and just happened to pass a fabric store and popped inside to see what fabrics they had. These colorful printed cotton fabrics are mostly imported from Japan.
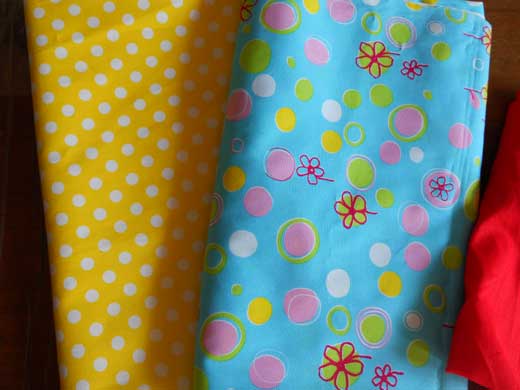
Pauline : And what is this……?
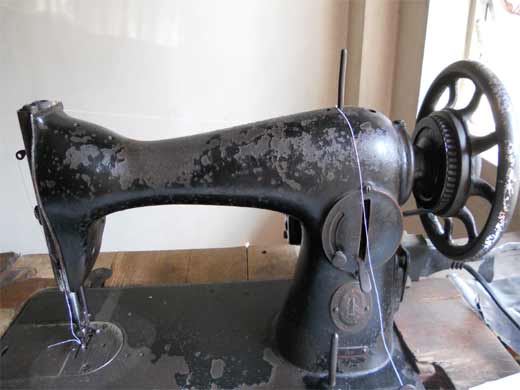
Jo : Pauline, I was thinking I can show off the sewing machine I am using. It looks like it’s not in good condition anymore because it was bought by my grandma when she was 18 yrs old now she’s 72….
Pauline : Wow, 54 years old!!!! That is a family treasure – it’s an antique – just like your granny – BUT please don’t let her see I said that!!! : )
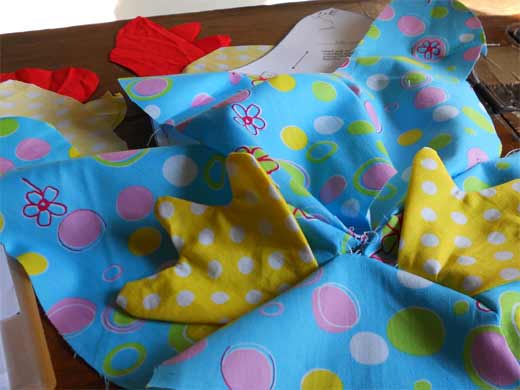
Jo : I decided to use the blue fabric for the body, yellow for feet, wings and beak and red for the crown and giblets…
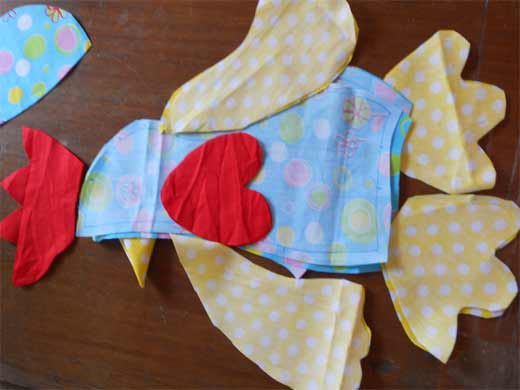
…. AND when I’d cut the fabrics out – it just popped into my mind to put the cut out pieces together and look at this! Ha ha!! It looked so cute, and I was so excited to finish sewing Cheeky Chook!!!
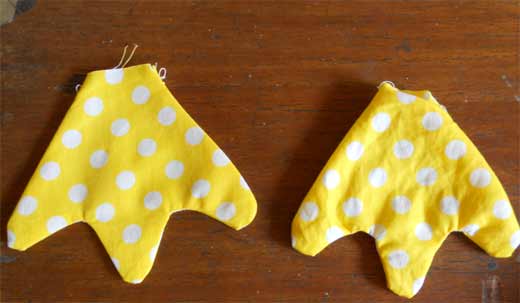
Jo : AND, the feet look great!! Finally I can sew the curves properly so that when I turn them right sides out, I can see that they really look like feet. I remember when I made the Plattie Platypus the hardest part was sewing his feet.
Pauline : I wonder why you found it harder the feet on Plattie? I think Plattie Platypus is the easiest pattern of ALL? And your Plattie looked GREAT?
Jo : Well, it was before I knew about trimming the seams so that the feet would turn right sides out properly! Every time I tried to turn it right sides out, I couldn’t get the seams to turn out properly. BUT luckily my granny was helping me and she was a seamstress when she was younger, so she knew I was doing something wrong!
Pauline : Ooh – this looks interesting, what have you found here? These look like pearls?

Jo : I didn’t have any plastic pellets so I used these beads to give weight to the wings instead. I just found these beads kept together with my granny’s sewing supplies… not sure what they are but they’re NOT real pearls!
Pauline : They may not be real pearl’s BUT it looks like you have a treasure trove!!! You’re sooooooo lucky to have your granny’s stash of sewing goodies – I’m jealous!!! : )
Jo : And NOW… guess what.. I was so excited to finish sewing the pattern, that I sewed the front body on the wrong side! I sewed it closed where I should have inserted the wings… and so …. I had some more unpicking to do!
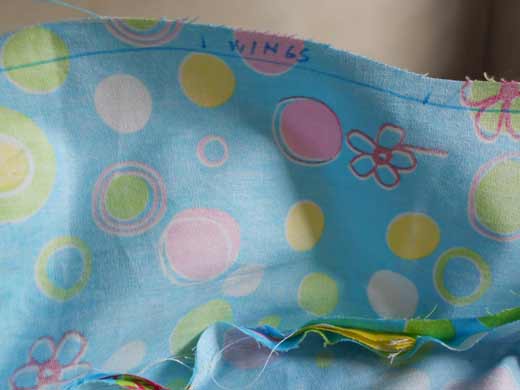
Pauline : Ah NO!!! I’m worried about the pattern… unpicking again… we need to get to the bottom of this as I want the patterns to be really easy to understand!!! Are you following the directions????Are you doing the steps, one by one, ticking off as you go?
Jo : I am…… but I didn’t realise I did the VERY FIRST step wrong!
Pauline : Ah, so you rushed in??? Too excited???
Jo : I was too excited.. so I went back and started again and second time ’round I ticked the boxes as I did each step, so I knew I was doing it right! : )
Pauline : I LOVE that you are so excited you want to rush in… but UNPICKING is such a pain – if you do tick off the steps as you go, hopefully you won’t have to waste any time on unpicking! : )
Pauline: Hey, I wonder what you found was the hardest part of sewing Cheeky Chook?
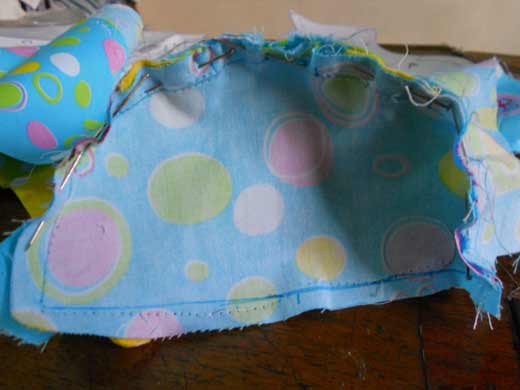
Jo : I find sewing the curved lines really hard, I need to improve on this!! This is the base that I sewed to the Chook’s front body. I remembered seeing the blog post for sewing the curves of Put your best foot forward – How to sew PERFECT plushie feet! and that helped me!
Jo: Hoooraaaay!!!! Pauline’s right, if you follow the instructions step by step – it’s EASY!!
Only a few more steps and Cheeky Chook will be ready!!!
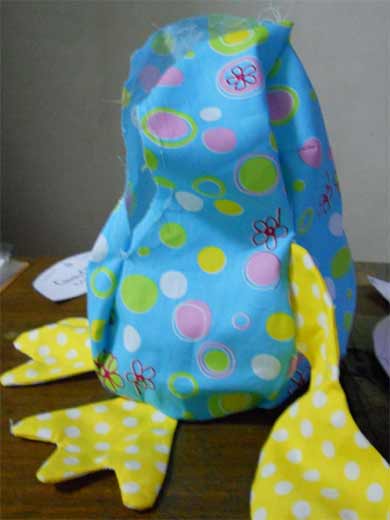
Pauline : Hey Jo – I am learning from you too! I don’t really like yellow and would never have bought yellow fabric but after I saw your chicken I thinks it’s awesome! Thanks for the inspiration! : )
Jo : Uh-oh!!! I following the steps, and I ALSO looked at the layout on how to pin the comb beak and giblets
but …
this is really inevitable!!
I sewed the front bodies together but I hadn’t sewn the beak and giblets in the seam!
… MORE unpicking!!!
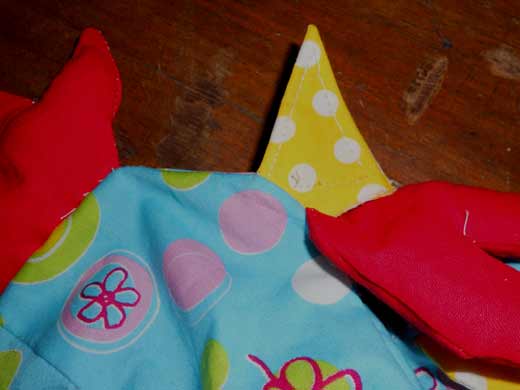
Jo : Yay!! Finally Cheeky Chook’s done :) I always have this happy, excited and proud feeling everytime I finished sewing a Funky Friend.
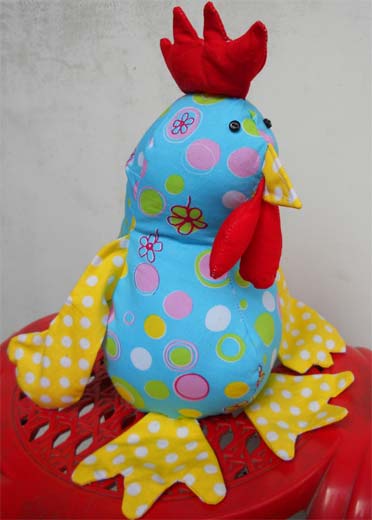
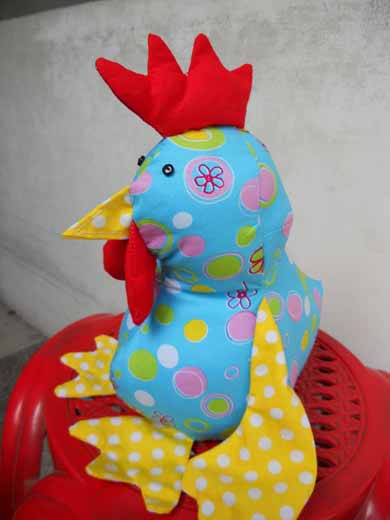
Jo : No matter how many mistakes I have done, it always turns out cute!! (Pauline wants to steal him too!!)
Pauline : Hey Jo – you have done me proud too – he’s adorable! : )
.
I wonder what will be a nice project for your next diary post….
Let’s go pick a new Funky Friend for you to sew!
Till next time,
Bye from
Pauline and Jo
![]()


0 Comments