I get a lot of emails from people who need some inspiration for making eyes for their plush creations. Sometimes they have been battling to find beads or safety eyes and are ‘stuck’ with an unfinished ‘sight-less’ toy! There are so many ways you can make eyes for your homemade softie. I have put together a whole page of ideas for inspiration… How to make Soft Toy Eyes. Check it out and I’m sure that you’ll find something that suits your style and toy.
How to make soft toy EYES
There are so many ways you can make eyes for your homemade softie. Plush toy eyes can be from beads, handmade teddy bear glass eyes, buttons, manufactured safety eyes, hand sewn knots, embroidery threads, felt and fabric scraps. If you think there’s something I have left out, or you have any other clever ideas for stuffed toy eyes , please leave a comment to let me know!
Use this simple guide to help you choose eyes to suit your style and toy!
1. Simple round black beads for eyes:
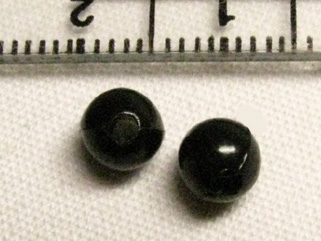
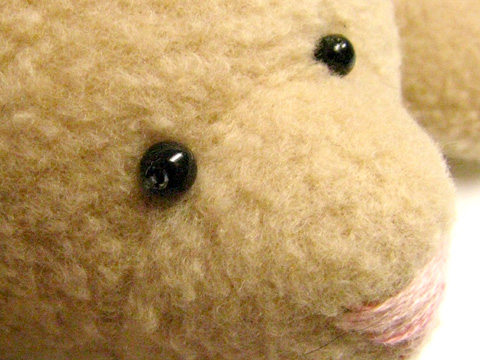
Black round beads can be found at the local sewing and haberdashery shop. They are cheap (about $2 for 50!) … but can be ‘nasty’! What I mean is that they are cheaply made as they are mass produced. The beads are dip coated and some of the beads are uneven, stuck together or the coating has clogged the sewing hole! But for that price you can afford to throw some away. I like the ones with a ‘narrow’ hole through them and I sew them on with normal machine thread for the very small beads (2mm) and Guttermann upholstery thread for the bigger beads (4mm – 6mm) I always used to sew them on with black thread, but when we did the Craft Tutorials at the Sydney Stitches and Craft Show, we only had white thread, and on both a grey and lilac fleece background this looked much neater! So I learnt a new trick!
2. Glass Eyes (Teddy Bear eyes):
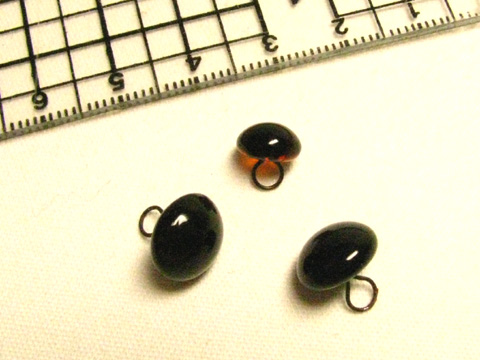
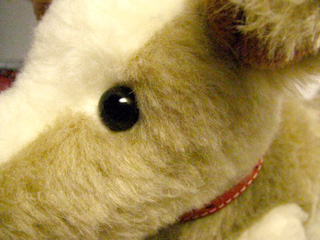
Glass teddy bear eyes are more expensive (About $1.75/pair) but they are nice and secure when you sew them on with upholstery thread (or dental floss for the teddies and Jake the jointed puppy!) These are sometimes available form haberdashery stores but mostly from specialist stores as well as online teddy bear web sites. You can go a Google search for sites close to home to save on postage, but I get my glass bear eyes from Gerry’s Teddies as they are in Queensland, Australia, so they are ‘local’ for me!
3. Buttons for eyes :
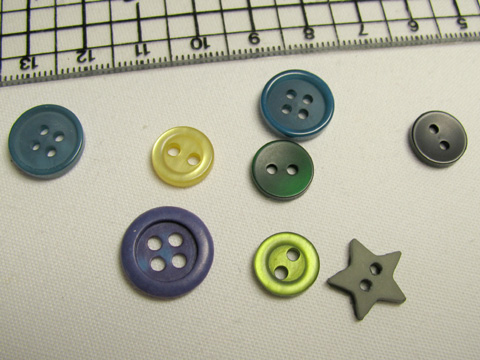
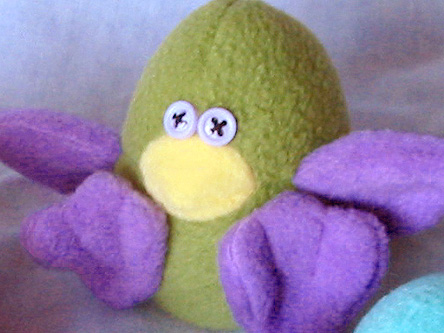
Buttons are so easy to find in any colour – from at the local sewing and haberdashery shop You can even recycle from old garments or buy really expensive fancy ones as a treat! I like the 4 holed buttons, like I did on the Cat Toys, as the 2 hole buttons can make the eyes look crooked if they are not sewn on at exactly the same angle! Remember that buttons can be a choking hazard so there are better choices for safer eyes below.
4. Craft eyes:
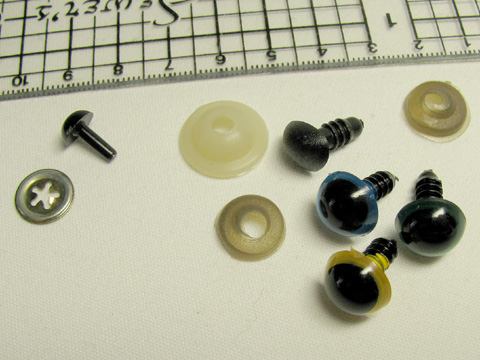
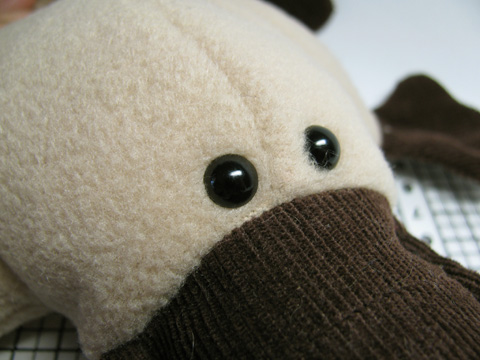
Craft eyes come in all shapes, colours and sizes and even noses! Found at the most sewing and haberdashery shop. Don’t forget to insert them BEFORE you stuff and sew you toys closed!!! Simply cut a tiny hole in the fabric and push the stem of the safety eye/nose through to the other side. Place the washer on the stem of the eye, place the eye, stem upwards on a flat surface, and push down on the washer with your thumbs to push the eye and washer firmly together, till they fit nice and tight. Craft eyes are easy for childrens’ craft projects and beginners who can’t embroider or sew a button!
Craft eyes are better to use if you are concerned about toy safety when giving the toy to a baby or young child. For a baby it is better still to hand sew the eyes on like the Baby-safe Bunny. See embroidered eyes/ knots next…
5. Embroidered eyes French/Colonial Knots:
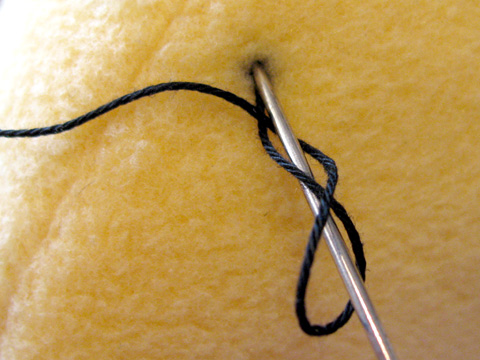
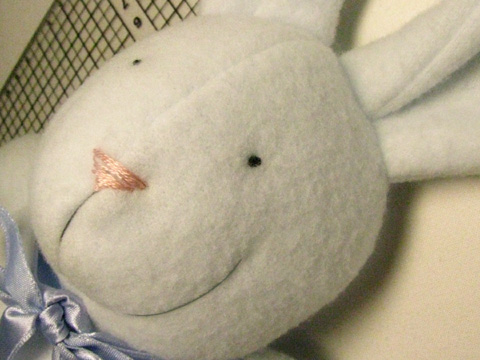
You can use any cross-stitch thread or Perle cotton to embroider your toys eyes which is very easy to find at the local sewing and haberdashery shop. The thicker threads will give a bigger knot so a bigger eye. It takes a bit of practice to get a knot right but once you have learned how to make a French knot/ Colonial knot, they are really quick and easy! I used the knots for my Baby-safe Bunny so they are totally safe for babies – YAY!
6. Embroidered Felt eyes:
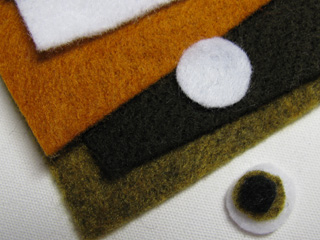
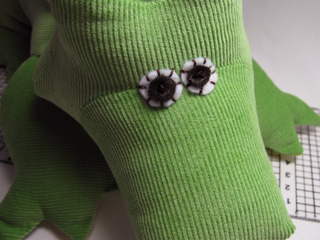
Felt, both synthetic felt and wool felt can be found at the local sewing and haberdashery shop. Cut your eyes from felt (the patterns will have a template for the specific toy you are making eg. Crocodile Steve, Scrap Snakes and Kiki Koala.) and use a non-toxic fabric glue to hold the felt in place. I like to stitch the eyes to the head by embroidering the felt eye with a contrasting colour thread. Either a blanket stitch or just some large stitches like I did with the crocodile’s eyes. Again, totally safe for babies!
7. Fabric eyes – Googly Eyes:
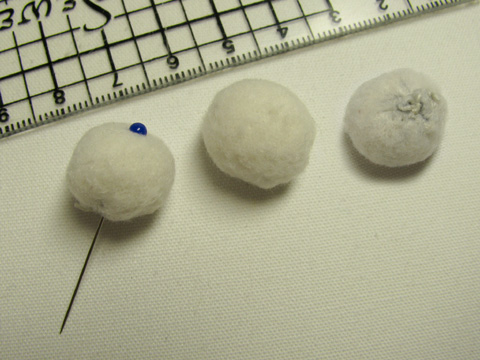
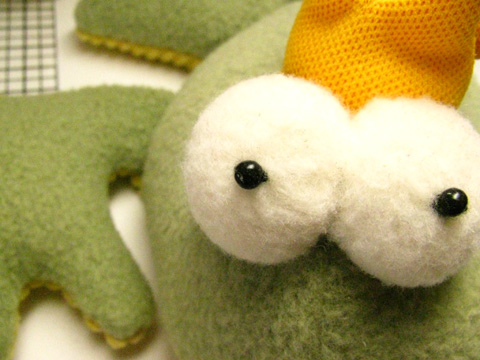
Use up your fabric scraps
to make GOOGLY eyes!
All the Funky Friends Factory toy patterns with googly eyes (Prince Charming Frog, Gertie Gecko Heat Pack, Dippy Dinosaurs, Party Animal ) have instructions to explain this in better detail, but they are very simple to make.
You cut a circle of fleece or stretch fabric, sew a row of longer stitches around the edge and pull tight to gather the circle into a cup/eyeball shape. Stuff a little bit of toy stuffing in the cup and pull very tight to make the googly eyeball! Sew lots of small stitches to hold the fabric nice and secure at the back. I use 2 glass pins to check the position of my toys’ pupils, and this also holds the eye balls in place when I sew them to the head by hand. (Use a ladder stitch, or simply make sure your stitches are hidden ‘under the eyeball!). You CAN hand sew the black pupils to make the googly eyes totally safe for babies too!
Hopefully you have got lots of ideas for making the eyes for your next homemade stuffed toy!
If you have any other ideas or tips for making toy eyes, please leave a comment to let us know!
.
Till next time…
Happy Sewing,
Pauline
xxx
![]()


Wendy just emailed me a great tip for inserting safety eyes
“When I used the safety eyes for my first Honey bear, the tiny eye went through the fleece. So, the next time I put a little piece of fabric with a touch of spray adhesive on to the inside of the fleece where the eyes were to go. This time the eyes stayed put. This worked for me, maybe it will help someone else.”
(Thanks, Wendy, that’s a very clever tip!)