Toy-making Tips - newsletter archives.
Funky Friends Factory Newsletter Archive
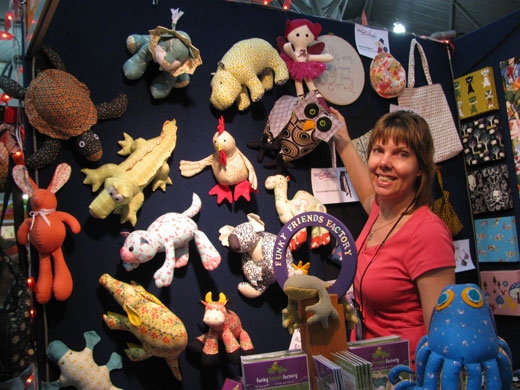
Thank you for signing up for the Funky Friends Factory newsletter, I hope that you will enjoy the toy-making tips and special offers that you will receive in my newsletters. Even though I have made hundreds of toys myself, I am still learning things as I go along, so hopefully there will be something of value here for even the most 'well seasoned' toy-makers!
Today I want to give you some little tricks for making Honey Teddy...
Here goes!
|
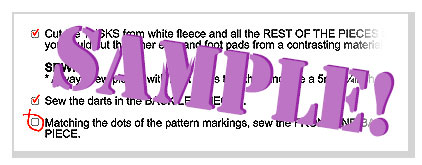
1. Use the 'tick the box' format so you can be sure that you won't miss any steps.
|
If you tick the boxes in the Pattern instructions, as you do each step, you'll be guaranteed to put the parts of the toy together in the right order and won't leave out any steps (like placing the ears in the head seam BEFORE you sew it!) The other good thing is that you can put your project down, and go off and do something else important, like EATING or SLEEPING (haha!) and when you come back, you will know exactly where you were up to!
|
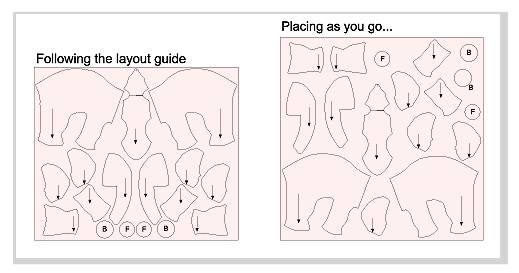
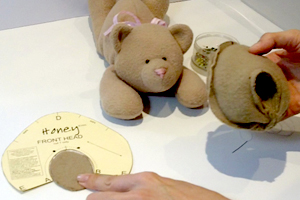
2. Use the simple layout guide:
|
With each new pattern I design, I have taken the time to juggle the pieces around and around until I get them fitting nice and snugly together for the layout guide. Why do I do this? Well for a few reasons actually! :)
- Soft toys don't take use lots of fabric, in fact you may have some fabric at home already. The layout guide is a great way to check if you will have enough of a certain fabric BEFORE you start cutting out and realise you haven't got enough fabric left for all of the pieces.
- If you follow the layout guide you will use the smallest amount of fabric! If the pieces are laid out in a haphazard way, which I call - "piecing as you go', you can end up using a LOT more fabric!
- And the last reason is so that you will know how much of each fabric you will need if you need to go fabric shopping to make your new Funky Friend!
|
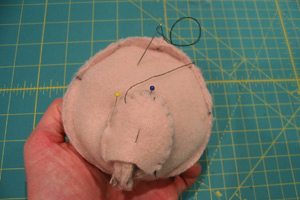
3. Now this is my little secret trick!
|
This clever trick will help you make Honey's nose look REALLY cute! I save the piece of fleece/fabric that I cut out of the Front Head Piece and use it as a backing for Honey's snout.
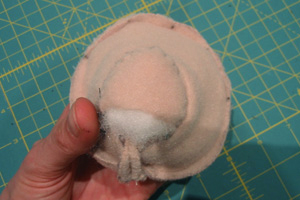
With the head still inside out, sew this extra piece, by hand, over the opening to the snout (very roughly - no need to be neat) Leave a small opening to push the toy stuffing into the snout area. This piece holds the stuffing inside the snout so you can make it nice and firm. Stitch the opening closed when you have stuffed the snout really well.
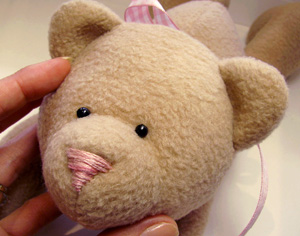
A nice firm snout makes it easier to embroider the teddy's nose plus a firm, rounded snout makes Honey look much cuter!
|
I hope that gets you started making ''beee-u-ti-ful'' teddy bears of your own!
|
|
|
Till next time,
Happy sewing,
Pauline
xxx
|
Funky Friends Factory, P O Box 814, Aspley, Brisbane, Queensland 4500, AUSTRALIA
|
|