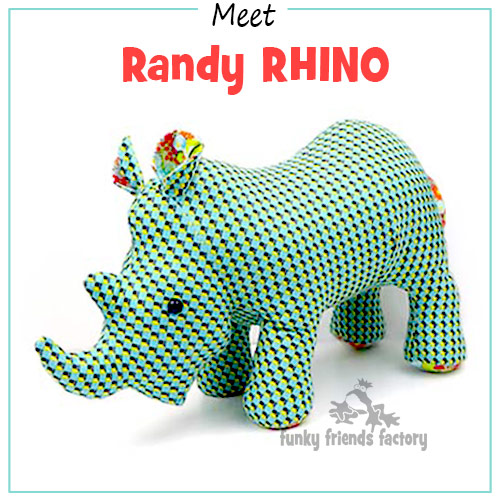
My Randy Rhino toy sewing pattern is one of my older patterns BUT he’s still as popular as ever.
~> scroll down for step-by-step photos!
*** PLEASE NOTE – this in ONLY a PHOTO TUTORIAL ***
The FULL PATTERN IS NOT included here.It is NOT A FREE PATTERN!
I have made this photo tutorial so people who have purchased my Rhino Sewing Pattern can SEE how to sew a rhino stuffed toy! (I wanted to explain this so you are not disappointed if you have found this page via a search engine and not from the link in my Randy Rhino Sewing Pattern)
First choose some rhino fabric
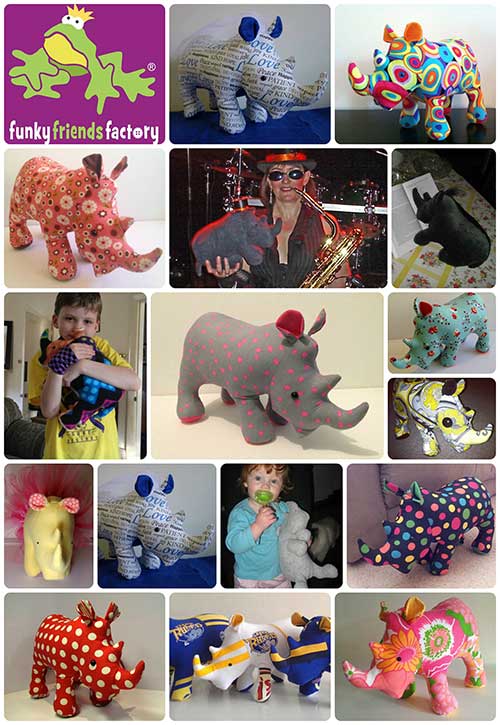
A rhino toy will look great in ANY fabric – they don’t have to be plain grey!
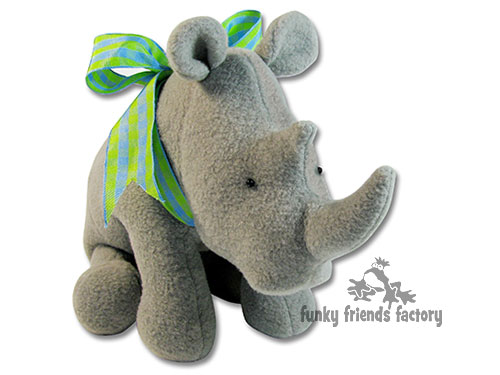
If you’d like to have a “sitting rhino” – like the photo below ~>
use a stretchy fabric like fleece which will allow him to sit!
Right, let’s get sewing!
LEGS:
STEP 1
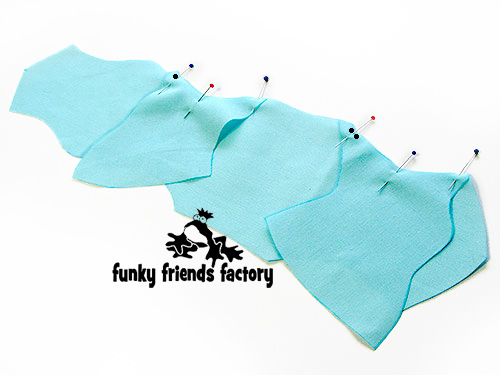
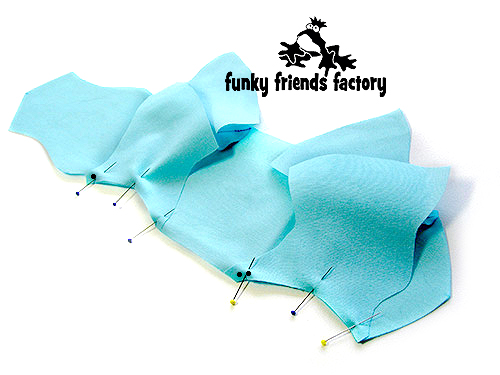
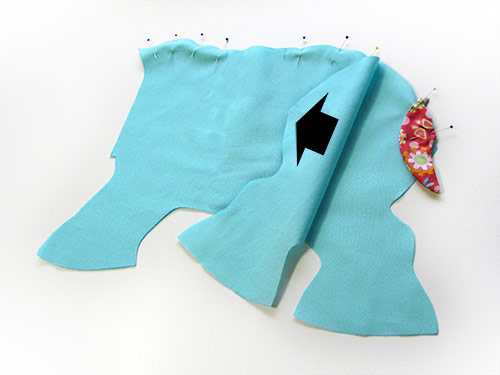
Sew one of the FRONT LEG PIECES and BACK LEG PIECES to the TUMMY PIECE from A-B and C-D, matching the dots of the patterns markings.
STEP 2
Sew the other FRONT LEG PIECE and BACK LEG PIECE to the TUMMY PIECE on the other side.
TAIL:
STEP 3
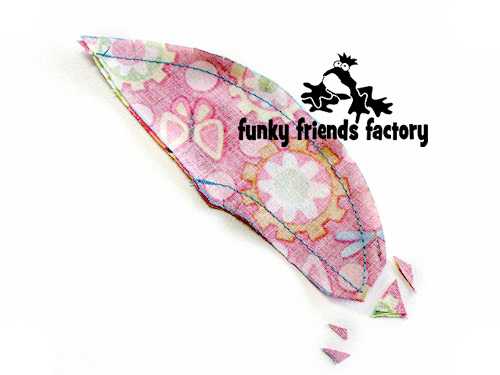
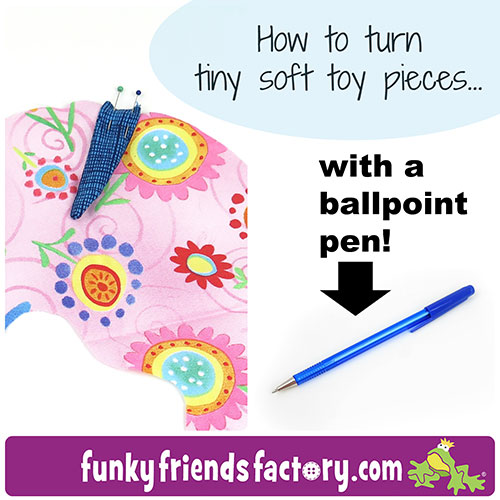
Sew the TAIL PIECES together. Trim the seam allowance at the end of the TAIL and turn it right sides out.
TIP: I have a blog post to show you how to turn small softie pieces.
STEP 4
Place the TAIL in position using the pattern markings to guide you and sew the BODY PIECES together from E – H. Remember to leave the gap open on the back for stuffing later.
STEP 5
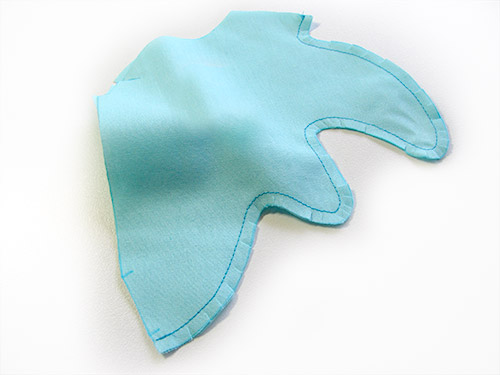
Sew the HEAD PIECES together from E – F.
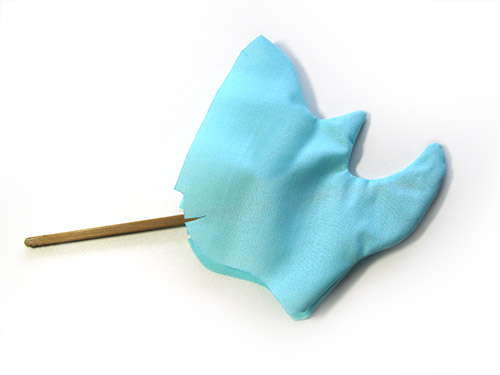
TIP: Clip the seams very well around the curved parts and turn the horns using a blunt pointed object like a wooden chopstick to turn them nicely.
STEP 6
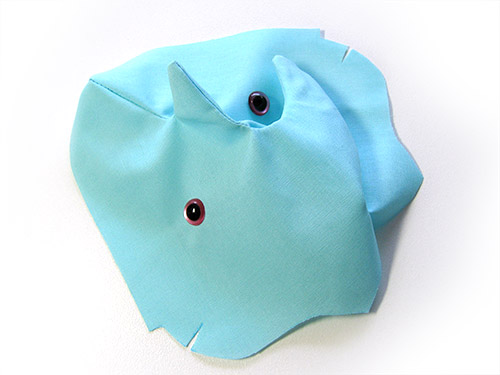
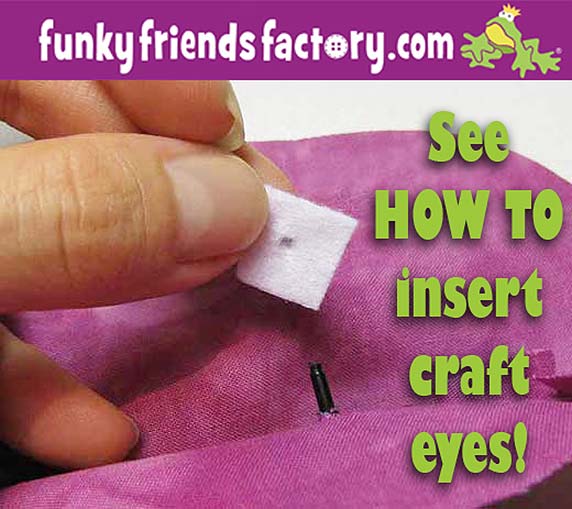
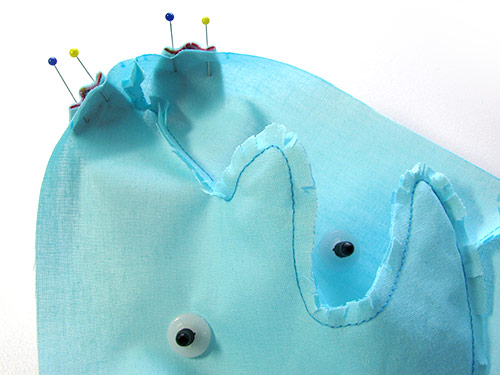
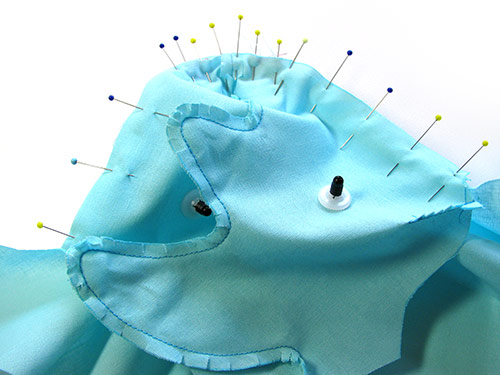
If you are using craft eyes insert these now.
TIP: I have a tutorial to show you how to insert craft eyes on my blog. Click the picture below to check it out!
STEP 7a
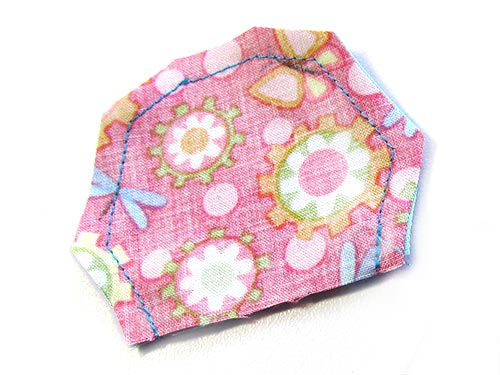
Sew the EAR PIECES together in pairs.
STEP 7b
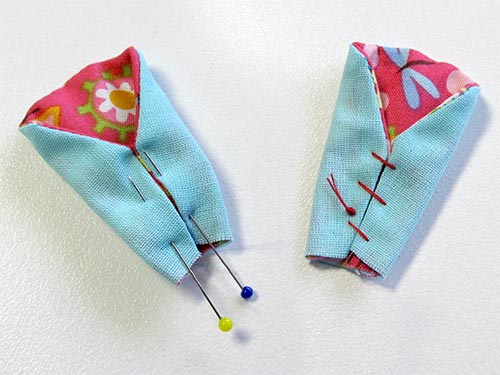
Turn the EARS right sides out and fold the sides of the EARS in to the centre. Pin or tack(baste) them in this position. This will stop them from slipping when you sew them in place.
STEP 8
Pin the ears in position on the HEAD PIECES using the pattern markings to guide you.
STEP 9
Sew the HEAD PIECES to the BODY PIECES, from G – E – and back to G on the other side.
STEP 10
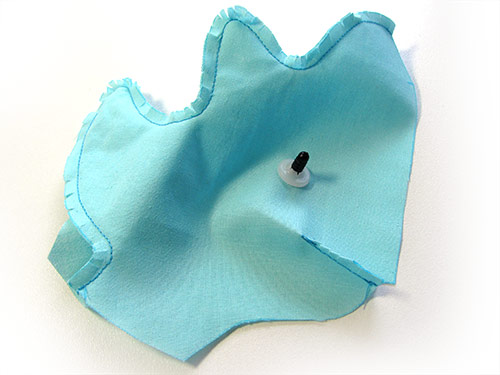
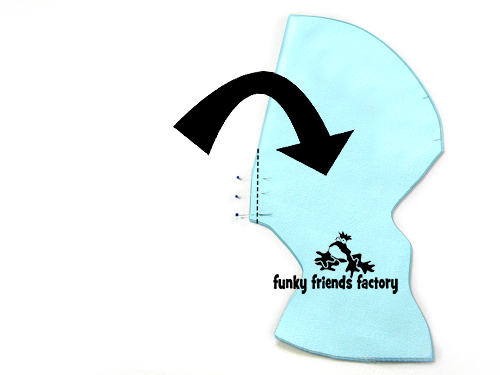
Fold the fabric right sides together and sew the darts in the HEAD PIECES.
STEP 11
Fold the fabric right sides together and sew the darts in the BODY PIECES (like you did with the head darts.)
STEP 12
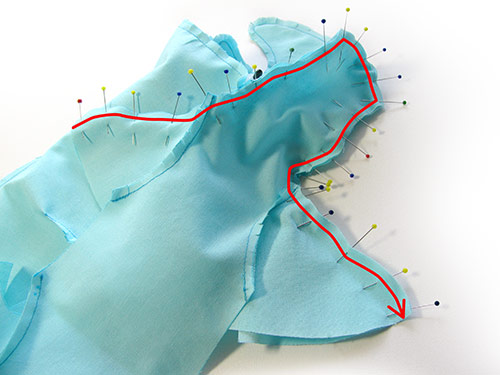
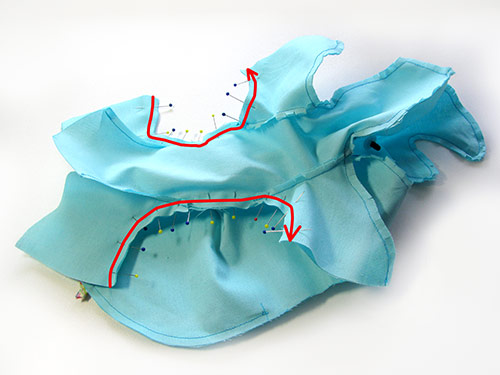
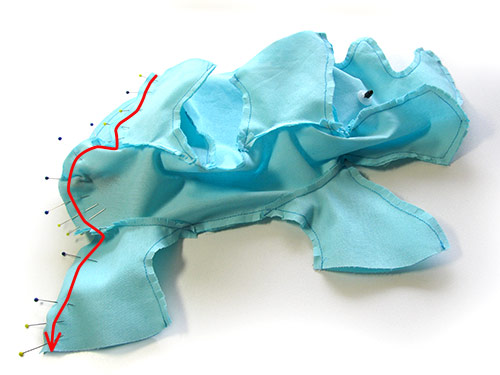
Sew up the front leg, across the snout, and down the other leg from J – G – F – G – J.
STEP 13
Sew the side seams from K – L on both sides.
STEP 14
Sew the back legs closed. Sew each back leg from M – H.
STEP 15
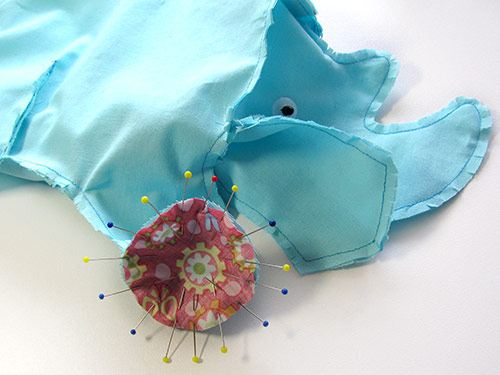
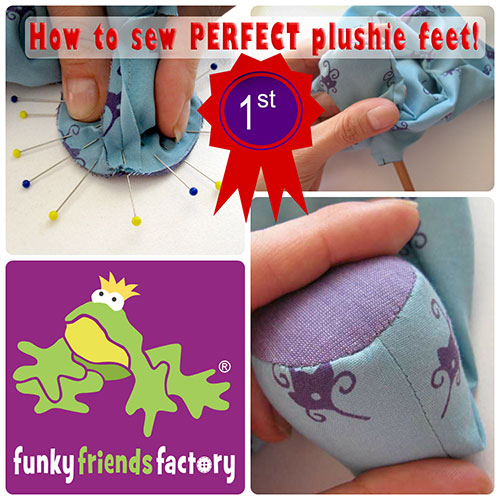
Pin and sew each FOOT PAD PIECES in place.
TIP: I have a tutorial to show you how to sew the footpads in place. Click the picture below to check it out!
ASSEMBLY:
STEP 16
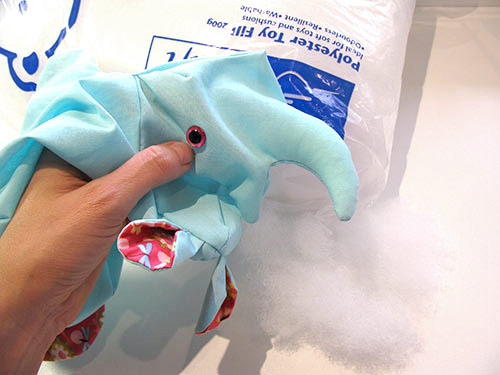
Turn your rhino right side out. Stuff the horns and face area quite firmly with toy stuffing. Stuff the legs well, then stuff the rest of the body. If you are embroidering the eyes, you would do them now.
STEP 17
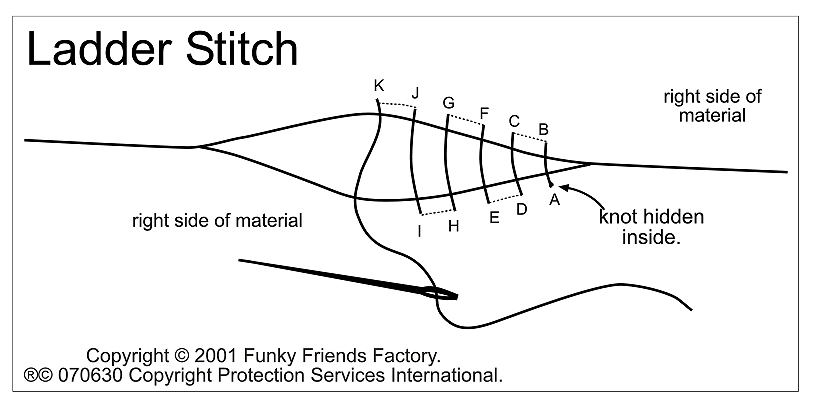
Sew up the turning gap on the BODY PIECES with a ladder stitch.
Your Rhino is ready to LOVE!
Want to win a
FREE toy pattern?
It’s so EASY to enter the Pattern GIVEAWAY!

ALL you need to do is post a photo of a FUNKY FRIENDS FACTORY toy that you have made on the Funky Friends Factory Facebook Page .
At the end of each month I draw a winner and post the winner’s name on the Blog the following MONTH. I have an Album on Facebook for all the MAKEROFTHEMONTH winners. You can check it out HERE!
NOT on Facebook? ENTER by email! 😀
*** You can send me your photos by email too!
So come on! Share your photos ~> The next winner could be YOU!!!

Till next time,
Happy Sewing,
Pauline


