
I have made a photo tutorial so you can see how to sew my Flamingo Toy Sewing Pattern ~> scroll down for step-by-step photos!
*** PLEASE NOTE – this in ONLY a PHOTO TUTORIAL ***
The FULL PATTERN IS NOT included here.
It is NOT A FREE PATTERN.I have made this photo tutorial so people who have purchased the pattern can SEE how to sew a toy flamingo. (I wanted to explain this so you are not disappointed if you have found this page via a search engine and not from the link in my flamingo sewing pattern!)
* The Flamingo Toy Pattern is available to buy, from the Funky Friends Factory website as an Instant Download e-Pattern.
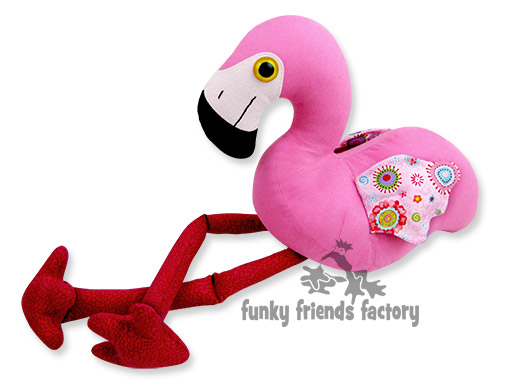
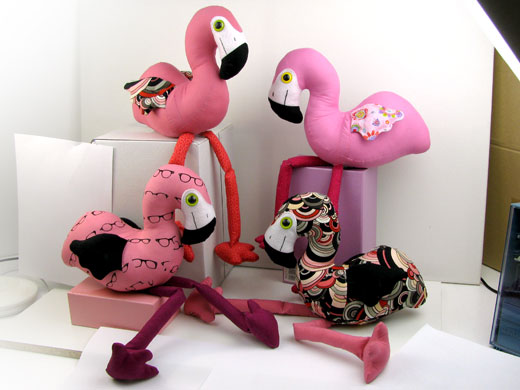
First choose some fabric
I sewed my flamingos with quilting cottons but would be nice in stretch fabrics like fleece, chenille or minky for a snuggly feel!
You can sew a toy flamingo in any colour!
Right, let’s get sewing!
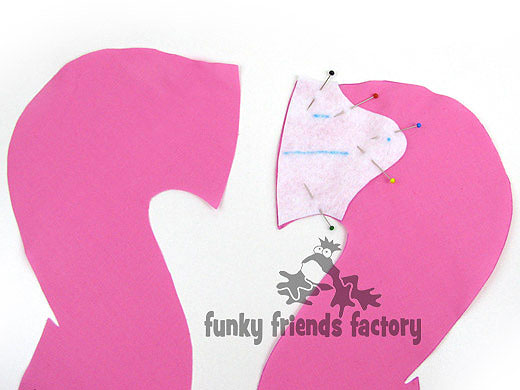
WE’LL START WITH THE FACE…
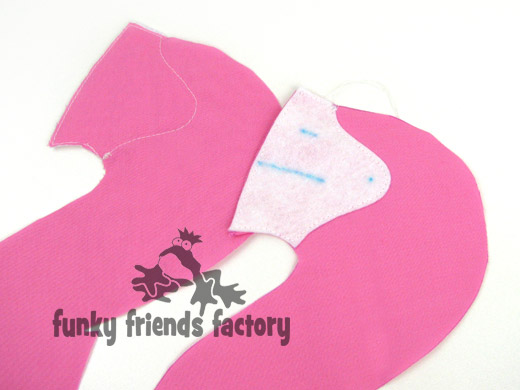
STEP 1
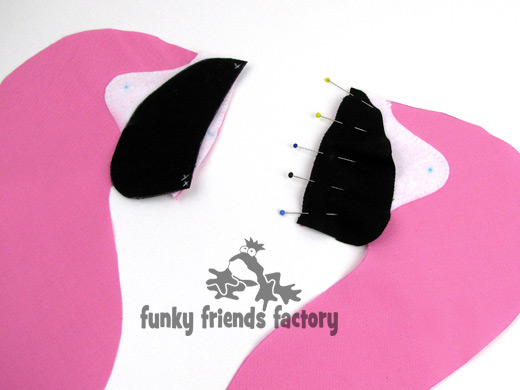
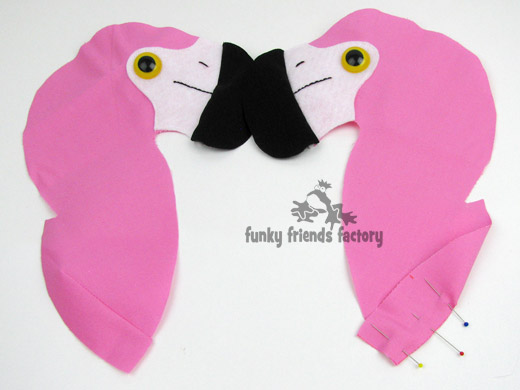
Cut the FACE PIECES from white felt. Transfer the pattern markings onto the FACE FELT PIECES and pin them onto the HEAD PIECES using the pattern markings as a guide. Sew them in place.
TIP: Use a matching thread when you sew the felt pieces on, so that you won’t see the thread if your stitching is a bit crooked! 🙂
STEP 2
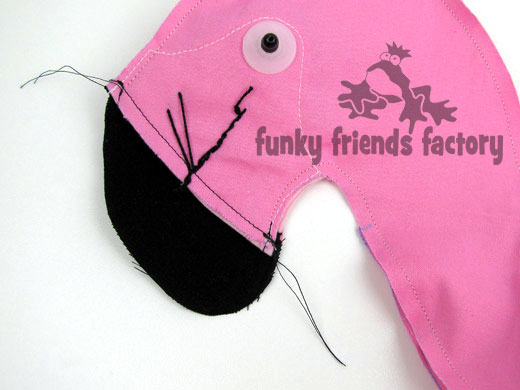
Pin and sew the BEAK PIECES to the HEAD PIECES.
STEP 3
Using black embroidery/perle thread, sew the nose and mouth lines with straight/back stitches.
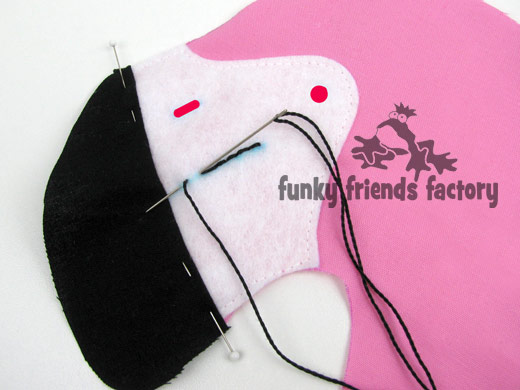
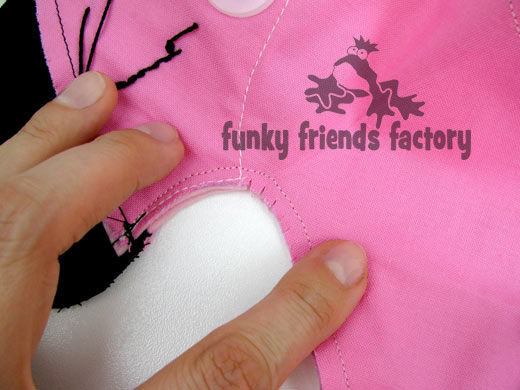
STEP 4
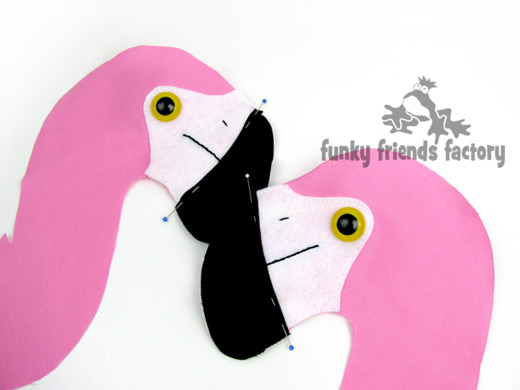
If you are using craft eyes, insert these now.
TIP: If you don’t have yellow craft eyes you can use felt circles instead. Felt is great because it is best NOT to use craft eyes if you are making the toy for a baby or child under the age of 3 years old. I have a blog post about how to cut out small pieces of felt neatly on my toy-making blog.
WINGS:
STEP 5
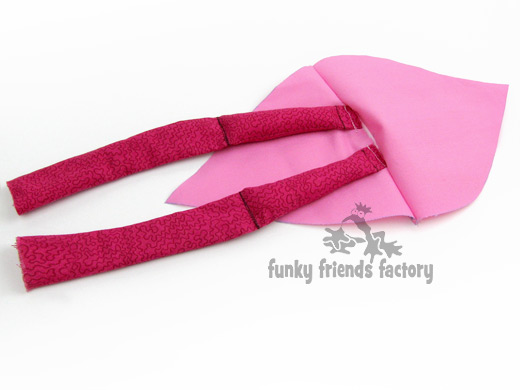
Sew the WING PIECES together in pairs and clips the seams especially around the curves.
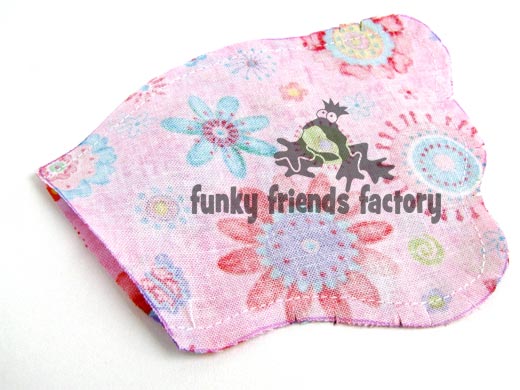
STEP 6
Turn the WING PIECES right sides out and pin them so that they lie flat then sew a line around the edge of each wing 5mm / ¼inch in from the edge.

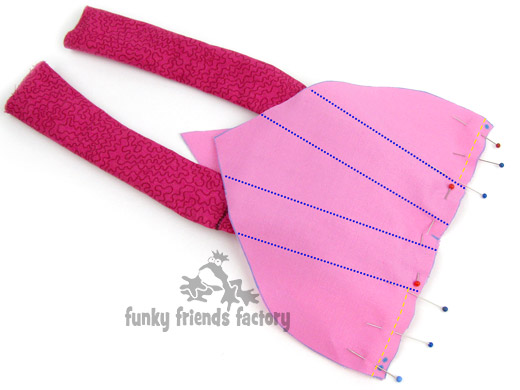
STEP 7
Leave the flat edge of the WING PIECES open for stuffing. Stuff the wings with toy stuffing, using only a little bit of stuffing, so they are quite flat (thin). Pin the stuffing opening closed and sew a line of stitching on each wing – use the pattern markings to guide you.

STEP 8
Fold the HEAD PIECES right sides together to sew the neck darts.
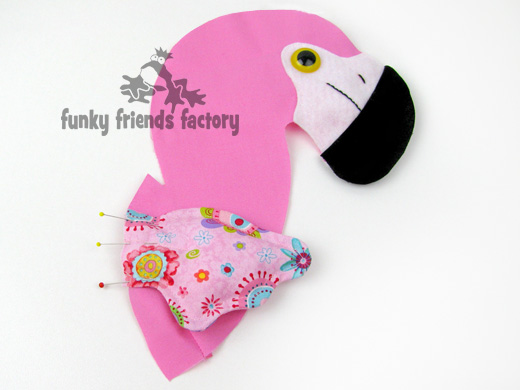
STEP 9
Pin the WING PIECES in position on the HEAD PIECES.
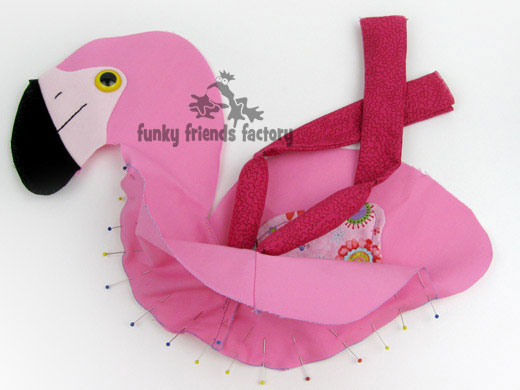
STEP 10
Pin and sew the BODY PIECES to the HEAD PIECES with the WING PIECES sandwiched in between.
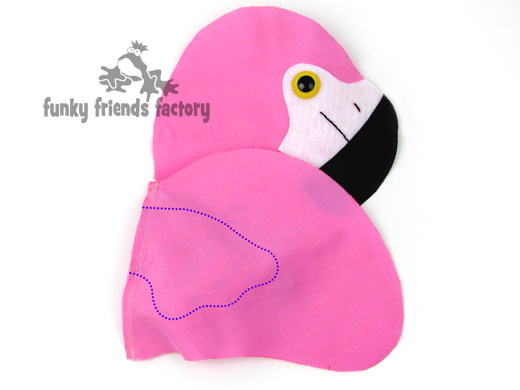
STEP 11
Pin the seam you just sewed so that is lies towards the front and sew a line of top-stitching 3mm (1/8th of an inch) from the seam.
*** Don’t leave this step out – it’s important because this makes the wings lie backwards and also secures them wings firmly in the seam.

Now for those loooooong LEGS:
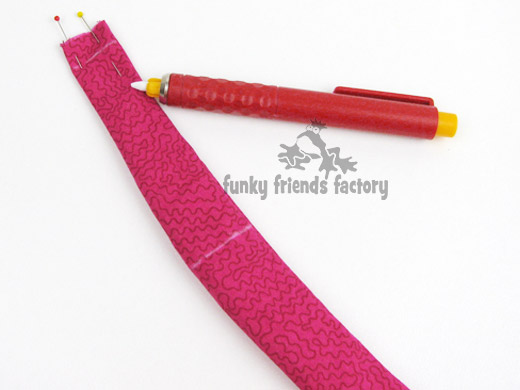
STEP 12
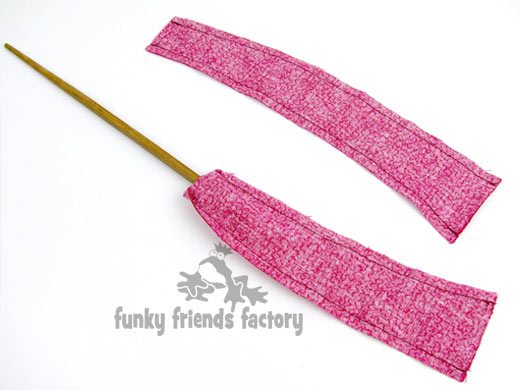
Sew the LEG PIECES together in pairs. Turn them right sides out.
TIP: I use a chopstick for this, but you can use the back end of a children’s paintbrush too.
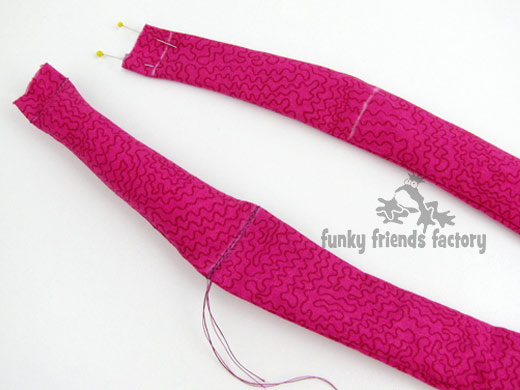
STEP 13
Pin the LEG PIECES flat at the top and use a fabric pen to mark the top-sewing lines 12mm/½ inch from the top of the LEG PIECES and at the “knee”.
STEP 14
Sew across the leg, about 12mm (½ inch) from the top. Stuff the upper part of each leg with just enough stuffing so you can pin the legs flat at the ”knees”.
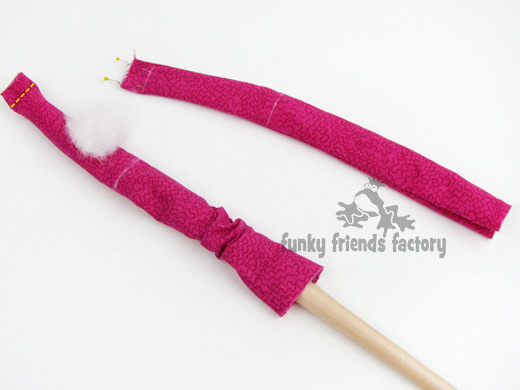
STEP 15
Sew across the LEG PIECES again at the ”knees”.
TIP: I sew across the legs at each ‘knee’ at least 3 times. This stitching creates a knee and allows the legs bend so you don’t want the stitching to come undone with lots of play!
Sewing the GUSSET:
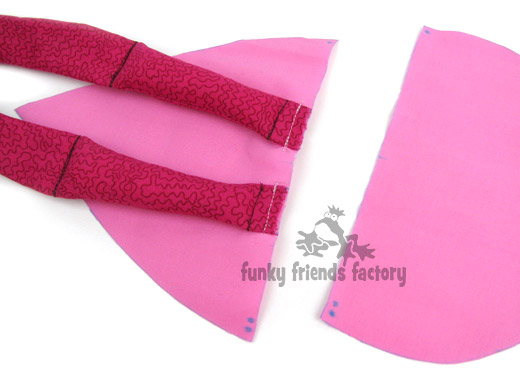
STEP 16
Pin and sew the LEG PIECES to the FRONT GUSSET PIECE.
STEP 17
Sew the BACK GUSSET PIECE to the LEG PIECES as the sides ONLY. Do not sew across the tops of the legs as you need to leave a gap open for stuffing the flamingo.
TIP: I pin some pins sideways(ACROSS) the stuffing gap so I do not forget to leave this open!
STEP 18
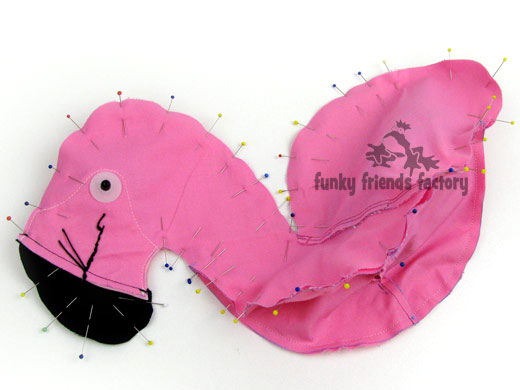
Pin and sew the GUSSET PIECES to the HEAD&BODY PIECES, on one side first.
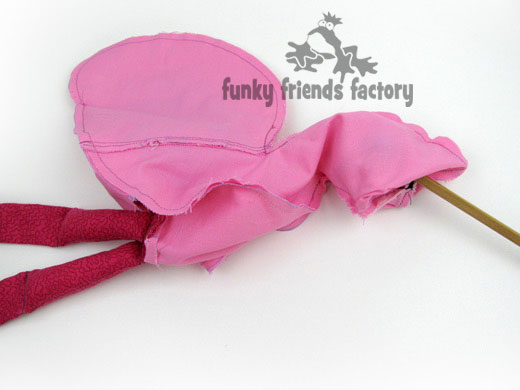
STEP 19
Pin the GUSSET PIECES to the HEAD&BODY PIECES, on the other side, pin the rest of the flamingo together – the BODY, HEAD and BEAK PIECES. Sew around the pink bits of the flamingo, from C around the HEAD PIECES, GUSSET PIECES and back up to D.
STEP 20
Change to black thread, if you can, and sew the BEAK PIECES together.
STEP 21
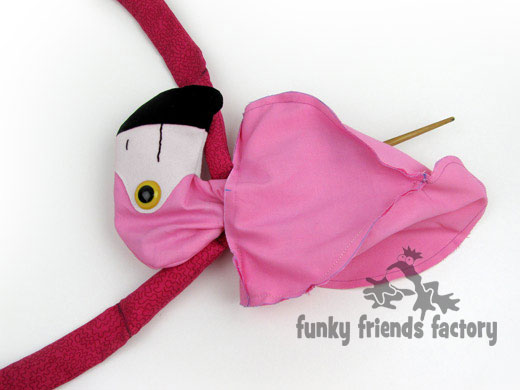
Clips the seams, especially the curved parts and turn your flamingo right sides out through the stuffing gap between the GUSSET PIECES.
TIP: The felt makes the flamingo’s face a bit stiff. I find the best way to turn the flamingo’s head is to push the BEAK PIECES back into the head, down the neck and out the stuffing gap with a turning tool/chopstick.
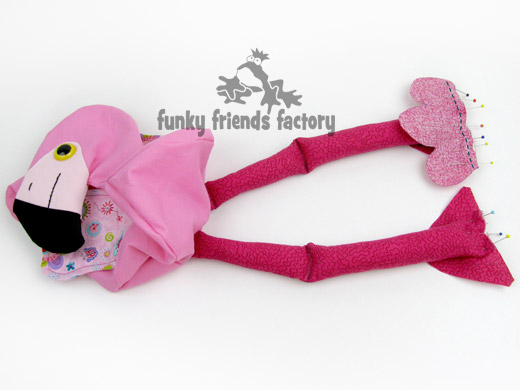
Hello Fleur!!!!!
FEET & LEGS:
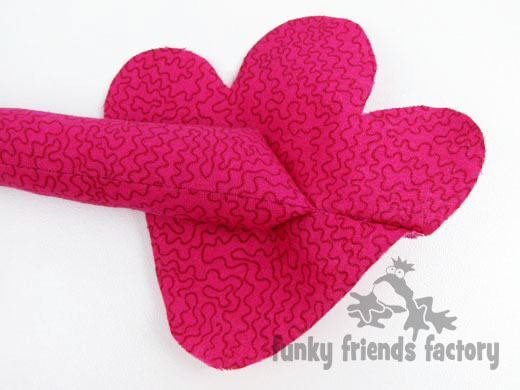
STEP 22
Stuff the lower part of the legs with toy stuffing. Pin the base of the LEG PIECES to the HEEL PIECES. Pin and sew the TOE PIECES to the HEEL PIECES with the LEG PIECES sandwiched in between.
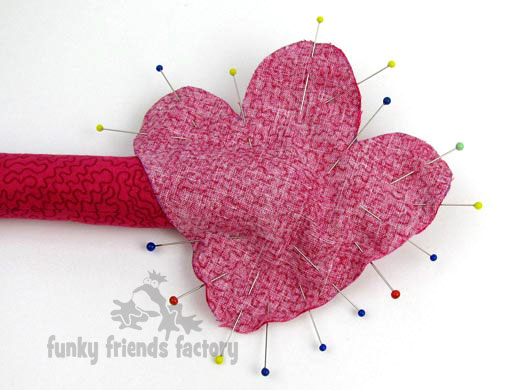
STEP 23
Fold the legs one side…
… so you can pin the FOOT PIECES to the HEEL&TOE PIECES. Sew the around the FOOT PIECES leaving a gap for turning where the LEG PIECES stick out!
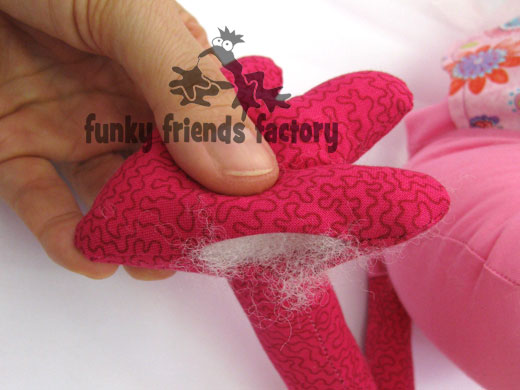
STEP 24
Turn the feet right sides out through the turning gap and stuff them firmly with toy stuffing. Sew the opening closed with a ladder stitch.
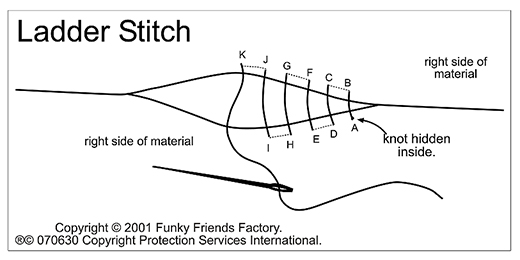
STEP 25
Stuff the rest of the flamingo very firmly, especially the neck, so it will stay upright and not be too floppy! Sew the stuffing opening closed with a ladder stitch.
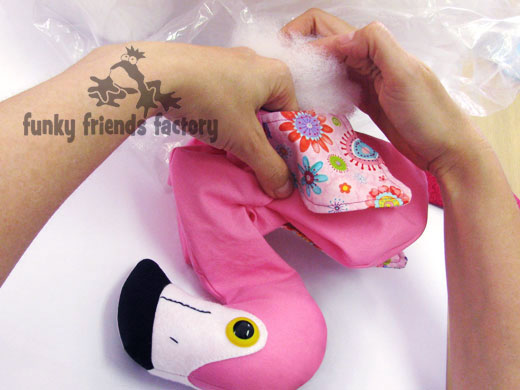
Your Flamingo is ready to LOVE!
![]()
Come join the fun on Facebook!
When you’ve made your own toy flamingo – come and post some photos of your NEW Funky Friend for me to see on my Funky Friends Factory Facebook page.
You could WIN a FREE PATTERN in the MAKER OF THE MONTH Pattern Giveaway!
I can’t wait to see the Funky Friends you sew!

bye for now,
Pauline
![]()
