
Yeehar!!! I have just created a brand NEW photo tutorial for my FREE teddy bear pattern ~> scroll down for step-by-step photos!
If YOU haven’t got my FREE teddy pattern – you can get it right NOW – all you need to do is to sign up for my newsletter! (Scroll to the bottom of the page and click the orange button to sign up for the Funky Friends Factory newsletter)
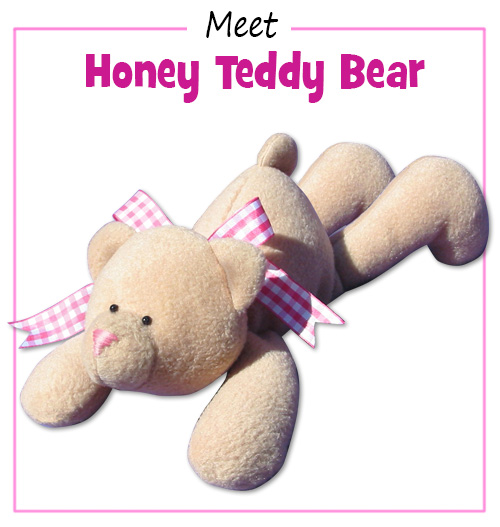
Honey Teddy is one of the simplest teddy patterns around because she is NOT a traditional, JOINTED bear – the arms and legs are sewn into the seams – so you don’t need to know any special teddy-bear jointing techniques. Her slightly knocked knees and cute little bottom in the air, make her simply adorable. As you make her, you will learn the basics of how to make & sew your own soft toys and pick up a few tips & tricks to make it easy and FUN!
*** PLEASE NOTE – this in ONLY a PHOTO TUTORIAL ***
The FULL PATTERN IS NOT included here.
This pattern is my gift for my newsletter subscribers.I have made this photo tutorial so people who have the pattern can SEE how to sew this easy teddy bear pattern (I wanted to explain this so you are not disappointed if you have found this page via a search engine and not from the link in my free teddy bear pattern!)
First choose some fabric
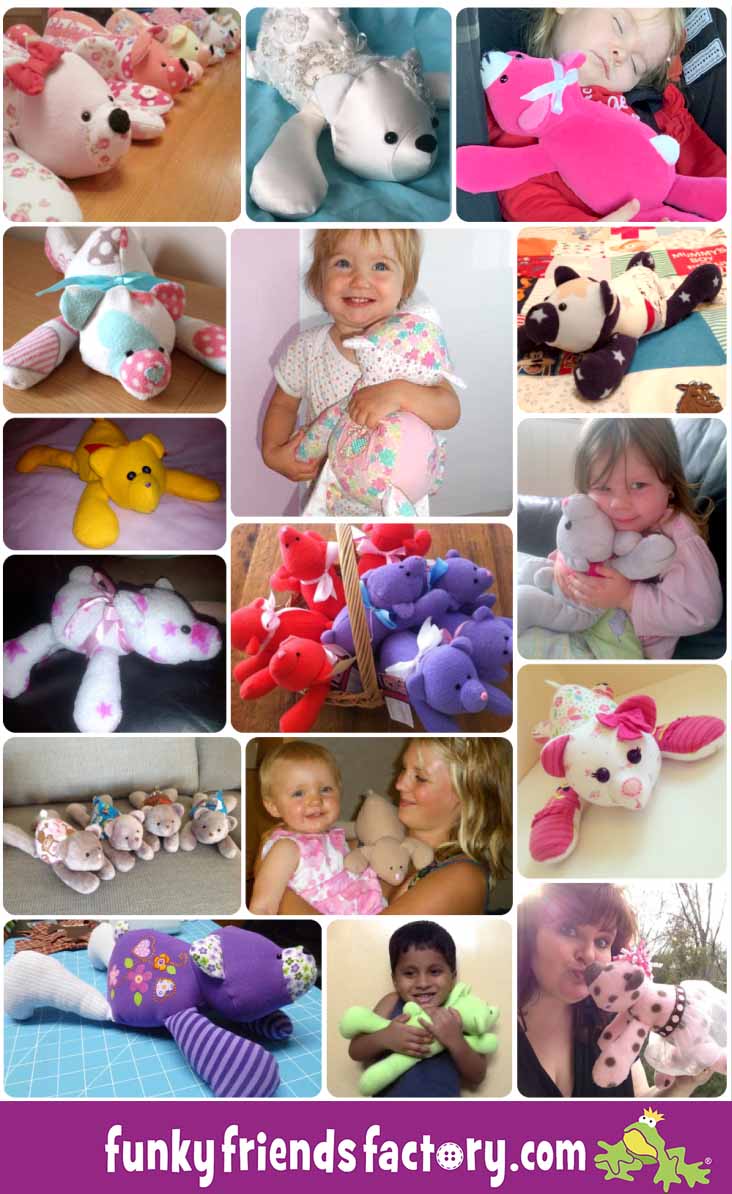
You can make and sew this sweet teddy bear pattern from MOST fabrics. The Teddy in this photo tutorial was sewn with quilting cottons but I love making my teddies from FLEECE because it makes them so cuddly!
You can sew this teddy bear
in any colour!
Right, let’s get sewing!
We start with the HEAD:
STEP 1a
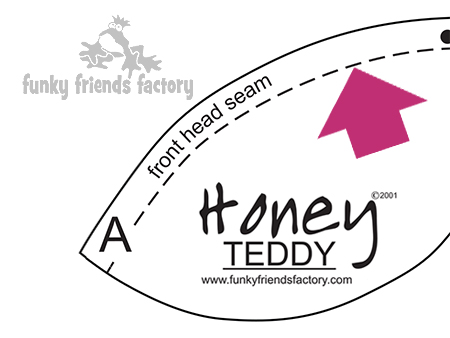
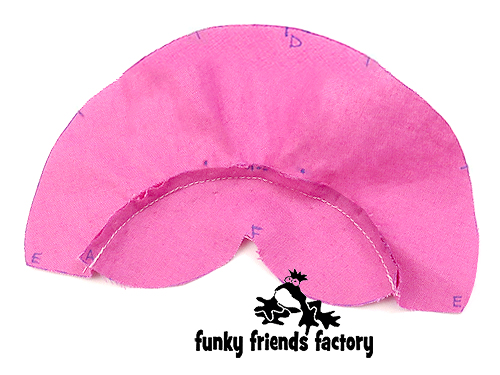
Pin the SNOUT PIECE to the FRONT HEAD PIECE matching point A and B, and the 3 dots pattern marking.
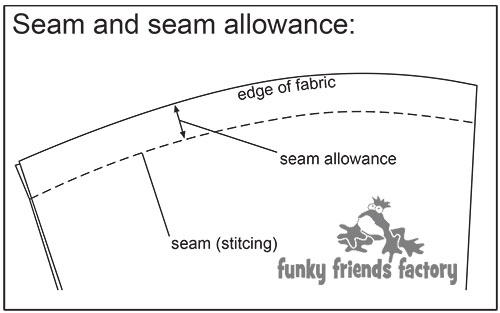
TIP: Look at each pattern piece – the dashed line on the pattern piece is a useful guide to show you the FIRST seam you will sew on each piece.
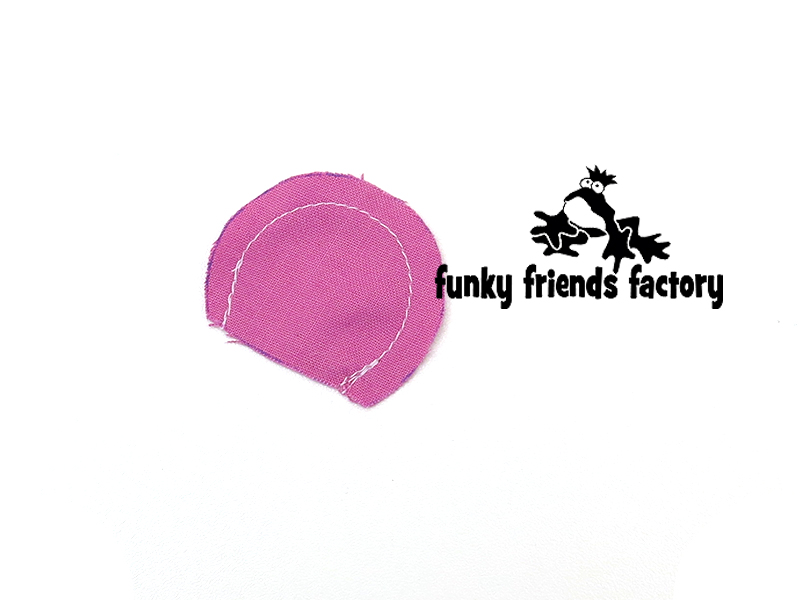
STEP 1b
Sew the SNOUT PIECE to the FRONT HEAD PIECE from A – B.
TIP: A 5mm(¼inch) seam allowance is included – so you will sew 5mm(¼inch) INSIDE the lines you traced. (Do not add on a seam allowance UNLESS the instructions tell you to do this!)
EARS:
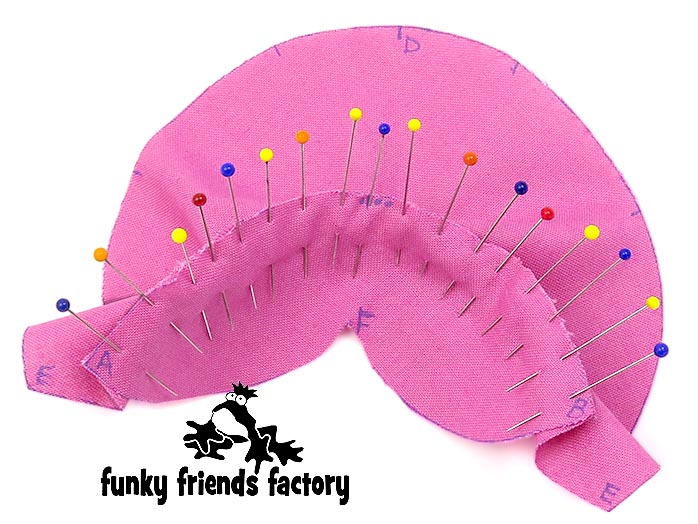
STEP 2a
Sew the EAR PIECES together in pairs leaving the straight edge open.
STEP 2b
Sew the EAR PIECES together in pairs leaving the straight edge open. Clip the seams and turn right side out and pin the straight edge closed.
***Do NOT stuff the EARS!***
TIP: I like to use a wooden chopstick to help turn the seams nicely. Run the end of the stick back and forth along the stitching inside until the seam is nice and smooth.
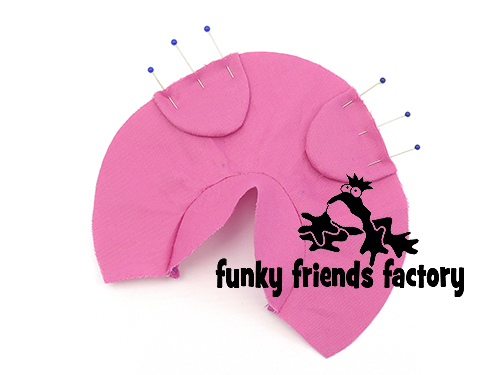
STEP 3
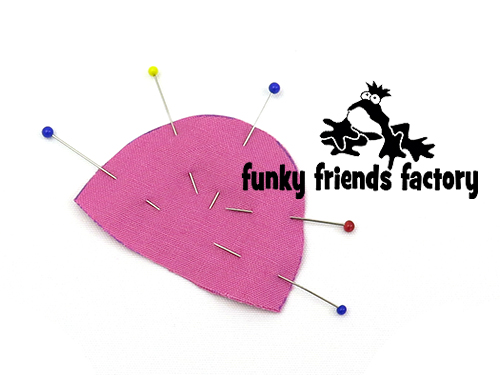
Pin the EARS in position on the FRONT HEAD PIECE using the pattern markings to guide you.
TIP: Sew the EARS to the FRONT HEAD PIECE with a 3mm( ¼ inch) seam allowance to hold them in place – crooked ears will make your toy look wonky.
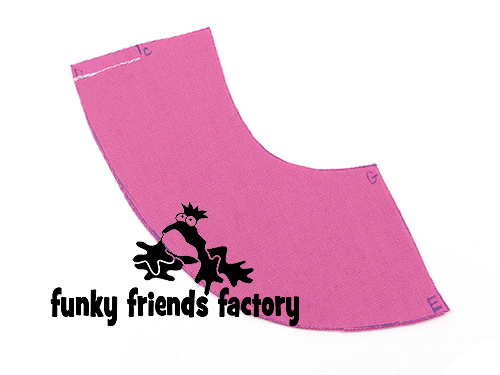
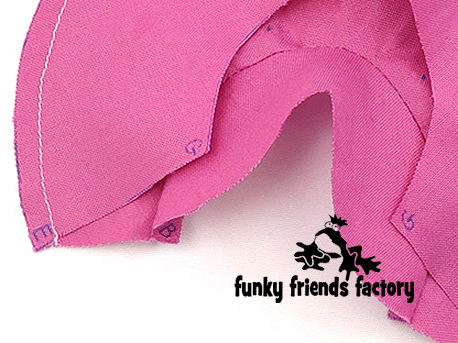
BACK HEAD:
STEP 4
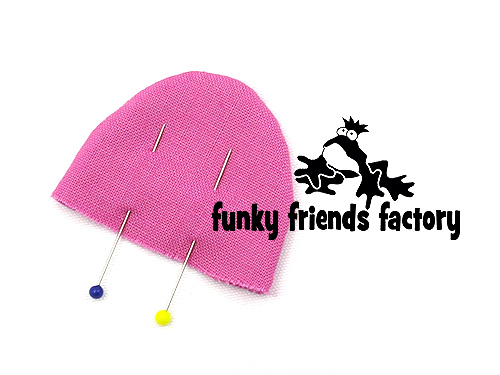
Sew the BACK HEAD PIECES together from C – D.
STEP 5
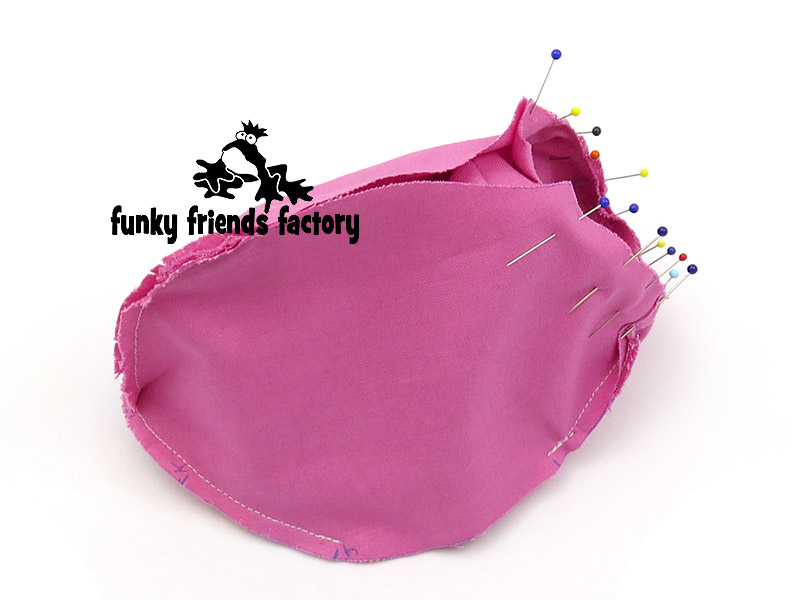
Pin the BACK HEAD PIECES to the FRONT HEAD PIECE with the EARS in between and sew the side seam, from E – D – E on the other side of the head.
TIP: It’s easy to get muddled with LOTS of pieces… so use my “BEST TIP EVER” ~> Transfer the letters of the pattern markings to the fabric pieces – then all you need to do is match them up – and you can’t go wrong!👍
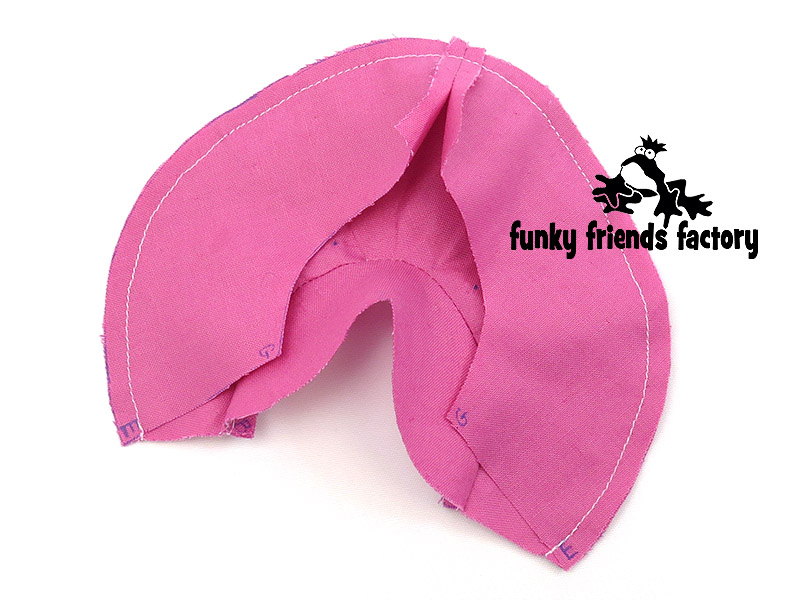
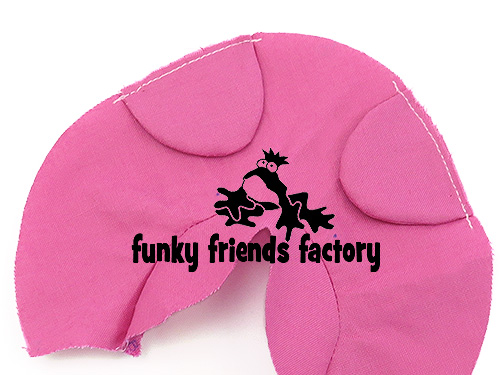
SNOUT
STEP 6
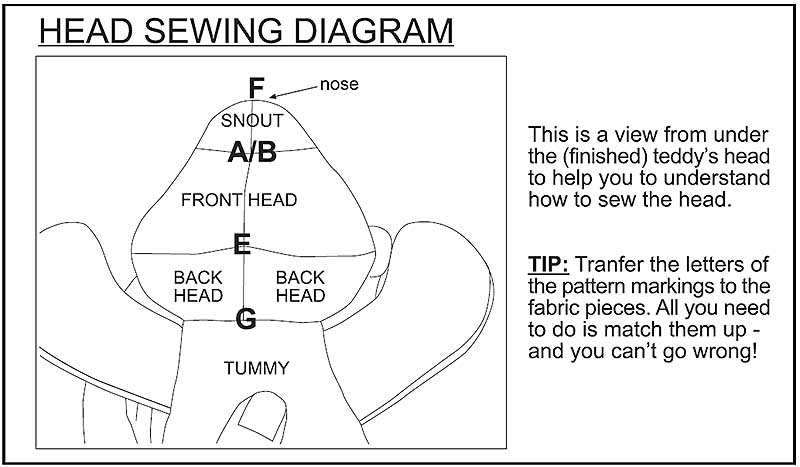
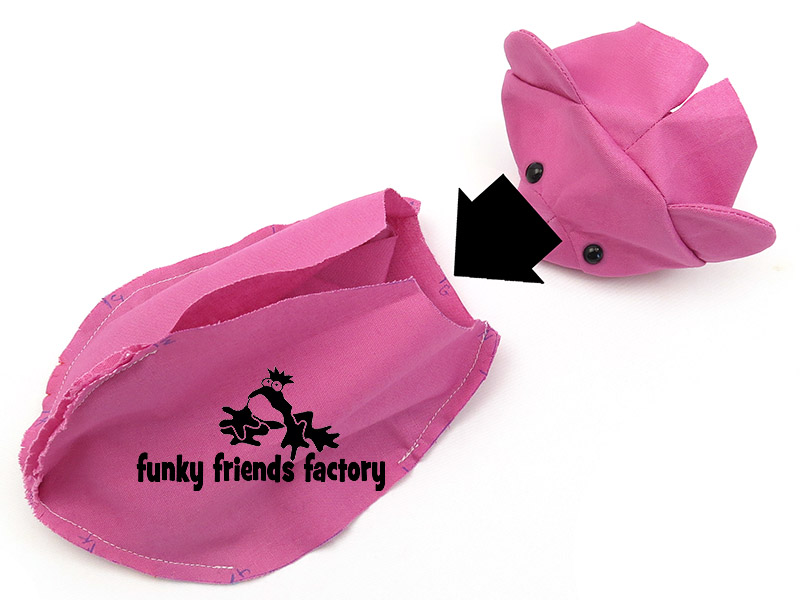
Fold the SNOUT PIECE at F so you can sew the head closed. Sew the SNOUT PIECE, FRONT HEAD and BACK HEAD PIECES closed from F- (via A/B) – E – G.
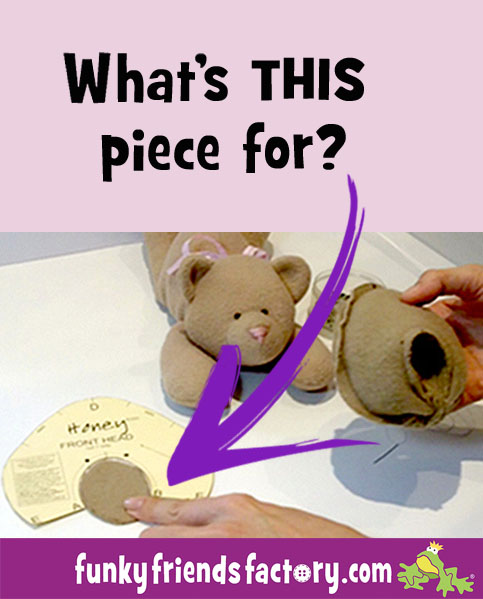
TIP: Use the HEAD SEWING DIAGRAM to guide you.

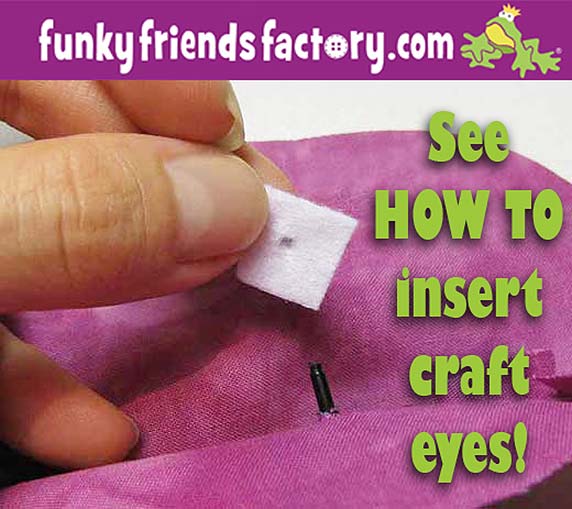
CRAFT EYES:
STEP 7
If you are using CRAFT EYES insert these now. (If you are embroidering the eyes this gets done after the head is stuffed).
TIP: I have a tutorial to show you how to insert craft eyes on my blog.
TAIL:
STEP 8a
Sew the TAIL PIECES together, leaving the flat edge open.
STEP 8b
Clip the seams well and turn the TAIL PIECES right sides out. Place a little bit of toy stuffing in the tail and pin the straight edge closed.
TIP: There are so many types of toy fill you can choose from that I wrote a blog post about Types of Toy stuffing! ~>

BODY
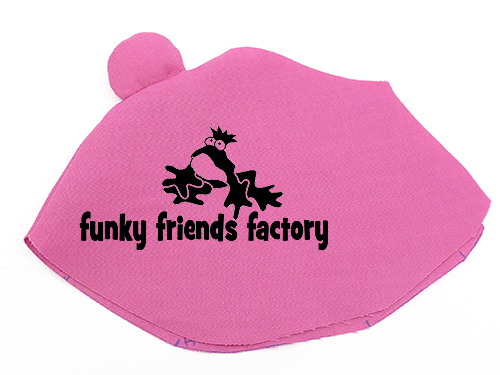
STEP 9
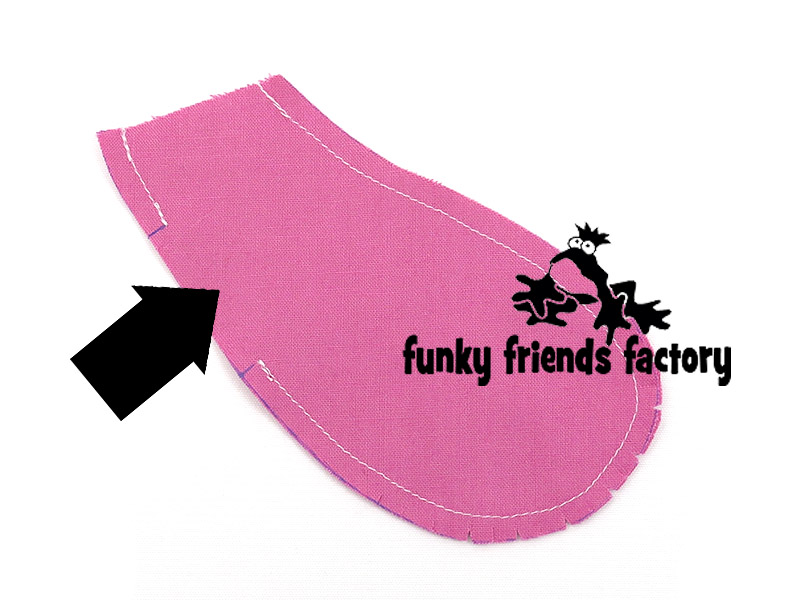
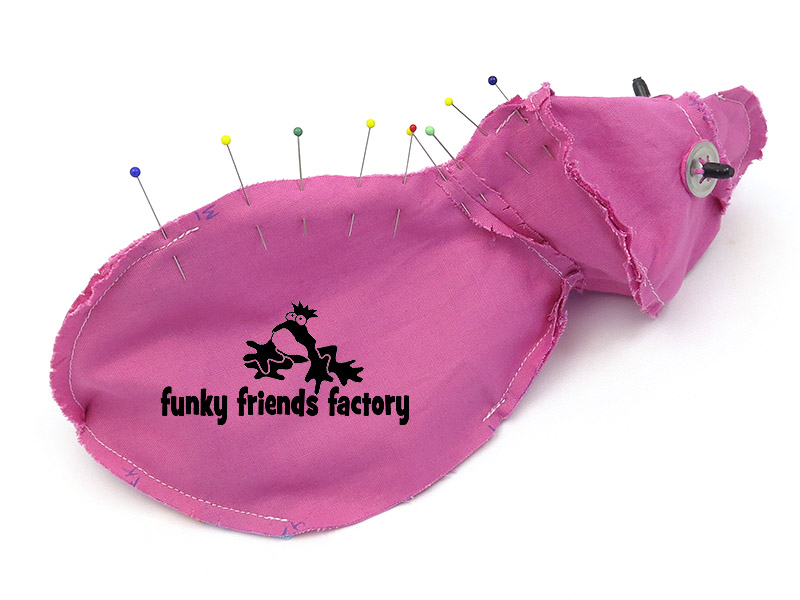
Pin the TAIL in position on the TOP BODY PIECES. Sew the TOP BODY PIECES together from L – M (with the TAIL in between).
I have used a black dotted line in the photo below to show where the TAIL is (between the TOP BODY PIECES).
TIP: Check that you have caught the TAIL in the seam. Unpick and fix this NOW if you haven’t!
ARMS
STEP 10a
Sew the ARM PIECES together in pairs, leaving them open at the top and remember to leave the gap open for stuffing the arms later.
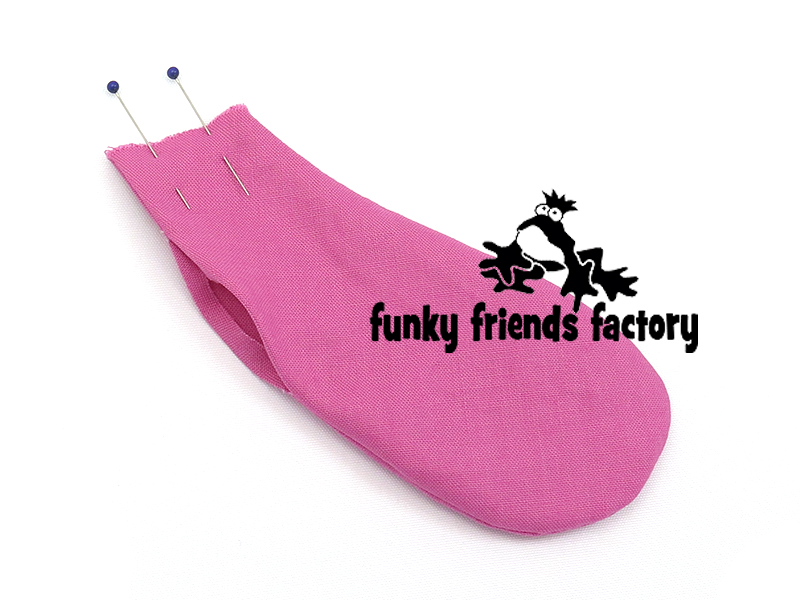
STEP 10b
Clip the seams well and turn the ARMS right sides out and pin them closed at the top.
LEGS:
STEP 11
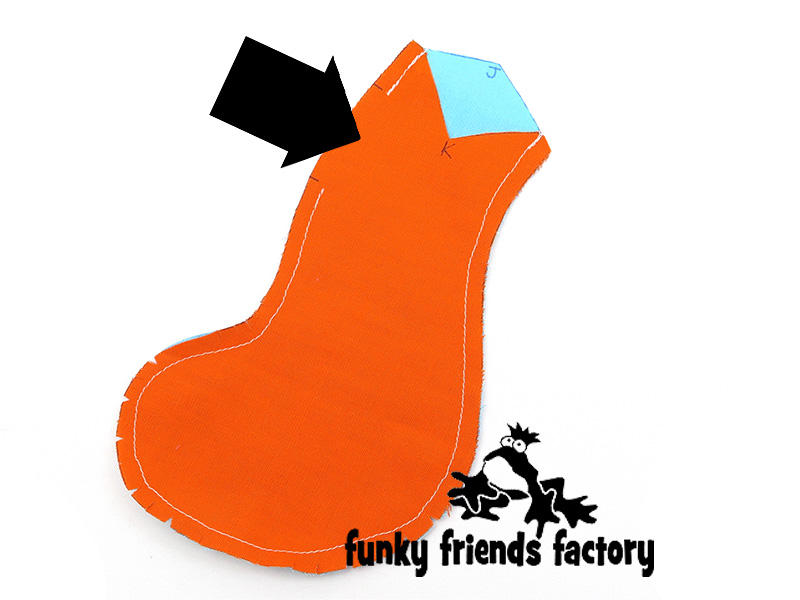
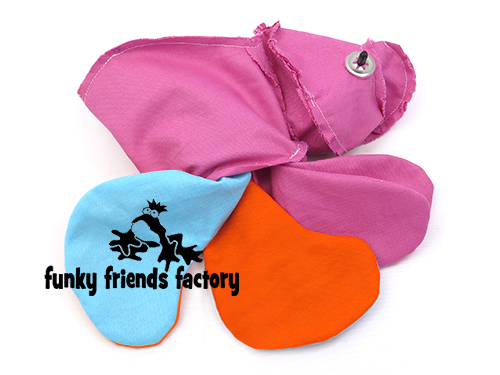
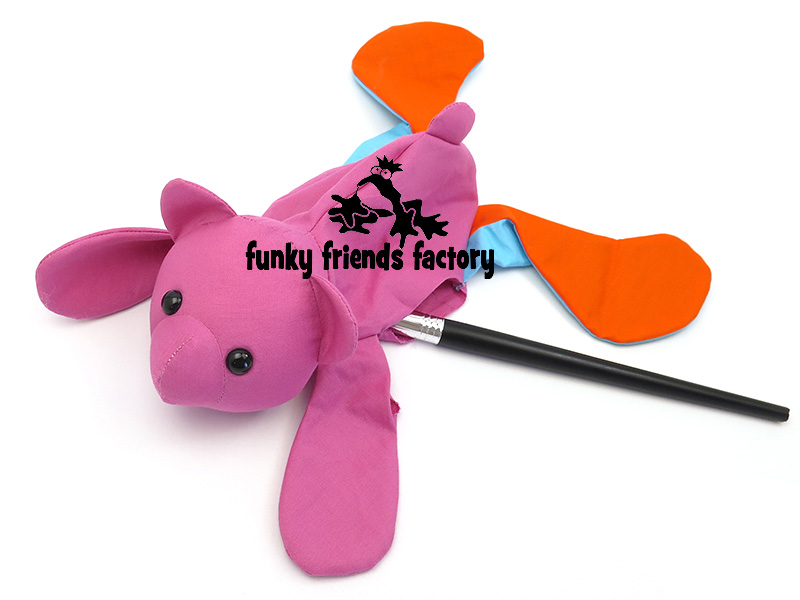
*** PLEASE NOTE ***
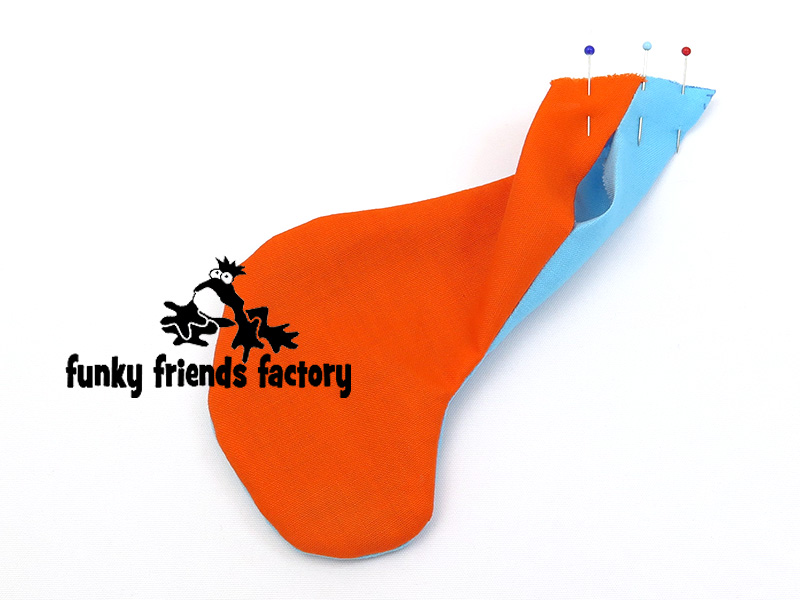
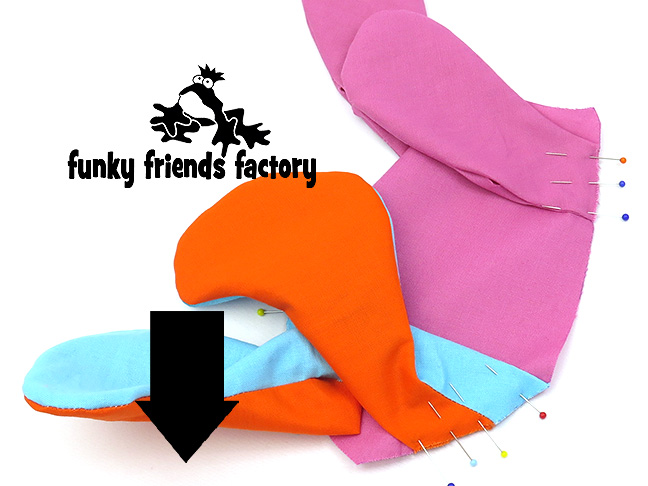
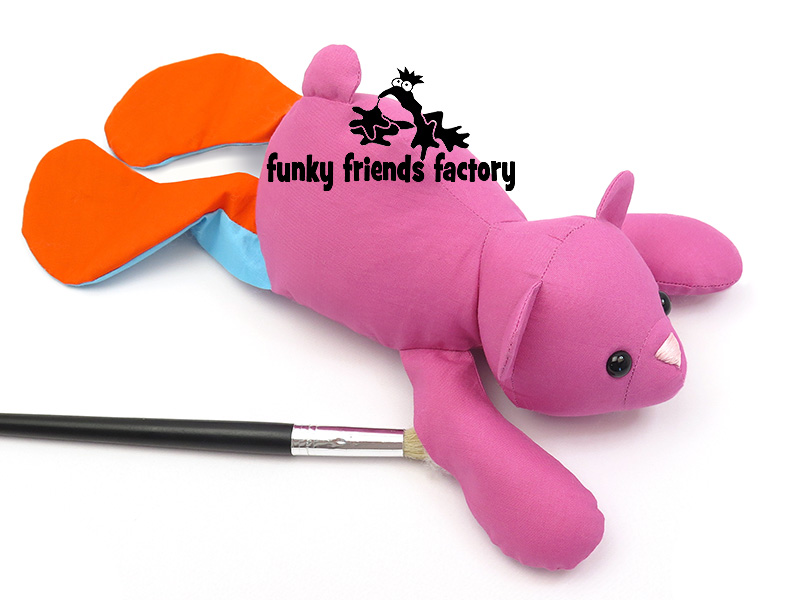
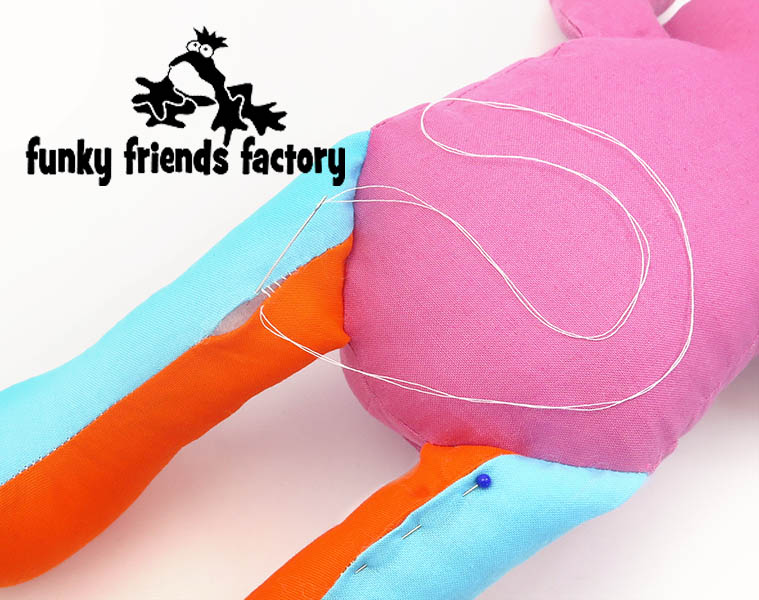
To make things a bit EASIER for you – I made the INNER LEGS pieces from ORANGE fabric and the OUTER LEGS from BLUE fabric – so you can tell them apart in the photo tutorial AND see how they go together.
Sew one INNER LEG PIECE to one OUTER LEG PIECE and repeat for the other leg. Remember to leave the gap open for stuffing the legs later. Turn the legs right side out.
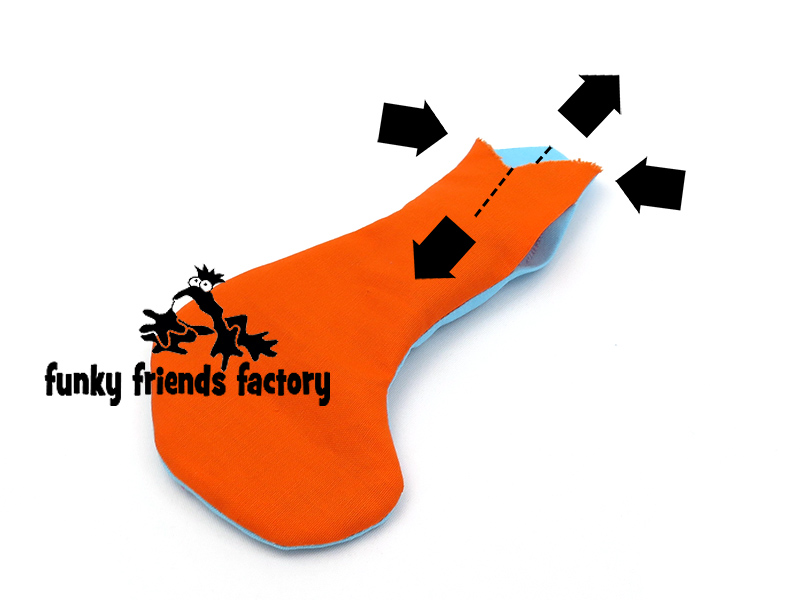
STEP 12a
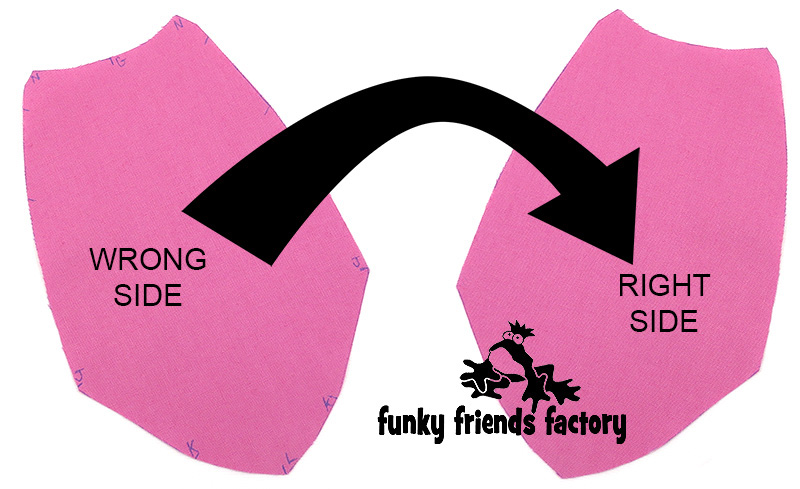
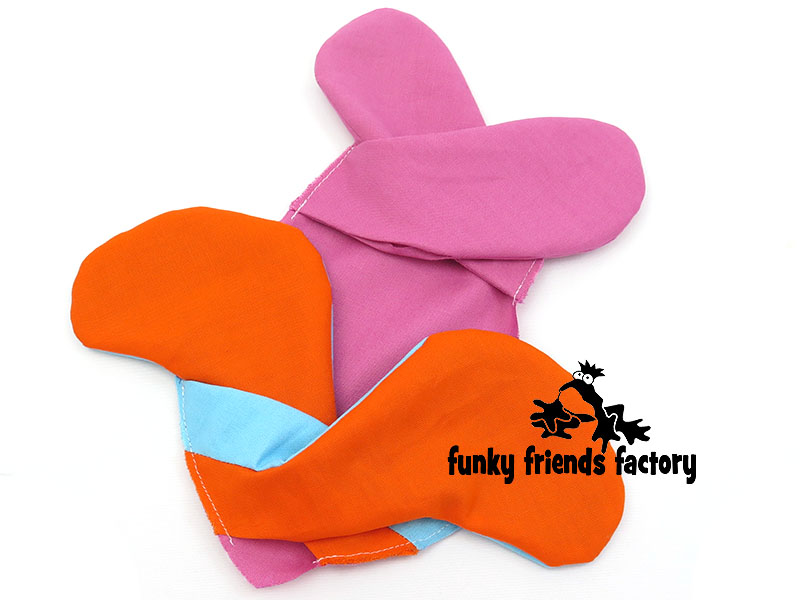
Fold the LEG PIECES so the seams are together at the middle….
TIP: Use the LEG FOLDING DIAGRAM to guide you!
STEP 12b
…and pin them with the seams, together at the middle.

TUMMY
STEP 13
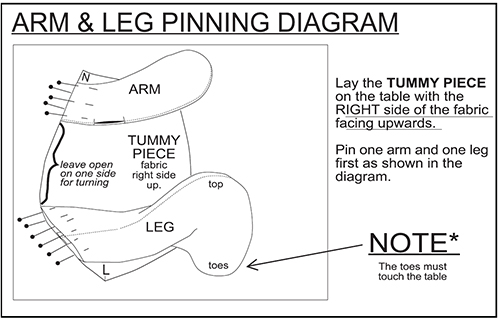
Place the TUMMY PIECE with the fabric right side up.
STEP 14a
Looking at the ARM & LEG PINNING DIAGRAM – pin one arm and one of the legs in position on one side of the TUMMY PIECE then pin the other arm and leg on the other side.
(I find it is a LOT easier to do one side at a time)
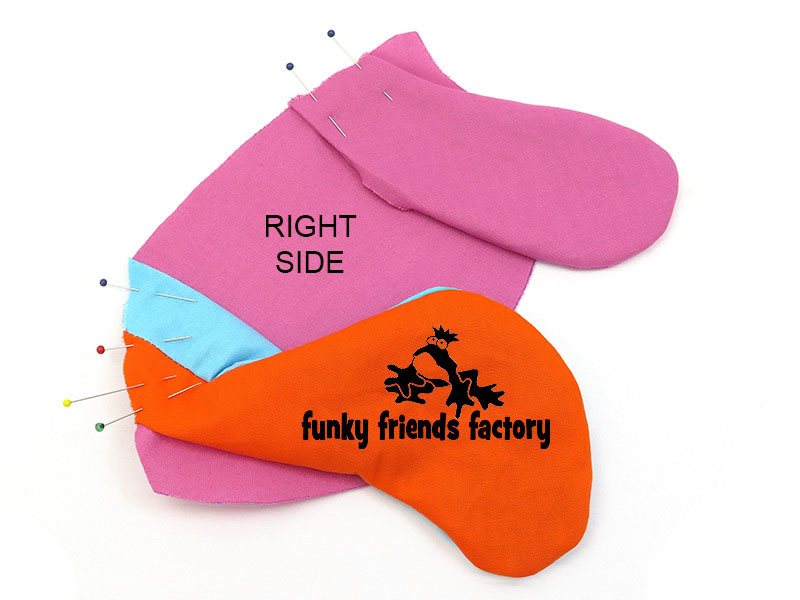
STEP 14b
Repeat for the other ARMS PIECES and LEG PIECES. Double check that the ‘toes’ of both legs are facing/touching the table.
TIP: If the toy is for a young child I recommend sewing the ARM and LEG PIECES to the TUMMY PIECE with a 3mm( ¼ inch) seam allowance to hold them in place. This is great because it will make these seams extra strong.
BODY
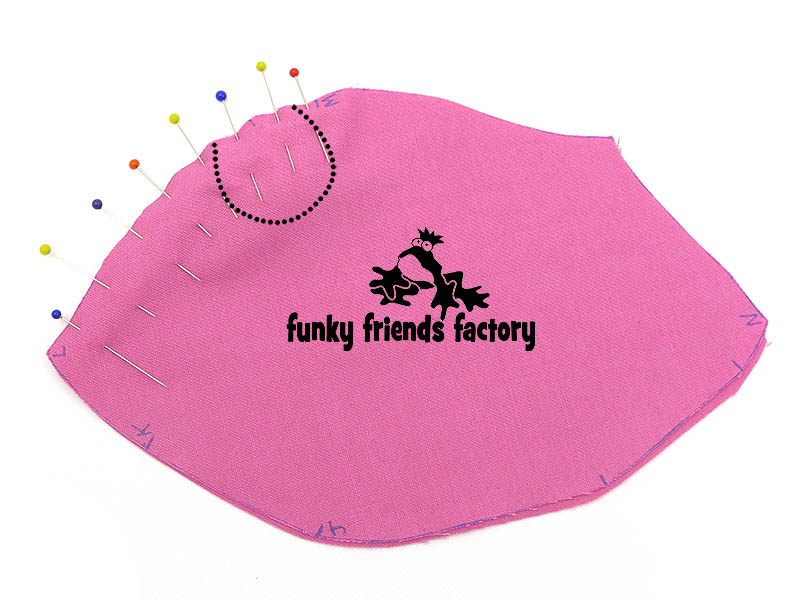
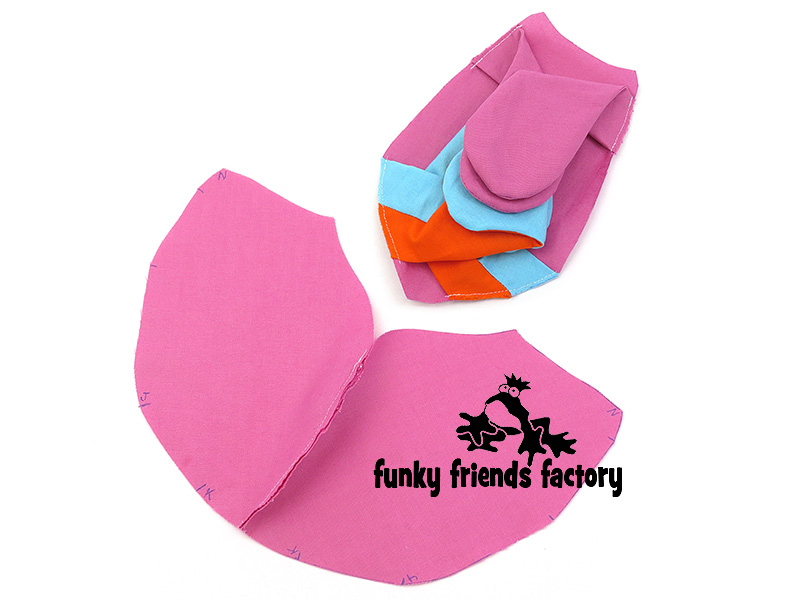
STEP 15a
Pin the TOP BODY PIECES to the TUMMY PIECE, with the arms and legs pushed inside. (Fold/roll them up nice and tight!)
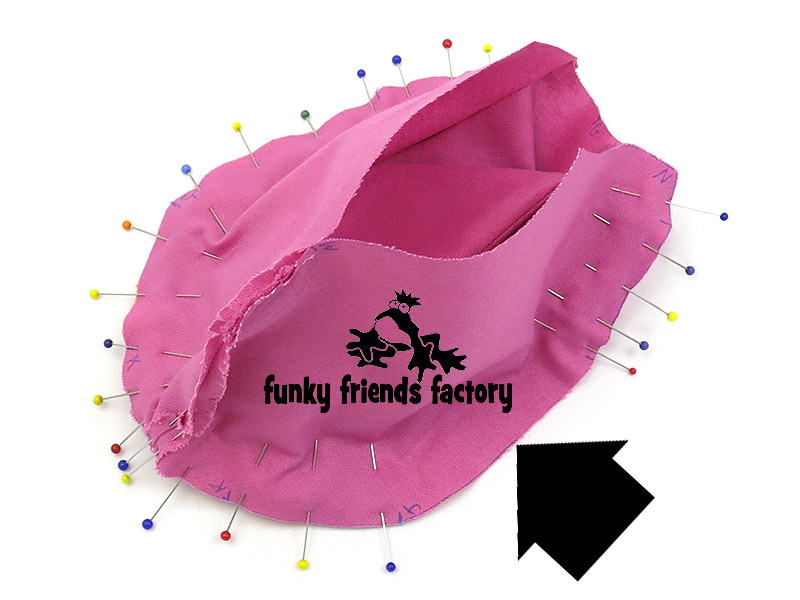
STEP 15b
Sew the TOP BODY PIECES to the TUMMY PIECE from N – L – N, remember to leave the gap open for stuffing on one side, between the arm and the leg (see where the black arrow is pointing in the photo below).
NECK SEAM
STEP 16
With right sides together, pin and sew the head to the body at the neck seam, matching point G.
TIP: I find the easiest way to do this is to turn the head right sides out and position it inside the body so you can pin the pieces with the fabric right sides together.
STEP 17
Pull the head back out of the body and sew the teddy closed along the top of the TOP BODY PIECES and BACK HEAD PIECES.
ASSEMBLY:
STEP 18
Turn the teddy right sides out through the stuffing gap.
STEP 19a
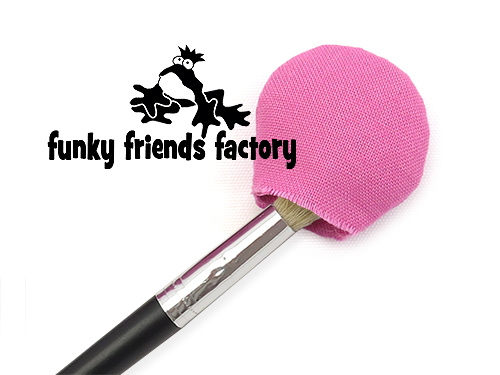
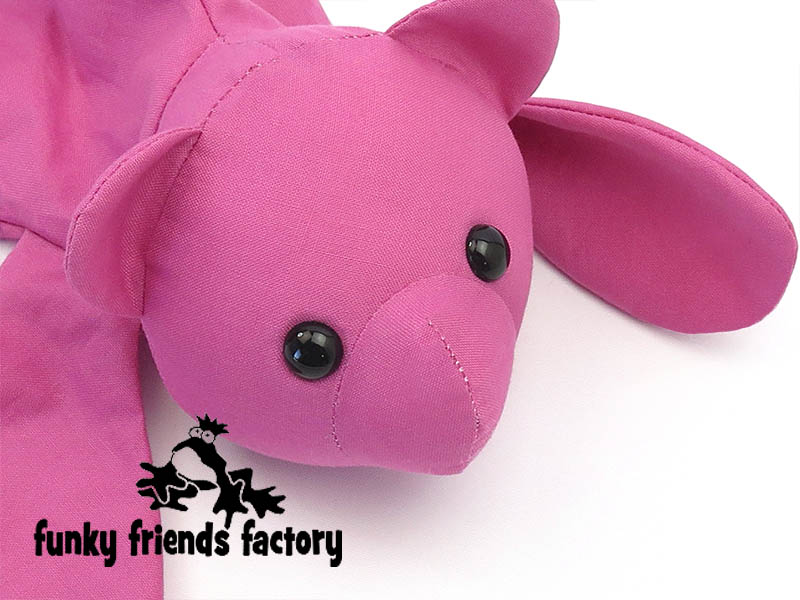
Fill the head area VERY firmly with toy stuffing… so it’s nice and ROUND!
STEP 19a
… then fill the body.
TIP: *** Look out for my newsletter ~>
I’ll be sending you this clever TRICK for making Honey’s Teddy SNOUT beautifully round and cute!
TOY EYES:
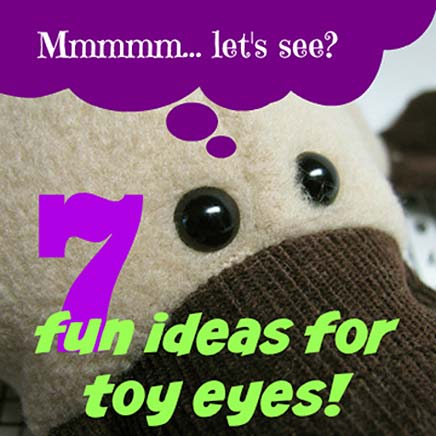
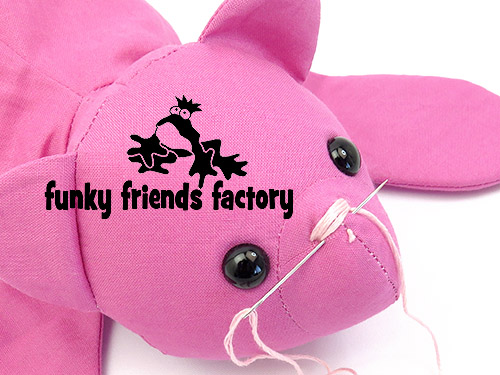
STEP 20
If you are using beads or buttons for eyes, sew them on now. You can read about LOTS of other options you can use for toy eyes (if you don’t have craft eyes).
TIP: If you are sewing Honey Teddy for a child under the age of 3 years old – it is best to use felt circles for the eyes or to embroider the eyes. I have a blog post here with more tips on toy safety.
NOSE:
STEP 21
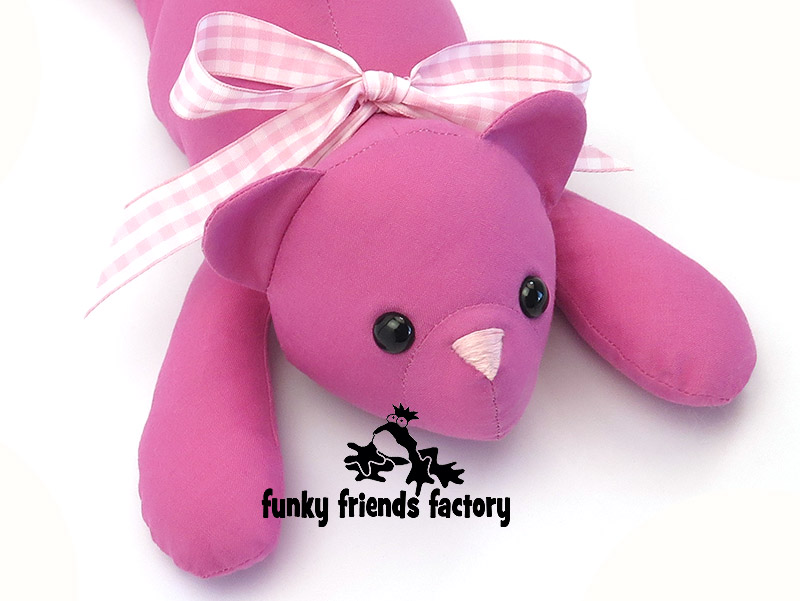
Embroider the NOSE with pink embroidery thread, using satin stitch to form an upside-down triangle.
TIP: If you find stitching evenly is too difficult, you can glue a piece of pink felt in position for the nose.
STEP 22
Fill the arms and legs with toy stuffing.
STEP 23
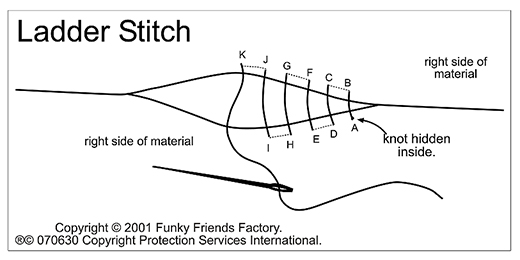
Sew up the stuffing gaps on Honey’s side, arms and legs, using a ladder stitch.
TIP: Use a double strand of machine thread and make your stitches as small as you can to make it nice and neat!
STEP 24
Tie a ribbon around your teddy’s neck with a cute bow!💗
Why not sew some toys for charity?
NOW that you know how to sew a super-cute teddy bear – why don’t you
sew some teddy bears
for YOUR FAVOURITE Charity?
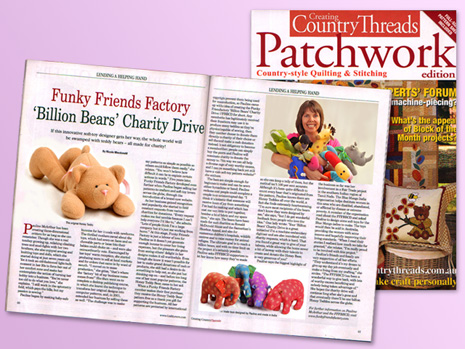
Honey Bear is also the OFFICIAL pattern for the Billion Bears Charity Drive… find out how you can help us reach that “magic” number! 🐻
Your Teddy Bear is ready to LOVE!
Want to win a
FREE toy pattern?
It’s so EASY to enter our Pattern GIVEAWAY!
![]()
ALL you need to do is post a photo of a FUNKY FRIENDS FACTORY toy that you have made on the Funky Friends Factory Facebook Page .
At the end of each month I draw a winner and post the winner’s name on the Blog the following MONTH.
NOT on Facebook? ENTER by email! 😀
*** You can send me your photos by email too!
So come on! Share your photos ~>
The next winner could be YOU!!!
 .
.
Till next time,
Happy Sewing,
Pauline
xxx
![]()
