
With this photo tutorial you will see how easy it is to sew soft toys ~> scroll down for step-by-step photos!
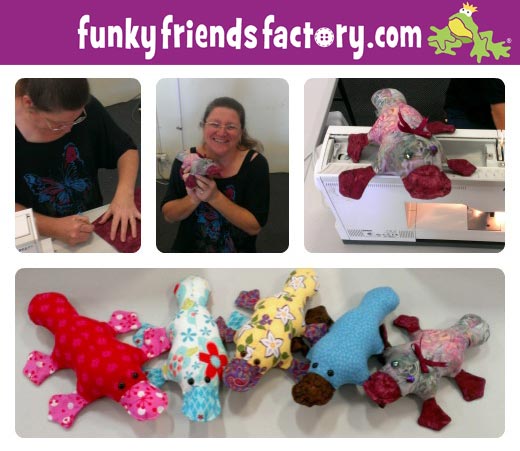
You can sew your platypus toy on a sewing machine or by hand. In this tutorial I am making Plattie from pink fleece and purple, flowery corduroy. I like using fleece as it is nice and CUDDLY especially for making homemade BABY TOYS but I also love the colours and patterns of quilting cottons, and textured fabrics like cordurouy.

You will learn lots of toy making tips and tricks to make it easy and fun! I like to use my Plattie the Platypus sewing pattern when I teach a beginner’s toy-making class because I can guarantee that EVEN a beginner can finish this toy in a few hours!
Choose some fabric for your toy.
You can use ANY fabric for sewing your platypus toy! Look at some of the amazing feedback photos of Plattie I have received over the years for some inspiration! 😀

Let’s get started!
Step 1: GENERAL PREPARATION
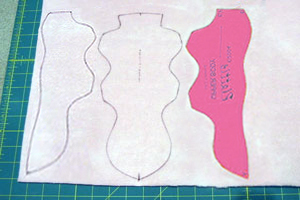
Glue the pattern pieces onto card and cut them out to make your templates.
Lay the fabric right side down with the grain/pile running down towards you. Following the layout guide, place your templates onto the wrong side of the fabric and trace the templates with a fabric/permanent marker and cut out your pieces on the TRACED line.
* Cut the BODY PIECES from your Main fabric and cut the BILL and FEET PIECES from a contrasting fabric.
Step 2:
Sew two FEET PIECES together and turn right sides out. I like to use a wooden chopstick to turn the feet out nicely! Repeat for the other 3 feet.

Step 3:
Sew the BODY PIECES together from C to D.

Step 4:
Sew the BILL TOP ONE PIECE to the BILL TOP TWO PIECE, then sew the BILL TOP TWO PIECE to the BODY PIECES, sew from G – C – H.

Step 5:
Sew the BILL BASE PIECE to the TUMMY PIECE from A to B. Place and pin all 4 feet in position on the TUMMY PIECES (Toes facing towards the middle!).

Step 6:
Sew the platypus together around the outside. Sew ALL the way around BUT remember to leave a gap for turning, as shown on the pattern pieces. (In the photo below – I have drawn a red line to show you where I left the gap.). Turn Plattie right sides out through this gap.

Step 7:
Pin the BILL PIECES so that the edge seam lies flat then stitch around the edge of the bill using a 5mm/¼inch seam allowance to create the duck-bill-look!

Step 8:
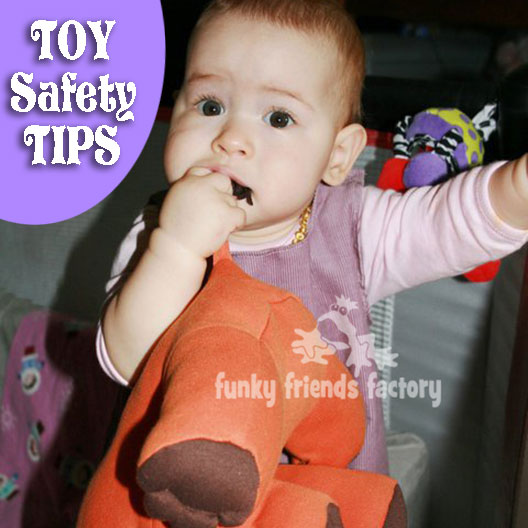
Add some eyes to your toy. There are so many ways to make toy eyes. Click the link for ideas for toy eyes (or click on the image below) to see what you can use for Plattie’s eyes.
TIP: It is not safe to use small parts for eyes when you are making a toy for a baby or a child under 3 years old. Use a embroidery thread to sew a French knot for each eye instead. I have a blog post with lots more information about toy safety here.

Step 9:
Fill the bill and head area quite firmly with toy stuffing then stuff the rest of the body. For woven (NON-stretch) fabrics like cottons you may need to stuff the body more firmly to hold it’s shape nicely.
TIP: When I sew Plattie from fleece I like to turn him into
a beanbag toy!
Cut a small hole in the TUMMY PIECE and place some plastic pellets in the body cavity to give it a bean bag feel. (do not overfill the body, as it needs to flop like a beanbag!)

Step 10:
Use a ladder stitch to sew the opening on the side of the tail closed.

Your Plattie is ready to love!
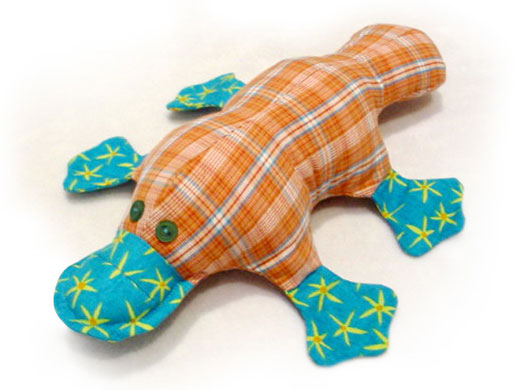
Now you can see – it’s so EASY to make lovely homemade toys!!!
.
Come join the fun on Facebook!
![]()
I LOVE to see how your Funky Friends toys turn out!
When you’ve made your own stuffed toy Platypus – come show it off ~>
Post a photo on my Funky Friends Factory Facebook page for me to see and YOU could win a FREE PATTERN!

Till next time,
Happy Sewing,
Pauline
