
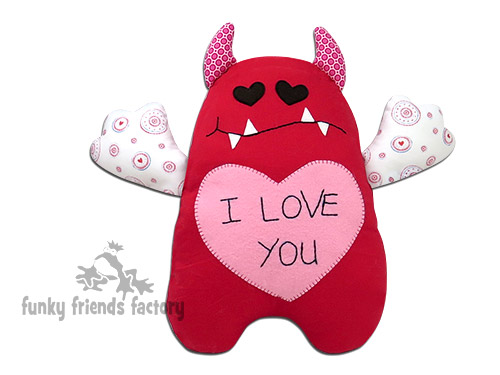
I made this photo tutorial so you can see how to sew my Valentine’s LOVE MONSTER Sewing Pattern ~> scroll down for step-by-step photos!
It’s so easy to sew a cute Valentine’s LOVE MONSTER for your loved one, a family member or a special friend. This easy pattern makes a cute kids DIY craft project too.
.
*** PLEASE NOTE – this is ONLY a PHOTO TUTORIAL ***
The FULL PATTERN IS NOT included here.It is NOT A FREE PATTERN!
I have made this photo tutorial so people who have purchased my Valentine’s Love Monster Sewing Pattern can SEE how to sew a Love Monsters toy! (I wanted to explain this so you are not disappointed if you have found this page via a search engine and not from the link in my Love Monster Sewing Pattern)
Let’s get started!
STEP 1
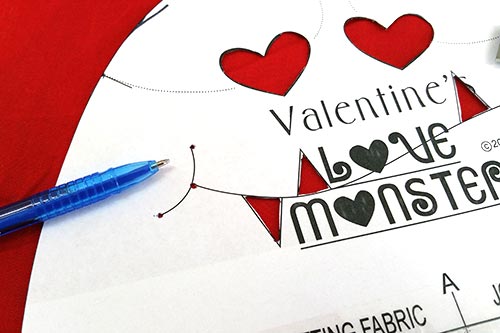
For a Valentine’s Monster, I recommend that you use red, white and pink fabric…
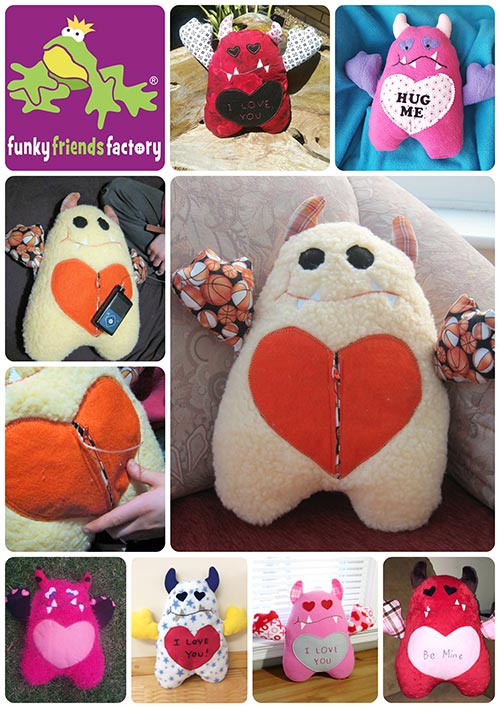
BUT for an “everyday monster” (normal monster?) – you can use any 3 colours you like!

BODY:
STEP 2
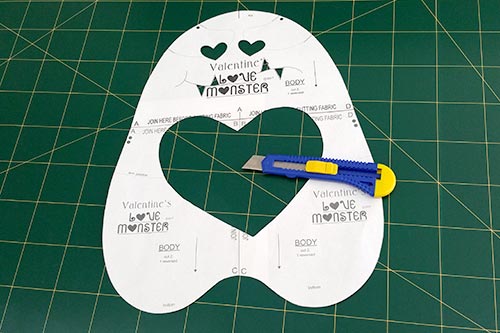
Cut out the 3 parts of the BODY together and glue (or tape) them together to form one big BODY TEMPLATE. Cut the eyes, teeth and message heart out of the BODY PATTERN TEMPLATE.
TIP: I use a craft knife for this but sharp pointed scissors would work too.
STEP 3
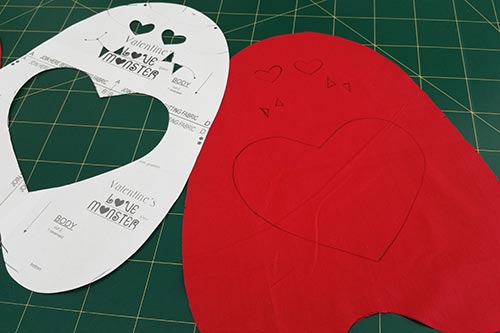
Trace the BODY onto the RIGHT SIDE of the fabric. Transfer the teeth and eye pattern markings to the RIGHT SIDE of the fabric too. Cut out 2 BODY PIECES. The one with the eyes and teeth on it will be the FRONT BODY PIECE, the other one will be the BACK BODY PIECE.
TIP: I use a pen to make some holes in the FRONT BODY PIECE so I can transfer the mouth pattern markings to the fabric. Once the dots are on the fabric, it’s easy to join them up to draw the mouth.
VALENTINE’S MESSAGE:
STEP 4a
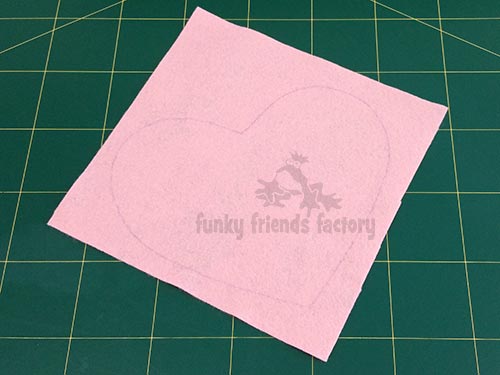
Trace the MESSAGE HEART PIECE onto felt. If you don’t have felt you can use cotton fabric instead. This is not as thick so you will need to line it with interfacing so all you threads don’t show through the fabric.
STEP 4b
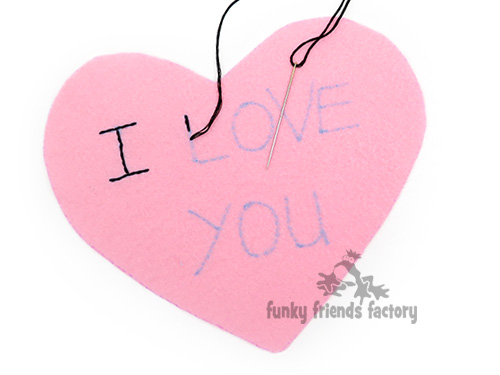
Using the wording provided as a guide, use a fabric marking pen to write your Valentine’s message on the right side of the MESSAGE HEART PIECE. Embroider the message using 6 strands of black embroidery thread. You can use a stem stitch or a back stitch for this.
TIP: You can also make up your own special love message!
STEP 5
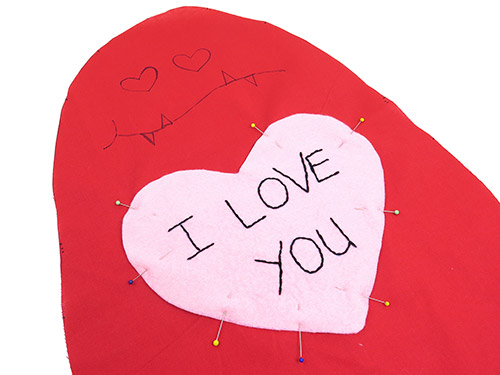
Cut out the embroidered MESSAGE HEART PIECE, pin it onto the BODY and stitch it in place.
TIP: I like to use a blanket stitch but you can also sew it on with a simple straight stitch.

FACE:
STEP 6
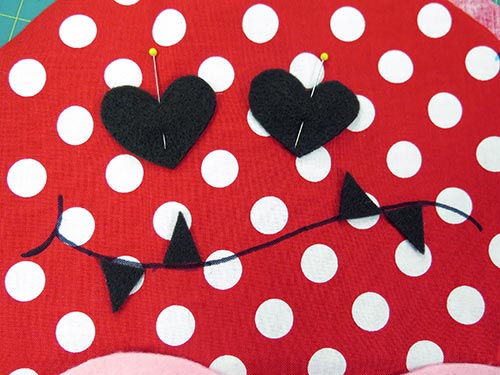
Cut 2 EYE PIECES for the monster’s eyes from black felt. (I like to use wool felt as it is more durable and won’t pill as easily as synthetic felt.) Sew the EYE PIECES in place using the pattern markings you traced to guide you with their position.
TIP: Roll the FRONT BODY PIECE to make it easier to sew around the felt EYE PIECES.
STEP 7
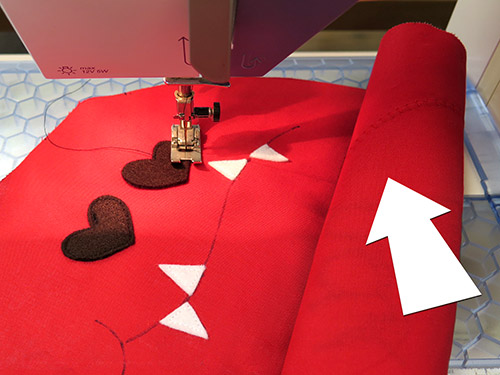
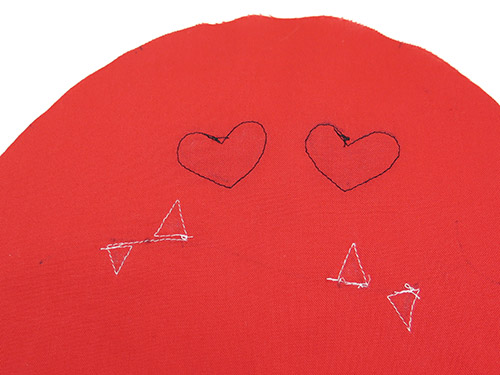
Cut the TEETH PIECES from white felt and sew them in place using the pattern markings you traced to guide you.
This is what you stitching will look like from behind!
TIP: The TEETH PIECES are very small so I use a dot of fabric glue on each of the TEETH PIECES to hold it in place and sew them when the glue has dried.
TIP 2: If the white felt won’t show up well on your BODY PIECE you can also use black felt or even red felt for the teeth!
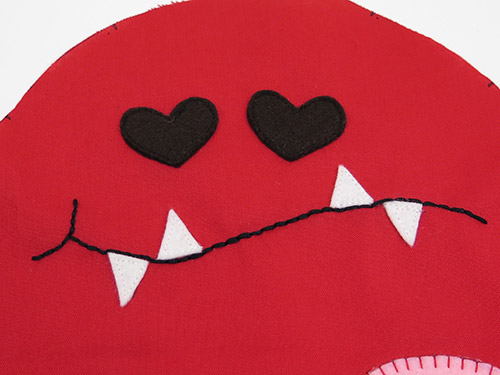
STEP 8
Draw in the mouth line and embroider this with black thread. I recommend using 6 threads of embroidery thread so it is a nice and thick line.
STEP 9a
Arms:
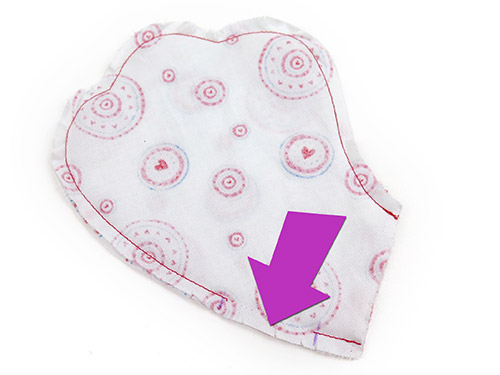
Sew the ARM PIECES together in pairs, leaving the gap for stuffing open. (See the purple arrow in the photo below).
STEP 9b
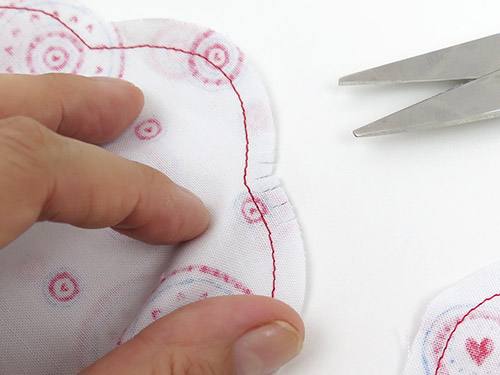
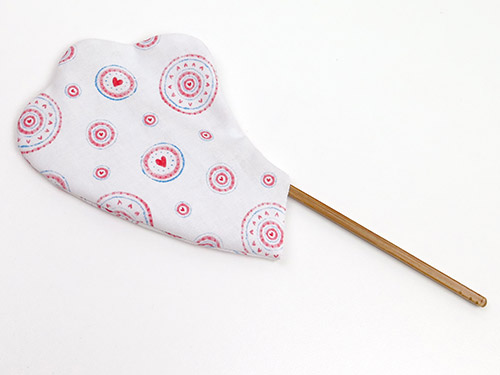
Clip the seams well especially around the curves and turn the ARMS right sides out.
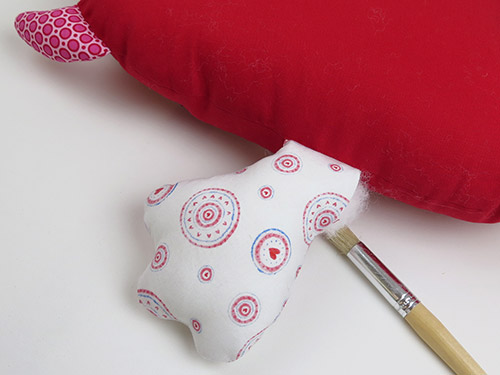
TIP: Use a wooden chopstick (or the end of a paint brush) to smooth out the seams. Run the end of the chopstick back and forth along the seams on the inside of the ARMS until they are smooth smooth!
HORNS:
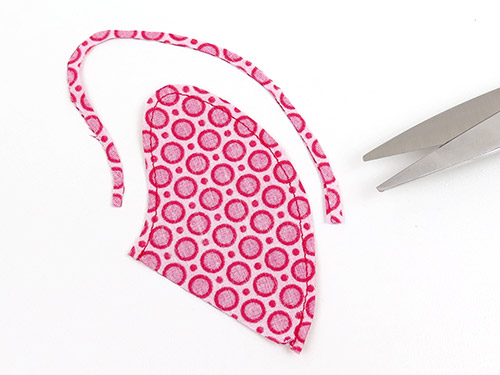
STEP 10
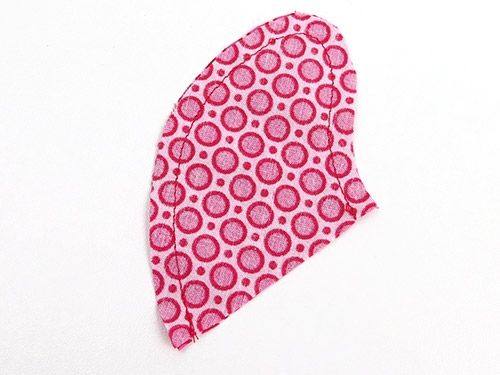
Sew the HORN PIECES together in pairs, leaving the straight edge open.
STEP 11
Trim the seam allowance to about 3mm(1/8 inch) and turn the HORNS right sides out.
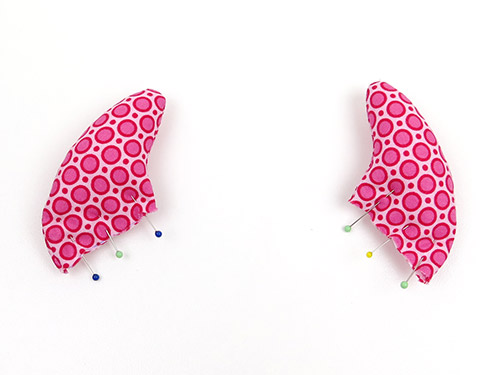
STEP 12
Stuff the HORNS firmly with toy stuffing but leave about 12mm(1/2 inch) unstuffed at the base. Pin the straight edge.
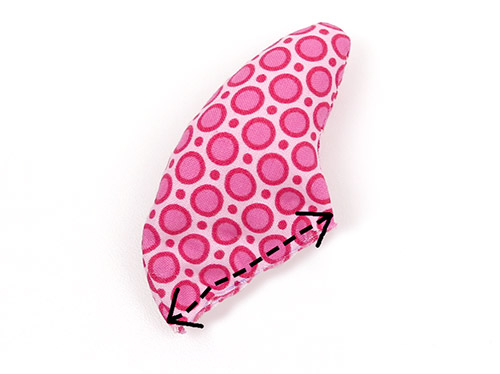
STEP 13
Sew the straight edge of the HORNS closed using a 3mm(1/8 inch) seam allowance. This will hold the layers together but will be hidden when you sew the BODY together.
ASSEMBLY:
STEP 14
Pin the ARMS and HORNS in place on the FRONT BODY PIECE using the pattern markings to guide you with their positions.
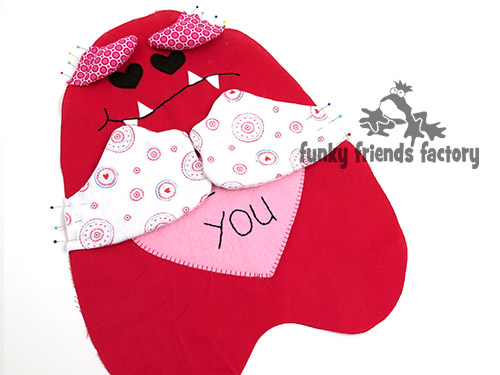
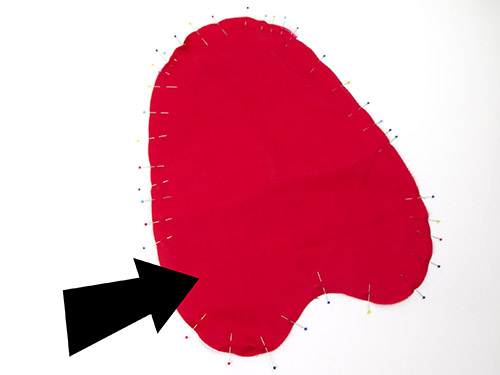
STEP 15
Pin the BACK BODY PIECE to the FRONT BODY PIECE with the ARMS and HORNS in between. Sew the BODY PIECES together leaving the gap open for turning. (See the black arrow in the photo below).
TIP: Sew back and forth across the seams where the ARMS are with a zig-zag stitch to add strength. They will be tugged on and you want them to be sewn in securely!

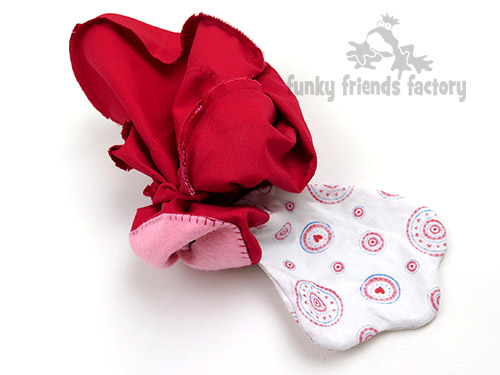
STEP 16
Turn the Love Monster right sides out.
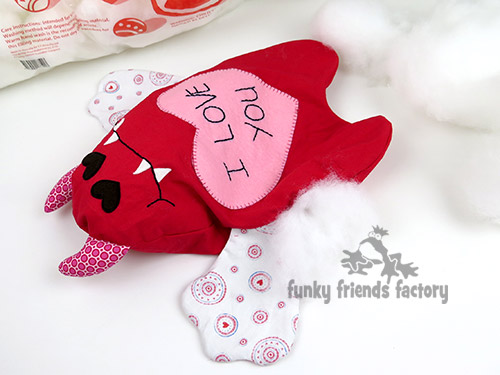
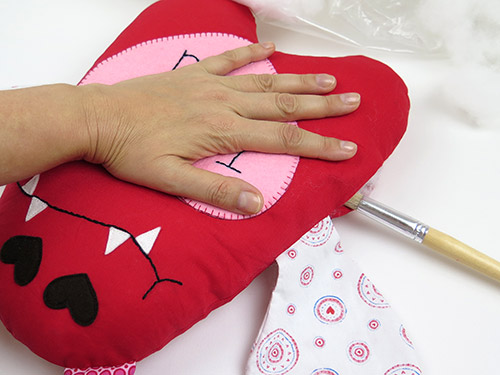
STEP 17
Stuff the BODY firmly, but don’t over-stuff it, it should have a ‘flat shape’.
TIP: Push down on the BODY as you stuff it to keep it flat.
STEP 18
Sew the turning gaps on the BODY closed with a ladder stitch.

STEP 19
Stuff the ARMS firmly with toy stuffing. Sew the turning gaps on the ARMS closed with a ladder stitch.
Your Love Monster is ready to LOVE!
Come join the fun on Facebook!
![]()
I LOVE to see how your Funky Friends toys turn out!
When you’ve made your own Valentine’s toys you can come show them off ~>
Post a photo on my Funky Friends Factory Facebook page for me to see and YOU could win a FREE PATTERN!

Till next time,
Happy Sewing,
Pauline
