
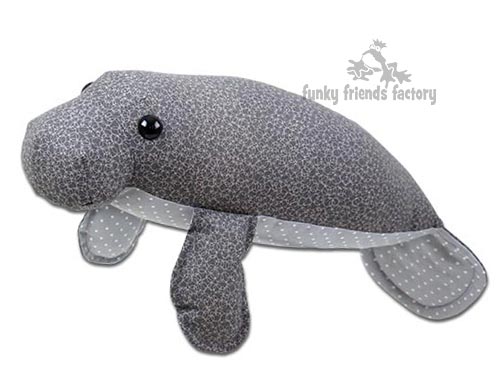
I made this photo tutorial so you can see how to sew my Manatee Sewing Pattern ~> scroll down for step-by-step photos!
Monty is a is a quick and easy sewing pattern which will look great in all sorts of colours, not just manatee-grey!
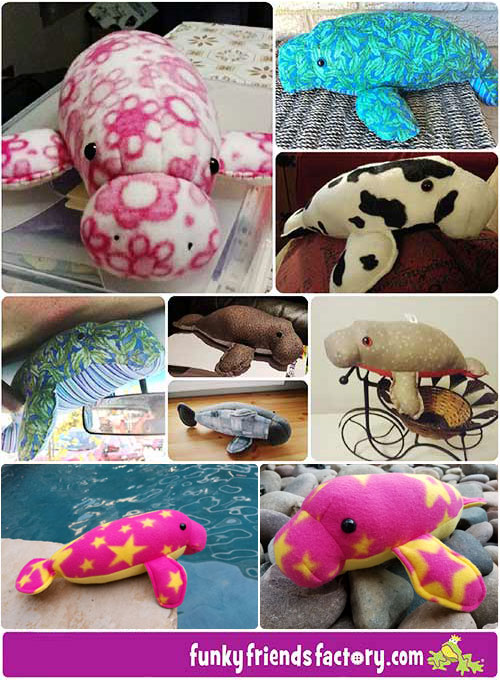
Look how cute a mantee looks in
COW-PRINT fabric!!!
*** PLEASE NOTE – this is ONLY a PHOTO TUTORIAL ***
The FULL PATTERN IS NOT included here.It is NOT A FREE PATTERN!
I have made this photo tutorial so people who have purchased my Manatee Sewing Pattern can SEE how to sew a manatee toy! (I wanted to explain this so you are not disappointed if you have found this page via a search engine and not from the link in my Monty Manatee Sewing Pattern.)
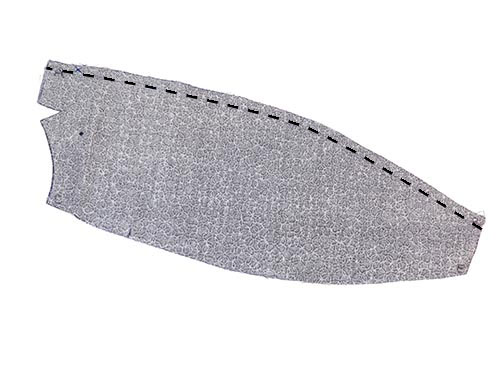
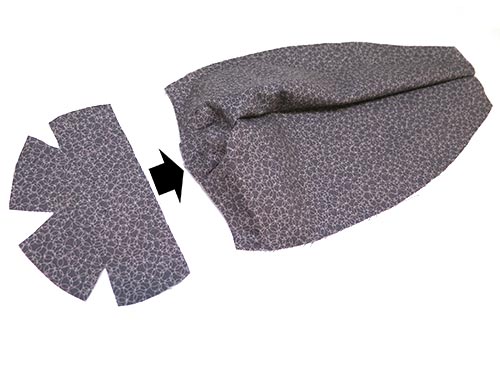
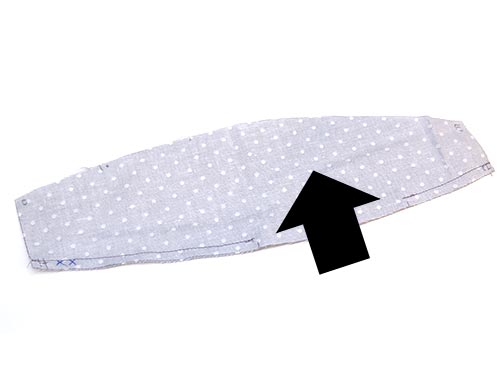
We start sewing his BACK:
STEP 1
Sew the BACK PIECES together from A – B, matching the cross pattern marking.
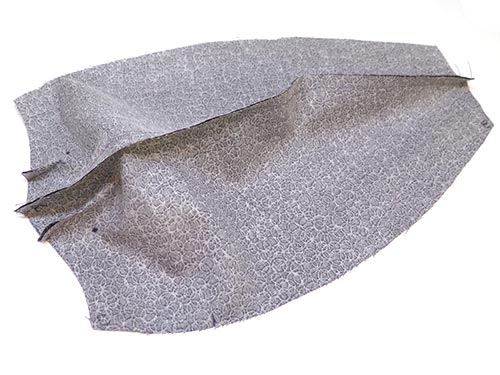
STEP 2
Fold the BACK PIECES with the fabric right sides together and sew the front darts closed.
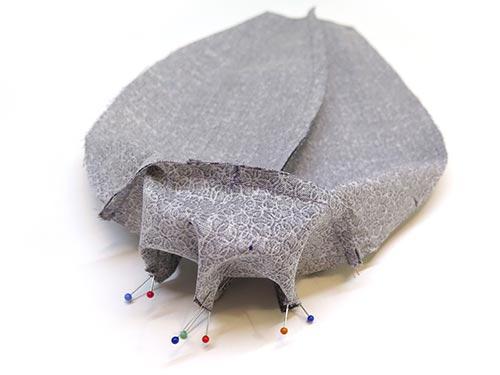
SNOUT & LIP:
STEP 3
Sew the SNOUT PIECE to the BACK PIECES from C – A – C.
STEP 4
Fold the SNOUT PIECE with the fabric right sides together and sew the snout darts and front dart closed. (There are 3 darts altogether!).
STEP 5
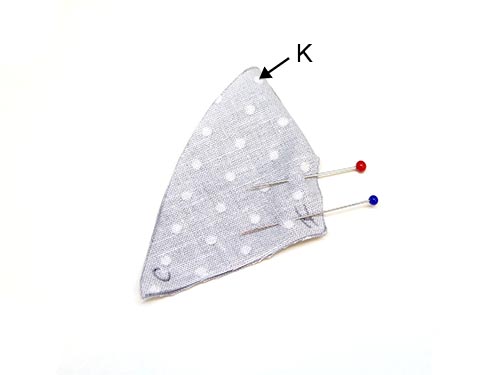
Sew the LIP PIECES together from D – K.
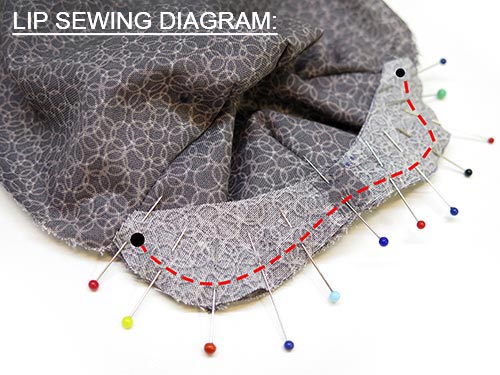
STEP 6a
Pin the LIP PIECES to the SNOUT PIECE.
STEP 6b
Sew the LIP PIECES to the SNOUT PIECE from C – D – C. Do NOT sew all the way to the edge of the LIP PIECES – stop at point C. (See the black dots in the photo below).
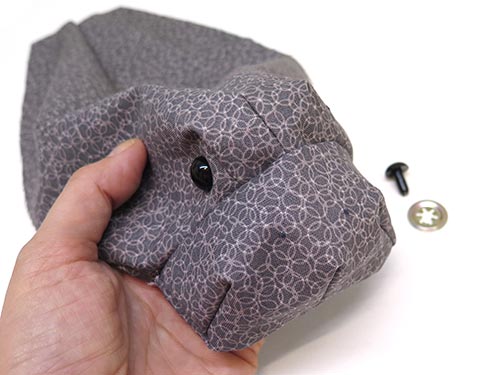
EYES:
STEP 7
If you are using craft eyes insert them now.
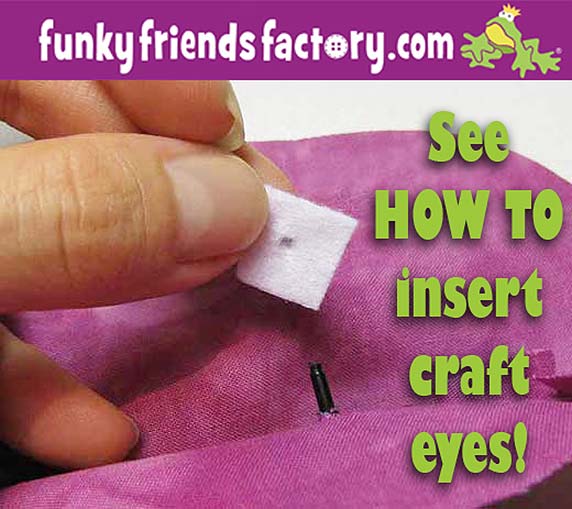
TIP: I have a tutorial to show you how to insert craft eyes on my blog.
TUMMY:
STEP 8
Sew the TUMMY PIECES together from H – L, matching the 2 crosses of the pattern markings. Remember to leave the gap open for turning and stuffing!
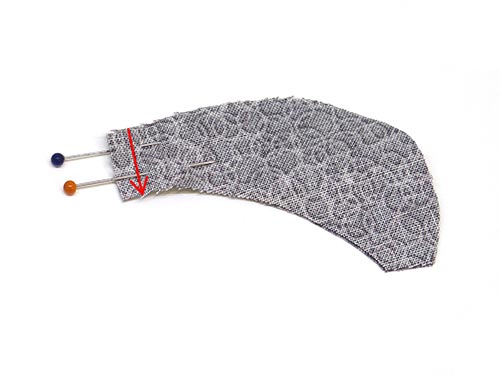
CHIN:
STEP 9
Fold the CHIN PIECE, fabric right sides together, and sew the chin dart closed.
STEP 10
Sew the CHIN PIECE to the TUMMY PIECES from C – H – C, matching the 3 dots of the pattern markings.
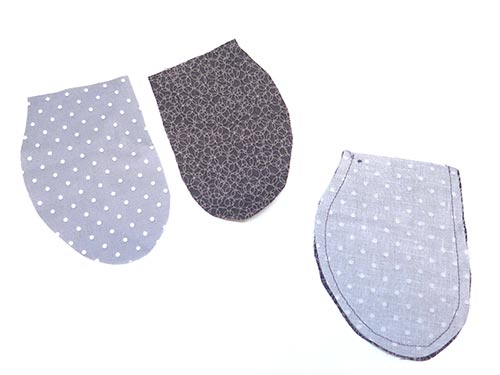
FLIPPERS:
STEP 11
Sew the FLIPPER PIECES together in pairs (one main and one contrast piece).
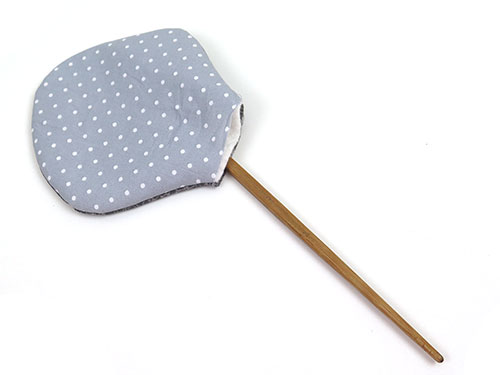
STEP 12
Trim the seam allowance to 3mm (⅛ inch) and turn the FLIPPERS right sides out.
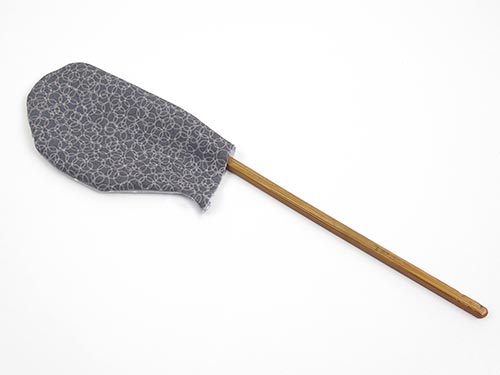
TIP: I like to use a wooden chopstick to help turn the seams. Run the end of the stick back and forth along the stitching inside until the seam is nice and smooth.
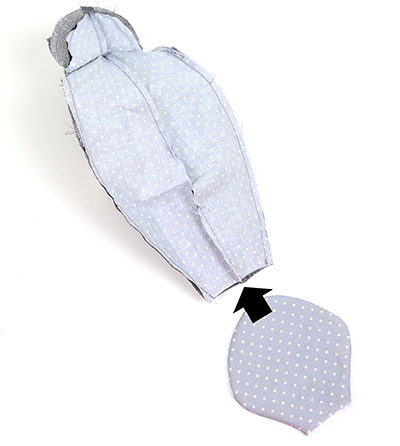
STEP 13
DON’T STUFF the FLIPPERS NOW! First pin the FLIPPERS around the curved outside edge so that the seam lies flat.
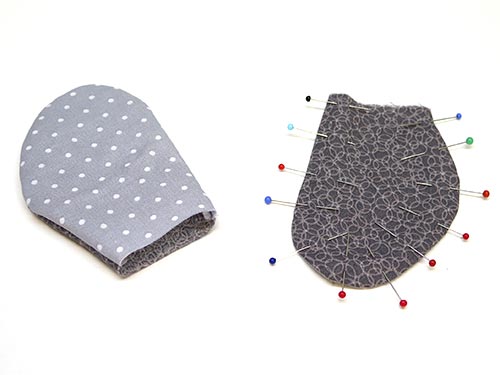
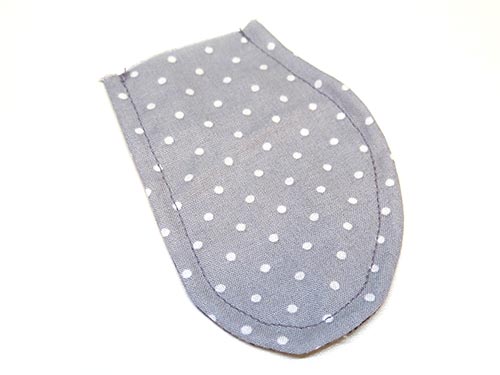
STEP 14
Stitch around the curved edge, using a 5mm (¼inch) seam allowance, to create a flat seam around the FLIPPERS.
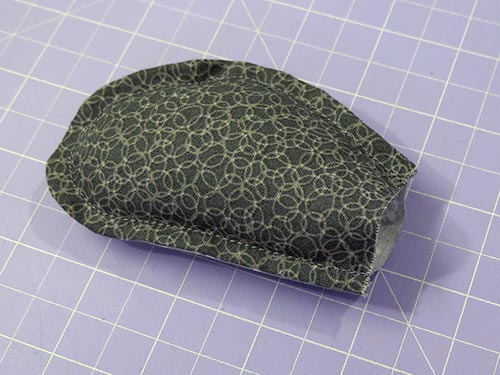
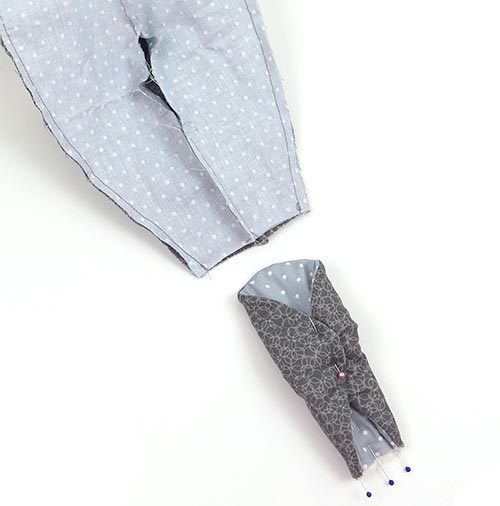
STEP 15
Stuff the FLIPPERS with toy-stuffing leaving the top 12mm(½inch) unstuffed and pin them closed along the straight edge to hold the stuffing in place.
(Don’t overstuff them, keep them flat!).
STEP 16
Pin the FLIPPERS to the BACK PIECES, matching the dot pattern markings.
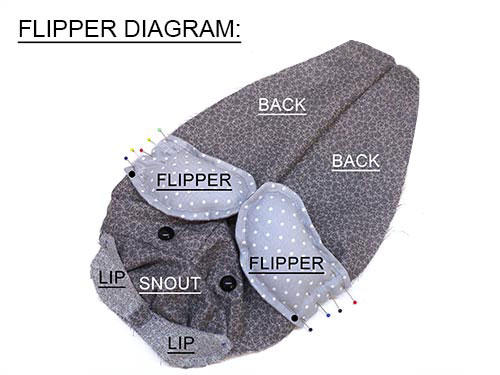
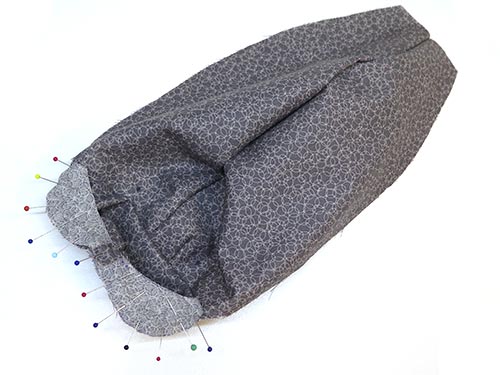
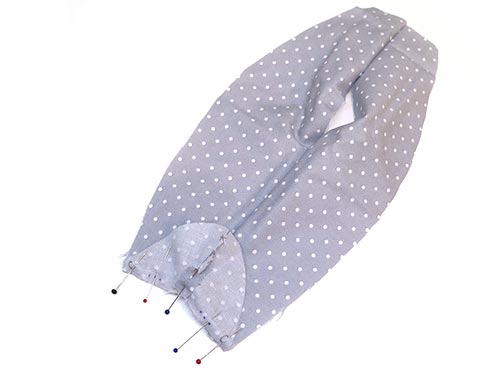
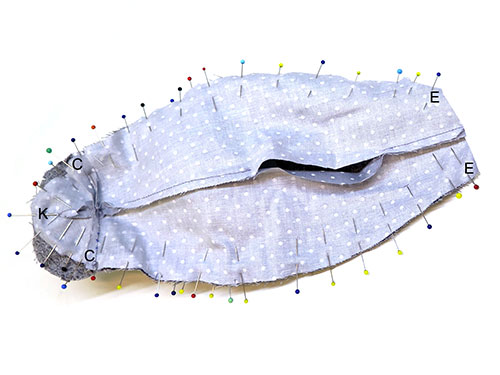
SEW THE SIDES TOGETHER:
STEP 17
Pin the LIP, SNOUT & BACK PIECES to the CHIN & TUMMY PIECES. Sew the Manatee together along the sides from E – C – K – C – E.
TIP: This is a hard seam to sew so take your time and use LOTS of pins so the pieces don’t slip as you sew.
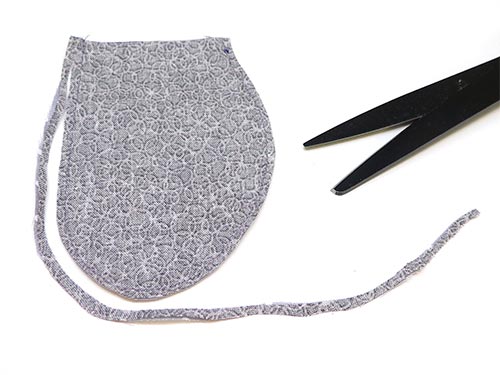
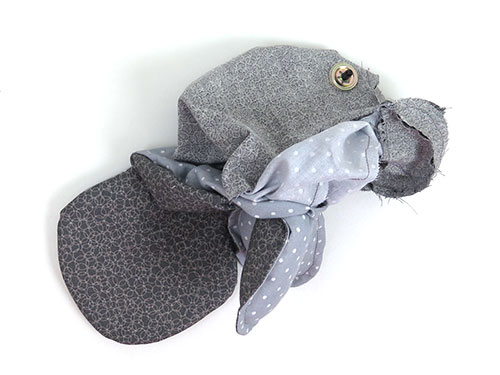
TAIL:
STEP 18
Pin the TAIL PIECES, with right sides facing, on a rectangle of batting. Sew the TAIL PIECES together leaving the straight edge open for turning.
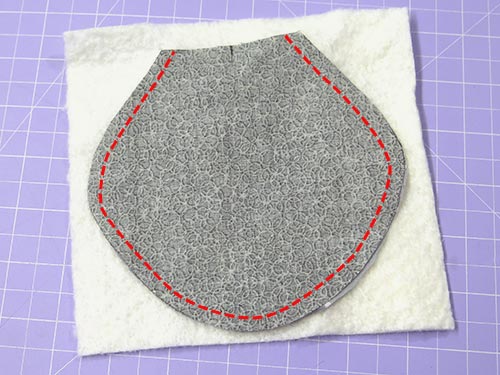
STEP 19
Cut the TAIL PIECES out with a 3mm (⅛ inch) seam allowance.
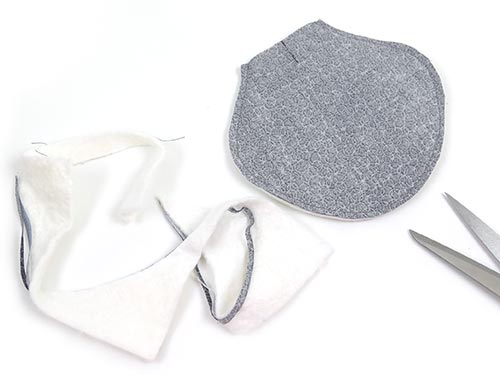
STEP 20
Turn the TAIL PIECES right sides out and use a chopstick to turn the seam smoothly.
*** Do not stuff the tail!***
STEP 21
Push the TAIL ‘inside’ the BACK AND TUMMY PIECES and pin it position, matching E on the sides and B/L at the centre.
TIP: Roll the edges of the TAIL to the centre so it will fit in more easily!
STEP 22a
Sew the TAIL in place from E – B/L – E.
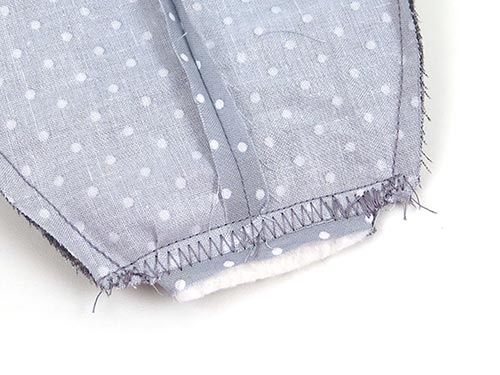
STEP 22b
Secure the tail in place with zig-zag stitch.
ASSEMBLY:
STEP 23
Turn your Manatee right sides out. I find it’s easier if I pull the FLIPPERS out first!
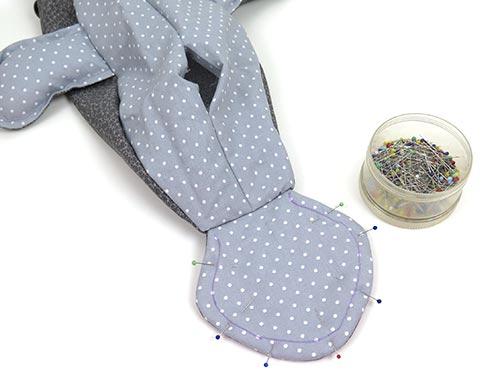
STEP 24
Pin the TAIL PIECES so that the edges are flat.
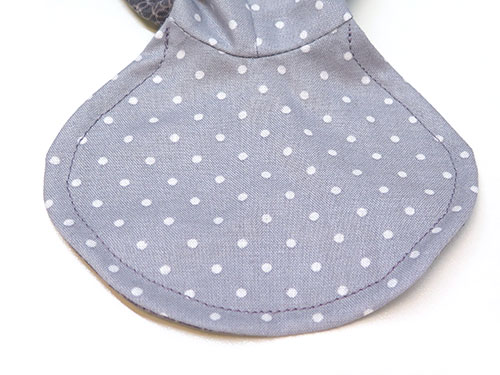
STEP 25
Sew a line of stitching around the edge of the TAIL PIECES using a 5mm (¼inch) seam allowance to create a flat seam around the edge of the TAIL. This is the same way you did the flippers, BUT I have drawn this in on the TAIL PIECE pattern markings to show you where to start and end the stitching line.
TIP: If you are using a thick fabric like fleece, this can be a difficult seam for a beginner to sew on a sewing machine. I recommend sewing this seam by hand (with a tight backstitch).
STEP 26
Fill the snout area very firmly, then fill the head area and the rest of the body with toy-stuffing.

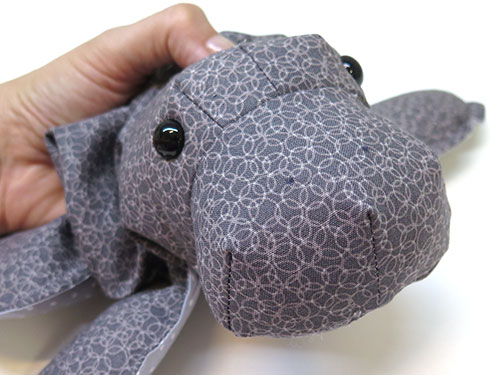
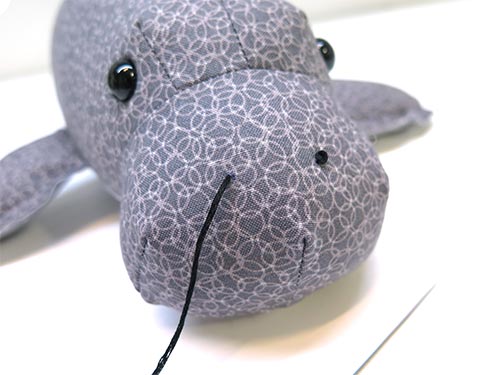
STEP 27
If you are embroidering the eyes, do them now. Embroider a French knot for each nostril in black thread.
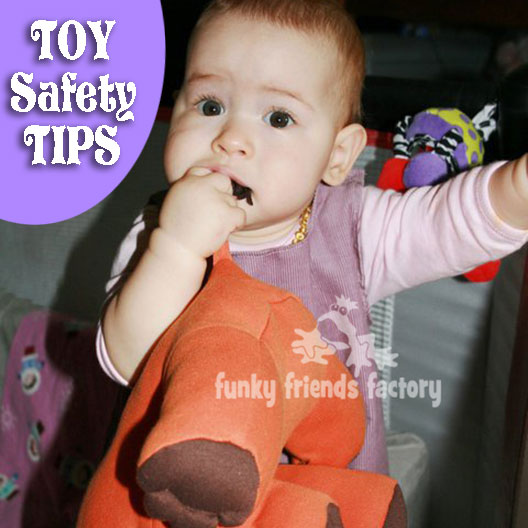
TIP: Craft eyes are not safe for children under the age of 3 years old. Check out my toy safety blog post for more toy safety tips and guidelines here ~ https://www.funkyfriendsfactory.com/blog/toy-safety-tips-for-home-made-toys/
STEP 28
Use a ladder stitch to close the opening on the TUMMY PIECES.

Your Manatee is ready to LOVE!
Come join the fun on Facebook!
![]()
I LOVE to see how your Funky Friends toys turn out!
When you’ve made your own stuffed toy manatee you can come show it off ~>
Post a photo on my Funky Friends Factory Facebook page for me to see and YOU could win a FREE PATTERN!

Till next time,
Happy Sewing,
Pauline
![]()
