
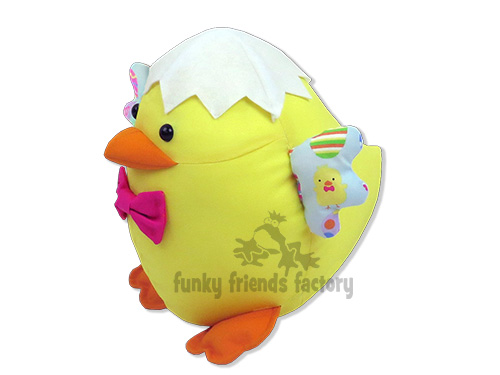
I made this photo tutorial so you can see how to sew my Easter Chick Sewing Pattern ~> scroll down for step-by-step photos!
These chubby chicks are great for using up your colourful fabric scraps. Kids will love this simple pattern as they’ll can customise their own egg-shaped Easter friend with a bow-tie and cute egg-shell hat!
.
*** PLEASE NOTE – this is ONLY a PHOTO TUTORIAL ***
The FULL PATTERN IS NOT included here.It is NOT A FREE PATTERN!
I have made this photo tutorial so people who have purchased my Easter Chick Sewing Pattern can SEE how to sew my chick toy! (I wanted to explain this so you are not disappointed if you have found this page via a search engine and not from the link in my Egghead Easter Chick Sewing Pattern)
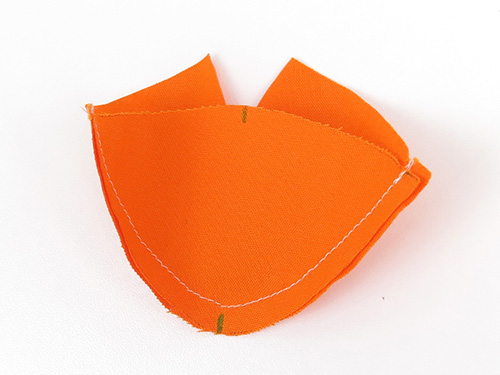
We start with the FACE:
STEP 1a
Sew the FACE PIECES together along the front, from A -B.
TIP: Make sure you sew the front seam and NOT the side seam – it’s an easy mistake to make!
STEP 1b
Clip this seam well.

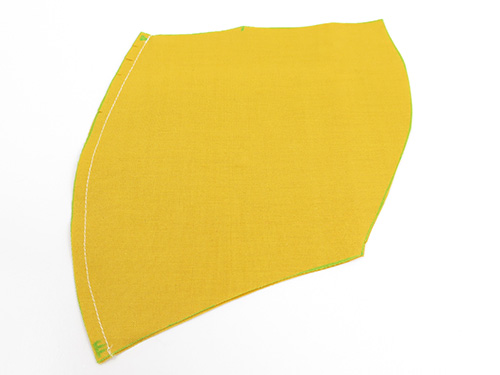
TUMMY:
STEP 2
Sew the TUMMY PIECES together along the front, from B – E.
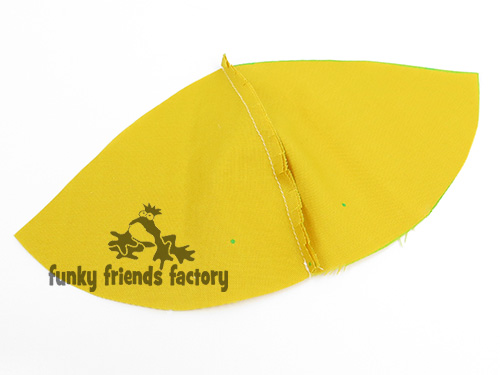
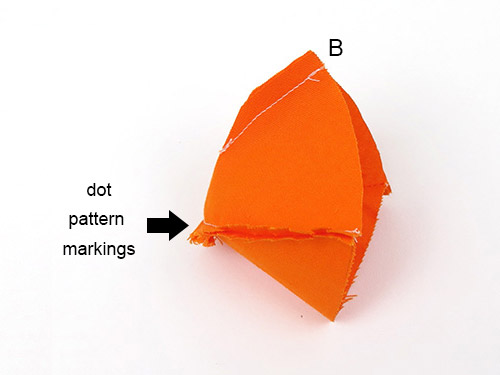
BEAK:
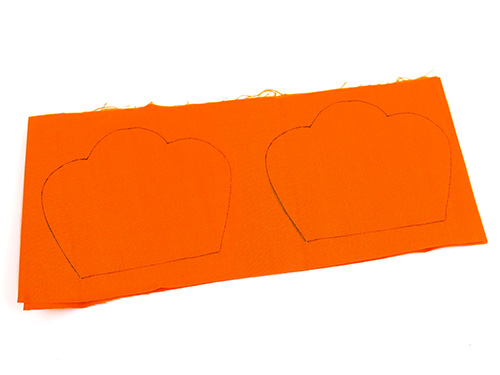
STEP 3a
Place the TOP BEAK PIECE and the BEAK BASE PIECE, right sides together, matching the dot pattern marking.
STEP 3b
Sew the TOP BEAK PIECE to the BEAK BASE PIECE.
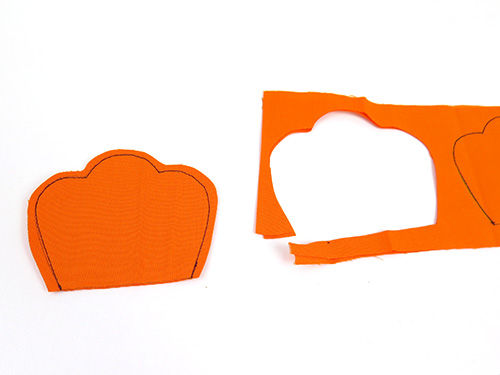
STEP 4
Clip the seams really well (especially the curved bit by the dot markings.)
Fold the TOP BEAK PIECE (with the fabric right sides together) and sew the beak dart closed at B.
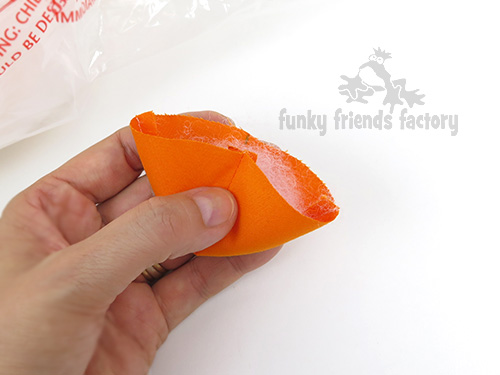
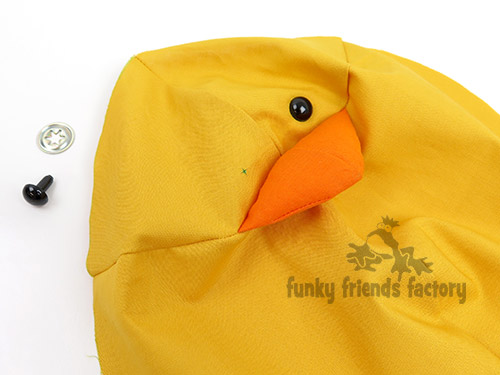
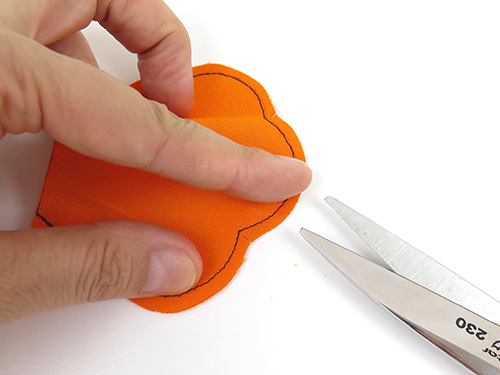
STEP 5a
Stuff the BEAK with a bit of toy stuffing.
STEP 5b
Pin the BEAK PIECES together along the open edges, matching point B.

STEP 6
Pin the BEAK in between the FACE PIECES and the TUMMY PIECES matching point B , so that the beak dart is touching the FACE PIECES. Sew the FACE PIECES to the TUMMY PIECES with the BEAK in between. Sew from C – B – C on the other side.
EYES:
STEP 7
If you are using craft eyes insert these now. You can also use beads, buttons or embroider the chicks eyes instead.
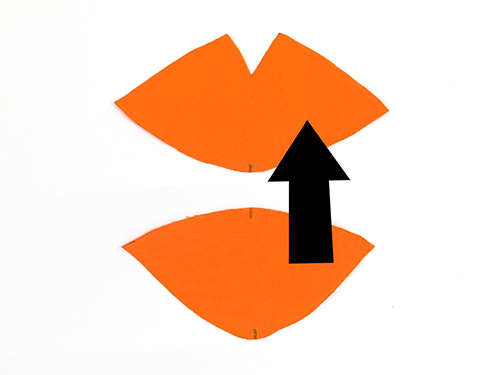
FOOT PIECES:
STEP 8a
Trace 2 FOOT PIECES onto a double layer of fabric (right sides together).
STEP 8b
Sew on the sewing lines you traced, leaving the straight edges open for turning. Cut the FOOT PIECES out with a 3mm (⅛inch) seam allowance.
STEP 8c
Clip the seams between the ‘toes’. (This is important to do otherwise the FOOT PIECES will not turn out nicely.) Turn the FOOT PIECES right sides out.
TIP:Use a sharp object like a wooden chopstick to push the ‘toes’ out properly so the seams are nice and smooth.
STEP 9
Pin the edge of the FOOT PIECES nice and flat, then sew around the curved edges, using a 5mm (¼inch) seam allowance to create a nice flattened seam around them.
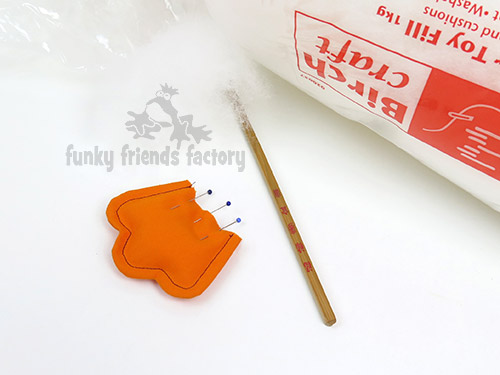
STEP 10
Stuff the FOOT PIECES with a little bit of toy stuffing and pin the opening closed.
STEP 11a
Pin the FOOT PIECES to the TUMMY PIECES using the 3 dot pattern markings to guide you.
STEP 11b
Pin and sew the BASE PIECE to the TUMMY PIECES with the FOOT PIECES in between. Sew from D – E – D on the other side.
WINGS:
STEP 12
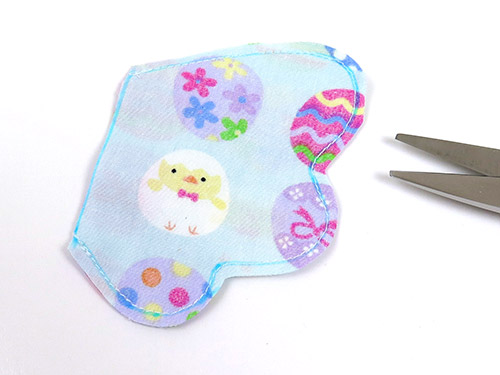
Trace, sew and turn the WING PIECES exactly like you did the FOOT PIECES. Do NOT sew a flat seam around the WINGS. (I like the wings to be a little fatter than the feet!)
STEP 13
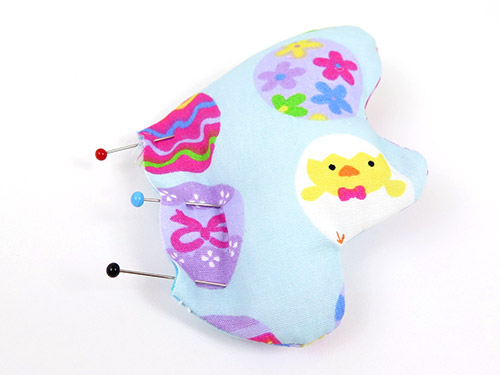
Stuff the WINGS with a little bit of toy stuffing and pin the stright edges closed.
STEP 14
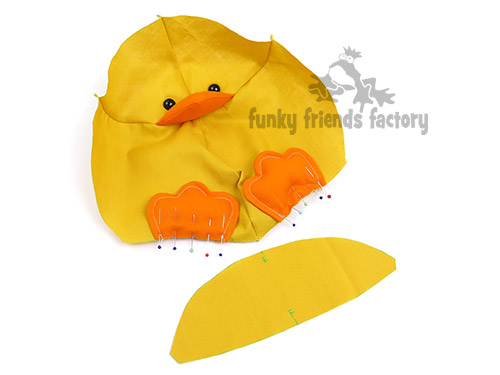
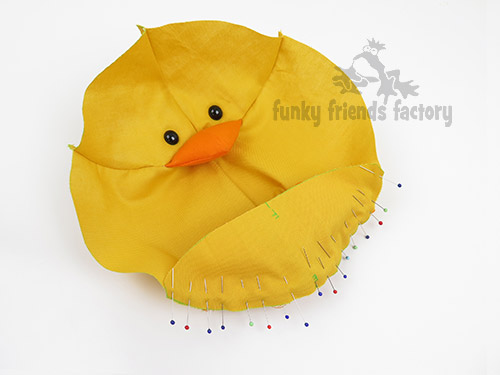
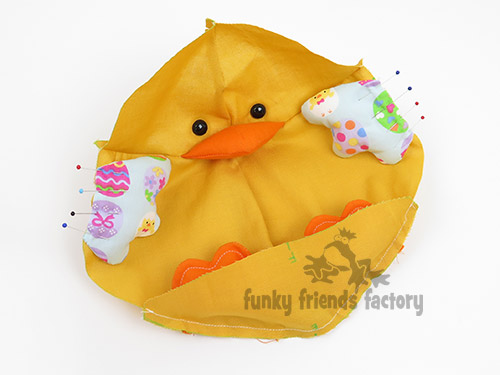
Pin the WINGS to the TUMMY PIECES using the double dot pattern markings to guide you.
TIP: Check that the wings are positioned the right way up – make sure the ‘longer edge’ is up (closest to the FACE PIECES.

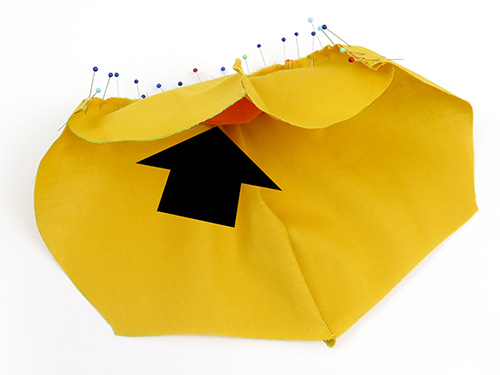
BACK:
STEP 15
Sew the BACK PIECES together from A – T – G.
TIP: Make sure you sew the back seam and NOT the side seam – it’s an easy mistake to make!
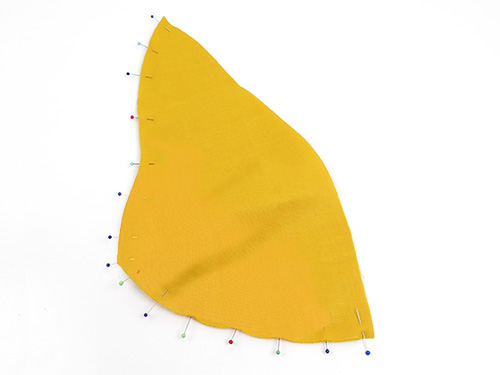
STEP 16
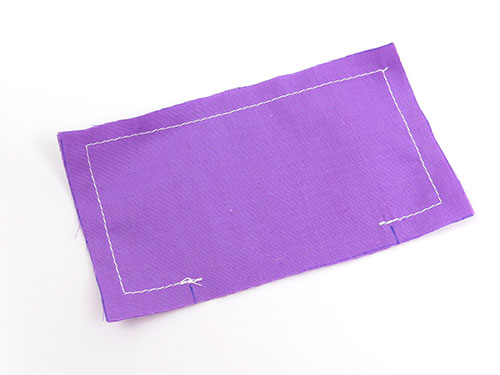
Pin the BACK PIECES to the FACE,TUMMY&BASE PIECES and sew them together along the side seams, leaving the gap open for turning and stuffing as shown on the pattern markings (at G).
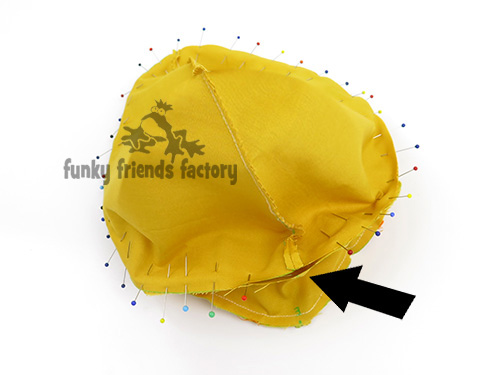
ASSEMBLY
STEP 17
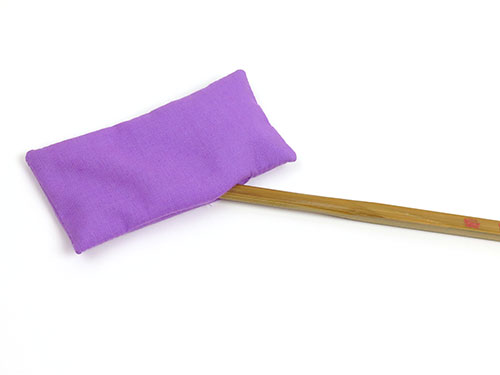
Turn the Chick right sides through the turning gap.
STEP 18
Stuff the Chick with toy stuffing. It should have a nice firm egg-shape but not be too firmly stuffed so it falls over and won’t stay upright!
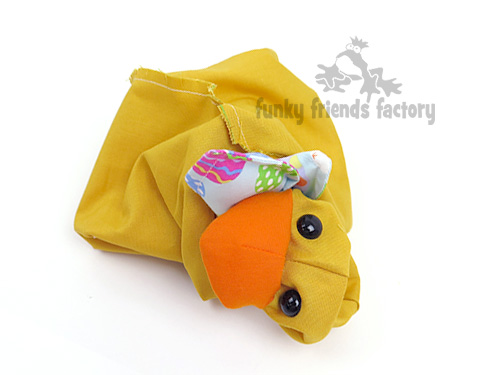
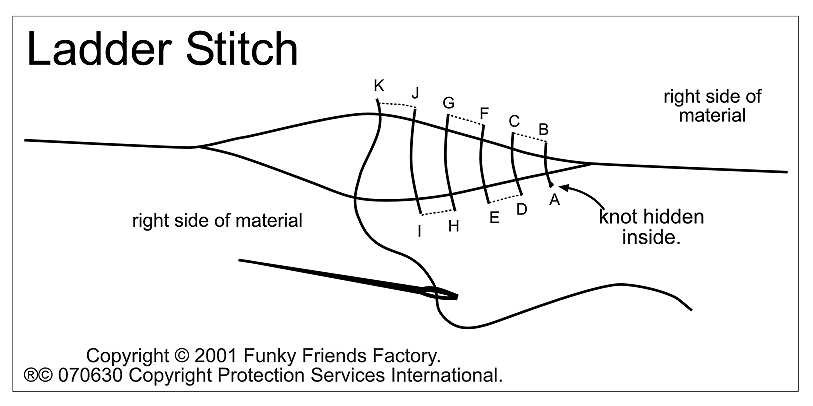
STEP 19
Sew the turning gap closed with a ladder stitch.
BOW TIE:
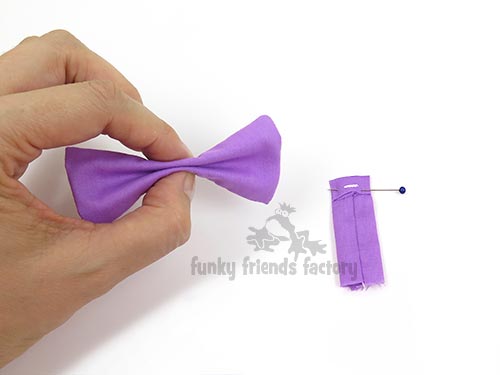
STEP 20a
Sew the BOW PIECES together leaving the turning gap.
STEP 20b
Trim the ‘corners’ of the seam allowance and turn the BOW right sides out.
TIP:Use a wooden chopstick or turning tool to make the corners nice and ‘pointy’.
STEP 20c
Sew the turning gap closed with a ladder stitch.
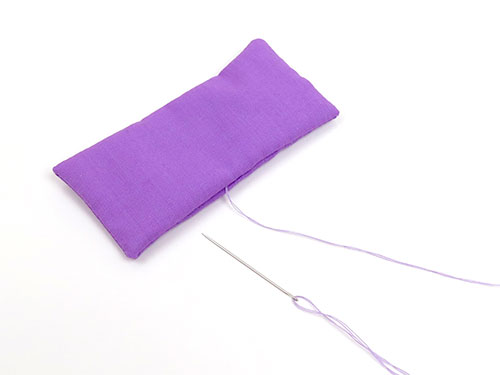
STEP 21
Fold and sew the TIE PIECE down one side. Turn the TIE PIECE right sides out to form a ‘flat tube’, with the seam at the back. (I find an easy way to turn a ‘flat tube’ like this is to use a needle to pull the machine stitching tails through the TIE PIECE.)
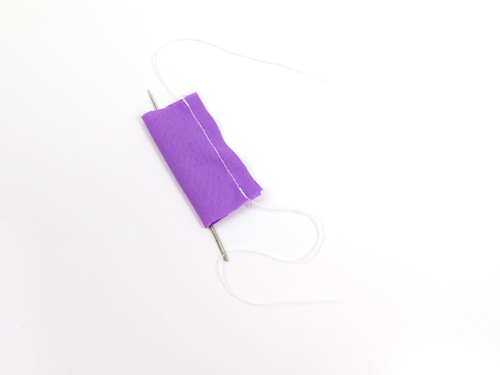
STEP 22
Finger-press the TIE PIECE ‘tube’ so it’s nice and flat, then fold down a 5mm/¼inch seam on one side. Fold the BOW PIECES in half then fold them back on themselves to form a bow-shape. Wrap the TIE PIECE around the centre of the BOW PIECES, fold under a 5mm/¼inch seam on the other end and sew the ends together with a hand-stitch.
TIP: I like to hand-stitch the TIE to the BOW PIECES as well to secure it so it stays nicely centred.
STEP 23
Hand-stitch the TIE PIECE to the TUMMY PIECES about 2cm or 1 inch below the BEAK. (If the chick is for a very young child you may also want to sew the corners of the BOW to the TUMMY PIECES too so it cannot be pulled off easily!)

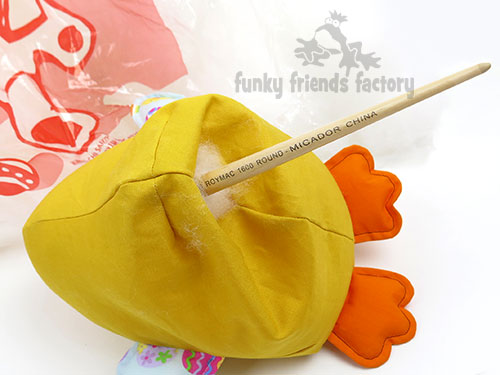
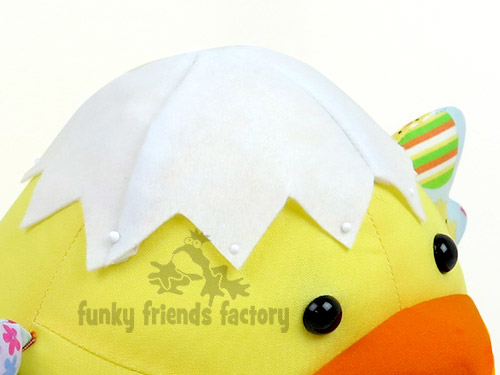
EGG SHELL HAT:
STEP 24
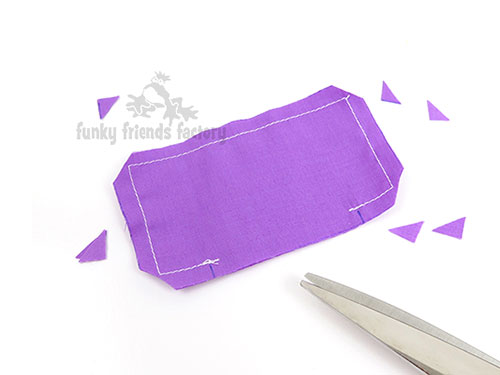
Cut 4 EGG SHELL PIECES from white felt. Remember to cut 2 of the SHELL PIECES reversed – they must not all be the same. (Felt can be turned either way but I do this to make sure that any pen marks are on the inside where they won’t be seen!)
Pin and sew the SHELL PIECES together in pairs along the LONG sides. Open up the PIECES and pin and sew the pairs together along the SHORT sides. Pin the EGG SHELL hat on the chick and glue or hand sew the SHELL HAT in place.
TIP: It doesn’t have to be straight – you can have it off to one side if you like!
Your Easter Chick is ready to LOVE!
Come join the fun on Facebook!
![]()
I LOVE to see how your Funky Friends toys turn out!
When you’ve made your own stuffed toy Easter chick you can come show him off ~>
Post a photo on my Funky Friends Factory Facebook page for me to see and YOU could win a FREE PATTERN!

Till next time,
Happy Sewing,
Pauline
