
I made this photo tutorial so you can see how to sew my Bee Pattern ~> scroll down for step-by-step photos!
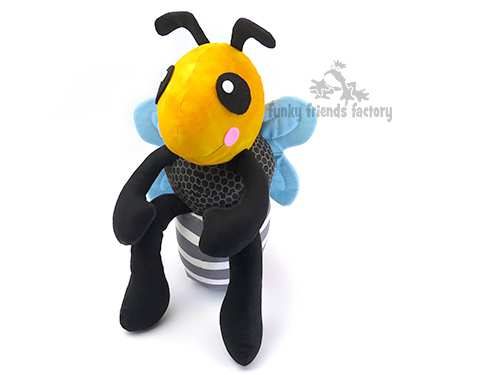
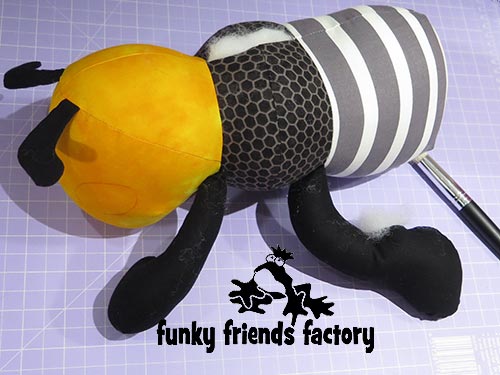
I wanted to make a BIG, HAPPY, ‘bumbly’ Bee that you’d just want to pick up and HUG! Bumble has some small bits like feelers so I’d say this pattern is not great for a beginner… unless you desperately want a bee!
.
*** PLEASE NOTE – this is ONLY a PHOTO TUTORIAL ***
The FULL PATTERN IS NOT included here.It is NOT A FREE PATTERN!
I have made this photo tutorial so people who have purchased my Bee Sewing Pattern can SEE how to sew a bee toy! (I wanted to explain this so you are not disappointed if you have found this page via a search engine and not from the link in my Bumble the Bee Sewing Pattern)
Let’s get started!
STEP 1
Choose some fabric for your bee toy – it doesn’t have to be yellow and black. Did you know Bees come in ALL different colours? We even have Australian bees that are BLUE! So go wild and make your Bee any colour you like!

HEAD:
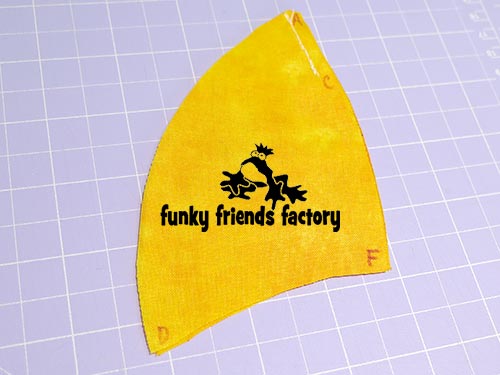
STEP 2
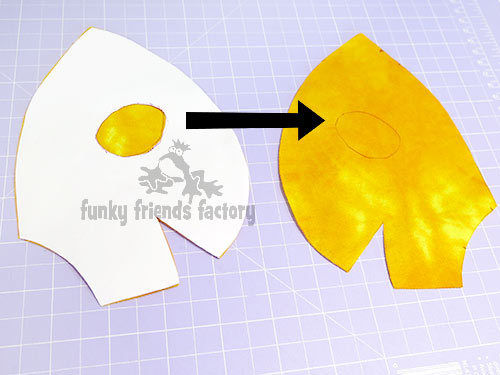
Use (paper) scissors to cut out the shape of the EYES in the template for the FACE PIECE so you can transfer the eye position markings onto the RIGHT SIDE of the fabric of the FACE PIECES.
TIP: If you want to sew the EYE PIECES on by machine you can sew them now. I like to sew the EYES on after I stuff the bee’s head – so I can check I have them even.
STEP 3
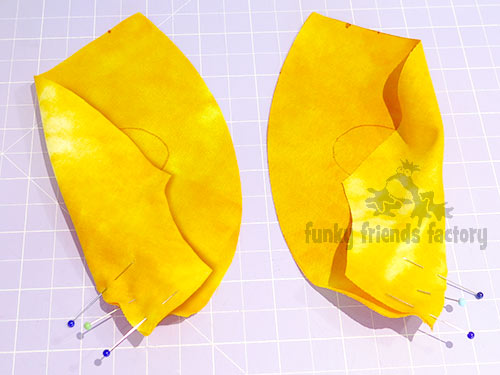
Fold the FACE PIECES, fabric right sides together, and sew the face darts closed.
STEP 4
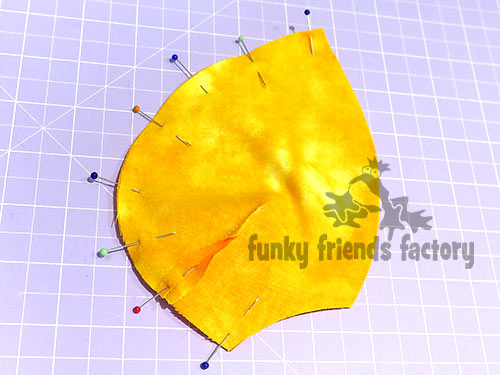
Sew the FACE PIECE together from A – B.
FEELERS
STEP 5
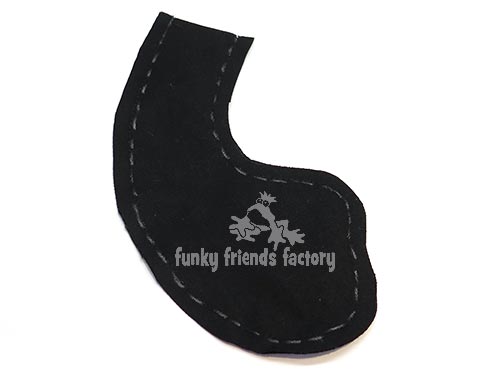
Trace the FEELER PIECE onto a double layer of fabric (with right sides together!). Sew the FEELER PIECES together on the sewing line.
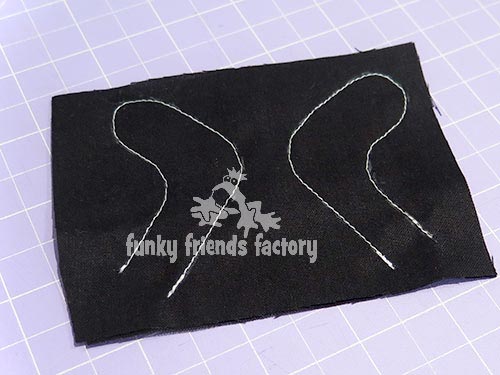
STEP 6
Cut around the sewing line with a 3mm(¼ inch) seam allowance. Clip the seam allowance, especially where it is very curved then turn the FEELER PIECES right sides out.
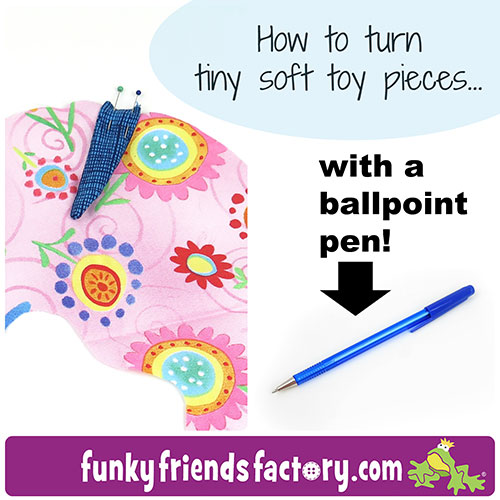
TIP: I have a blog post to show you my special trick for turning small soft toy pieces here on my blog.
STEP 7a
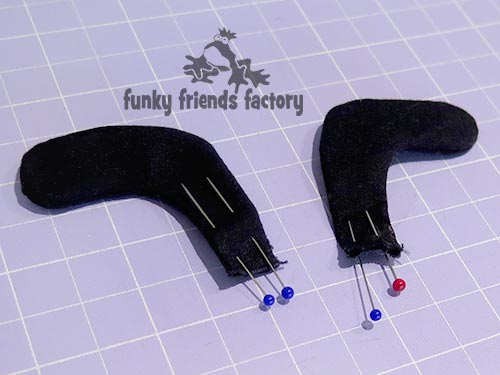
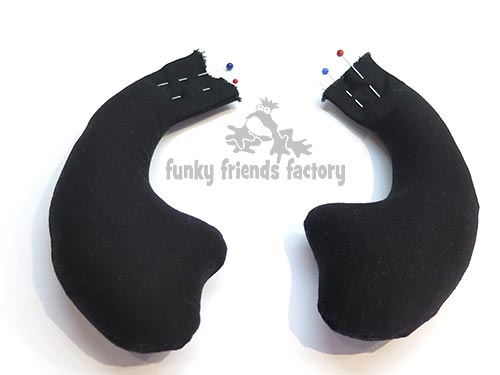
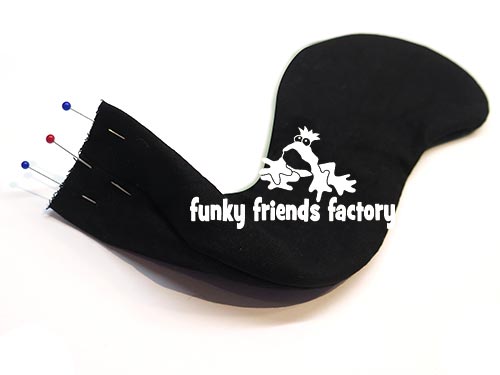
Pin the open edge closed…
STEP 7b
…and pin them to the FACE PIECES using the pattern markings to guide. (The tip of the feelers must point to the side.)
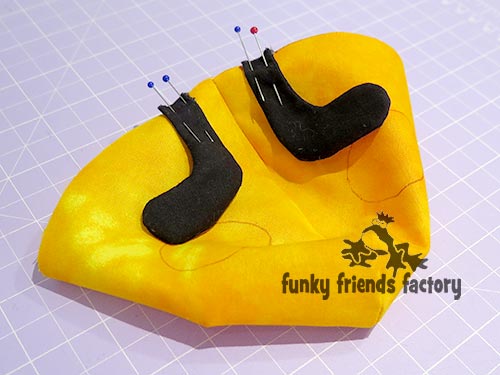
STEP 8
Sew the FEELERS in position with a 3mm(⅛inch) seam allowance.
*** This is a different fabric (I was sewing another Bee!) BUT it shows this step nicely! 🙂

BACK HEAD
STEP 9
Sew the BACK HEAD PIECES together from A – C, along the back seam.
STEP 10
Pin the BACK HEAD PIECES to the FACE PIECES, the FEELERS in between. Sew the BACK HEAD PIECES to the FACE PIECES. from D – A – D.
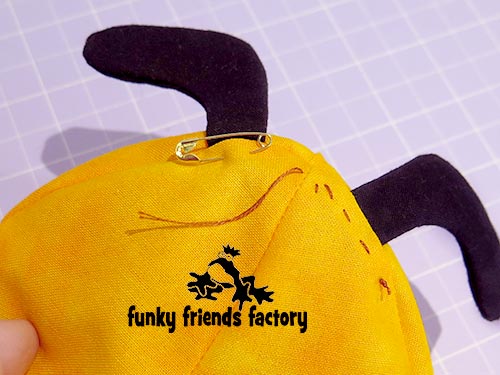
STEP 11
Turn the head right side out and tack/baste the seam allowance of the FEELERS to the BACK HEAD PIECES. This will help them to stand up straight when you stuff the head later on. (You can use a safety pin to pin them like this instead.)
ARMS
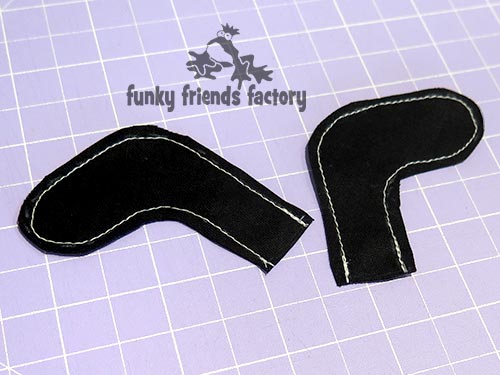
STEP 12
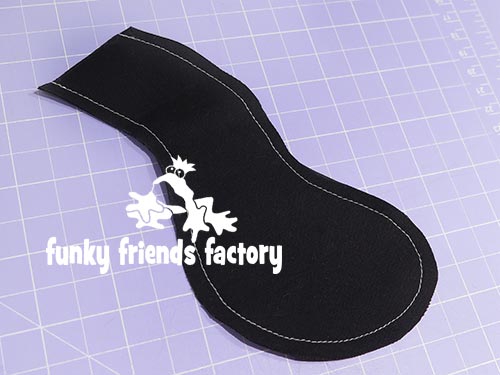
Sew the ARM PIECES together in pairs, leaving the straight edge open.
STEP 13
Clip the curved seams really well and turn the ARMS right sides out. Use the chopstick again to turn out the seams nicely. Stuff the ARMS with toy stuffing, leaving the top 12mm (½inch) unstuffed and pin
the open edges closed.
STEP 14a
Pin the ARMS to the FACE PIECES using the pattern markings to guide you… and sew them in position with a 3mm(⅛inch) seam allowance.
STEP 14b
… and sew them in position with a 3mm(⅛inch) seam allowance.
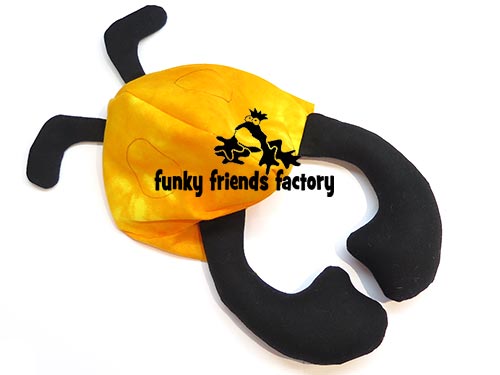
TIP: This is what the ARMS should look like when you flop the downwards – “thumbs to the middle!)
THORAX
STEP 15
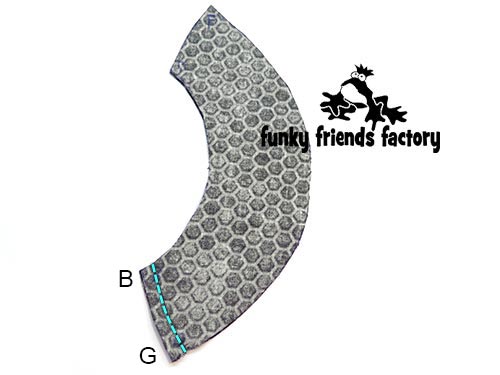
Sew the THORAX 1 PIECES together from B- G.
TIP: Don’t muddle the THORAX 1 and THORAX 2, they ARE different!
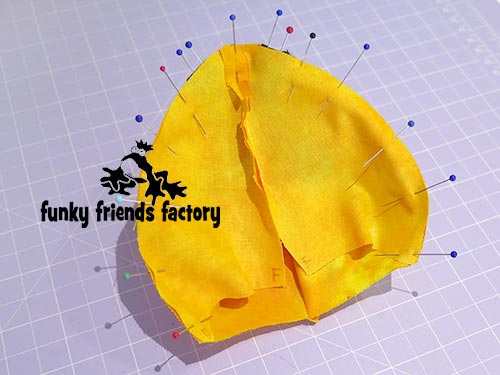
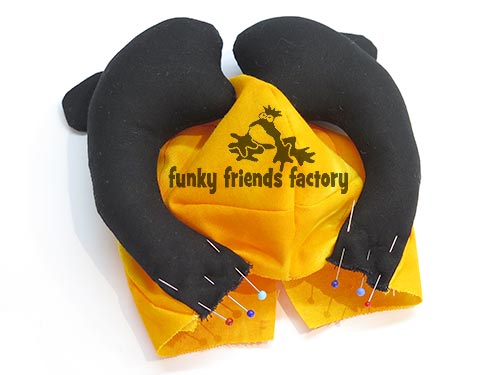
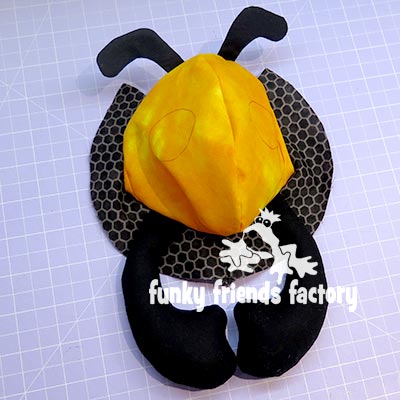
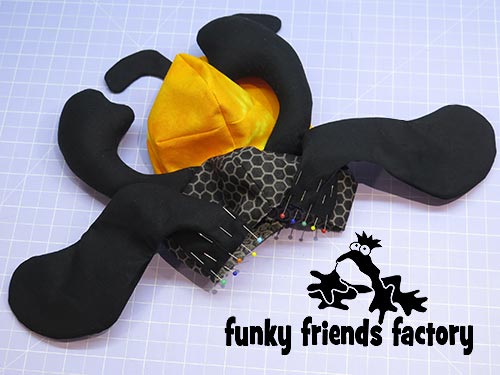
STEP 16a
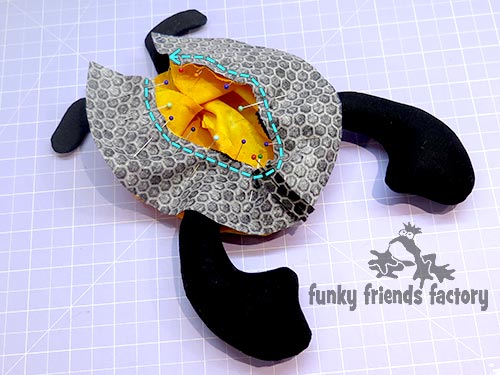
Pin the THORAX 1 PIECES to the FACE & BACK HEAD PIECES with the ARMS in between, (matching points E and B).
* The blue dashed line in the photo below shows you where you will sew!
STEP 16b
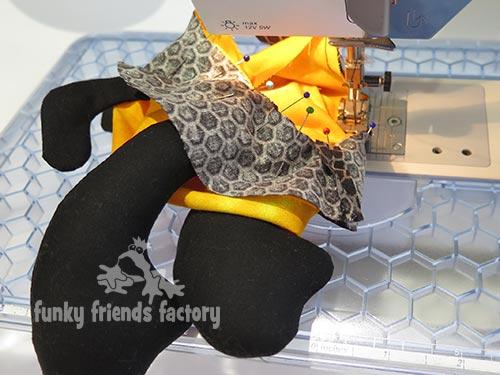
Sew the THORAX 1 PIECES to the FACE & BACK HEAD PIECES, from E – B – E.
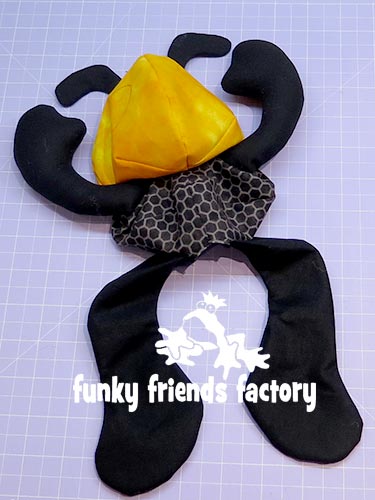
TIP: This is a difficult seam to sew, take it slow, or do one side at a time!
THIS is what the PIECES will look like now.
STEP 17
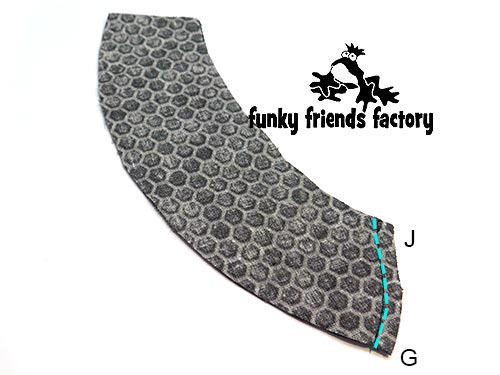
Sew the THORAX 2 PIECES together from G – J.
STEP 18
Sew the THORAX 2 PIECES to the THORAX 1 PIECES from F – G – F.
LEGS
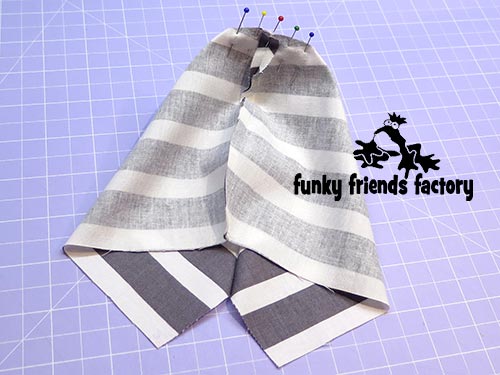
STEP 19a
Sew and stuff the LEG PIECES in the same way as the ARMS.
STEP 19b
The LEGS are pinned DIFFERENTLY!
Fold the LEGS PIECES, as shown on the pattern markings, so that the seams are together in the centre and pin them closed at the top. (This is so that the feet will face forwards.)
TIP: I KNOW bees have 6 legs, but hey, real bees also have a sting that hurts! 🙂
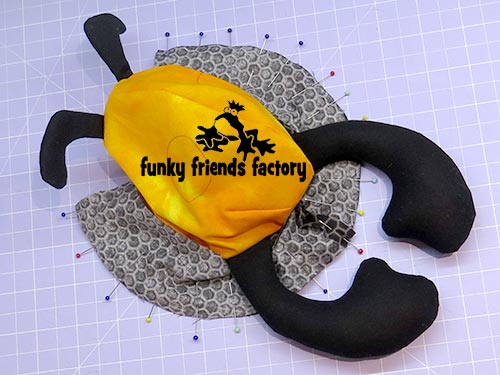
STEP 20
Pin the LEGS to the THORAX 2 PIECES using the pattern markings to guide you and sew them in position with a 3mm(⅛inch) seam allowance.
TIP: THIS is what the PIECES will look like now.
ABDOMEN
STEP 21
Sew the ABDOMEN PIECES together from K – L and from L – J.
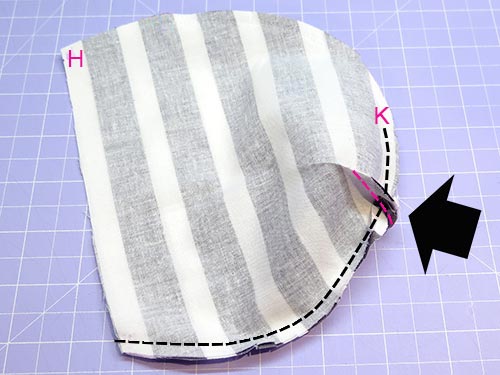
STEP 22
Pin the ABDOMEN PIECES (with the fabric right sides together) at the end dart, matching points L and sew the end dart closed.
TIP: Do not sew the ABDOMEN PIECES from H and K. We need to leave the PIECES open at the top so it’s easier to sew them together with the ARMS and LEGS in
place. (The black arrow is pointing to the end dart in the picture below.)
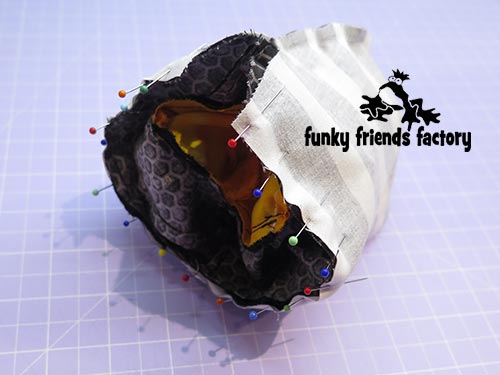
STEP 23
Pin AND sew the ABDOMEN PIECES to the THORAX 2 PIECES (with the LEGS in between).
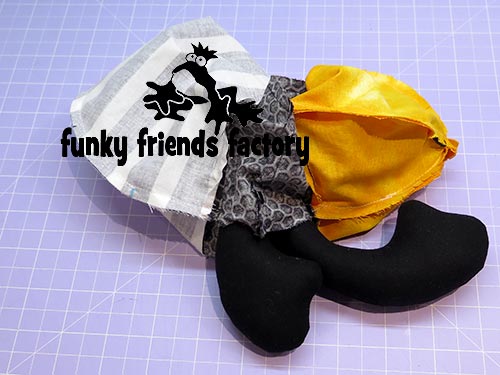
STEP 24a
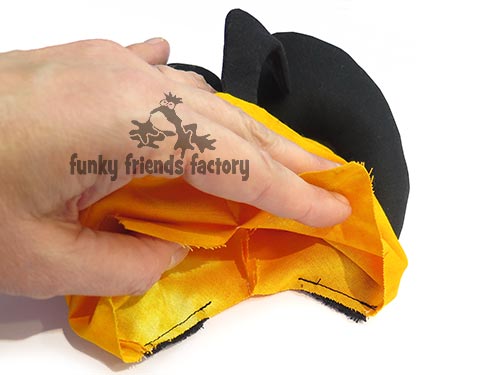
Pull the head out of the body. Pin and sew the Bee closed along the back of the BACK HEAD PIECES, sew from C – E.
STEP 24b
Pull the LEGS out of the Bee’s body, pin the ABDOMEN PIECES closed (so the LEGS are on the outside of the body) and sew from H – K.

ASSEMBLY
STEP 25
Turn the bee right sides out through the gap left on the THORAX PIECES.
STEP 26
Stuff your bee very firmly! You want him to have a nice firm ROUNDED shape!
STEP 27
Sew the stuffing gap closed using a ladder stitch.

FACE
STEP 28
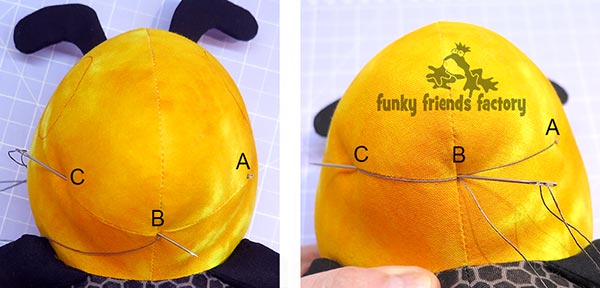
Use the photos below to guide you embroidering a mouth.Sew in to the FACE at A and come out at B. Sew in at C and back out at B. Sew in at A and come out a C, to create the “smile”. Pull the thread firmly, so it lies in the seam of the mouth darts. Finish off with a knot at C.
STEP 29
Cut the EYE PIECES from black(dark) felt and the PUPILS from white (light) felt and the CHEEK PIECES from pink felt. Sew (or glue) the PUPILS to the EYES PIECES then pin the EYE PIECES on the FACE PIECES using the pattern markings to guide you. Pin the CHEEKS in position at the end of the mouth dart. When you are happy with their position, sew the EYES and CHEEKS in place
with a blanket stitch, hiding the starting and finishing knots under the felt.
TIP: I added the CHEEKS to cover the dimples at the end of the mouth dart. You can make these any contrasting colour of your choosing, or leave them off.

STEP 30a
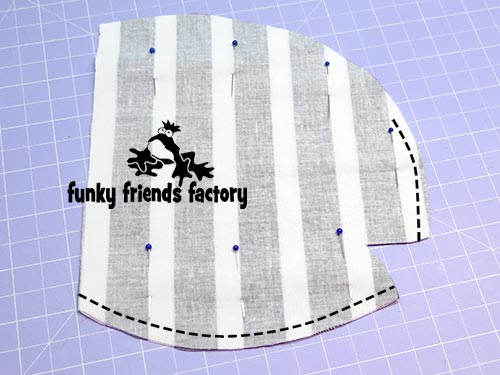
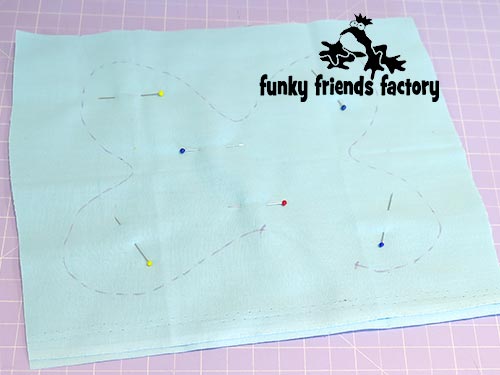
Trace the WING PIECE onto the wrong side of the wing fabric. (This is the sewing line.)
STEP 30b
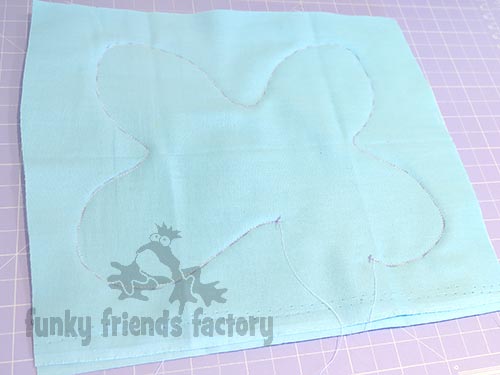
Pin the WING fabric with right sides facing on top of the piece of batting and sew through all 3 layers, on the sewing line you traced.
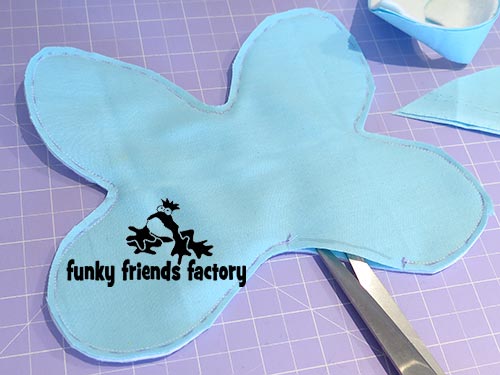
STEP 30c
Trim the 3 layers, leaving 3mm (⅛ inch) outside the sewing line, and clip the seam well to help the WINGS turn nicely.
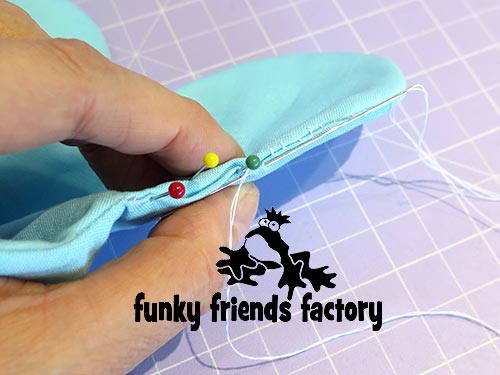
STEP 30d
Turn the WINGS through the turning gap. Tuck the seam allowance under (in) and hand sew the turning gap closed.
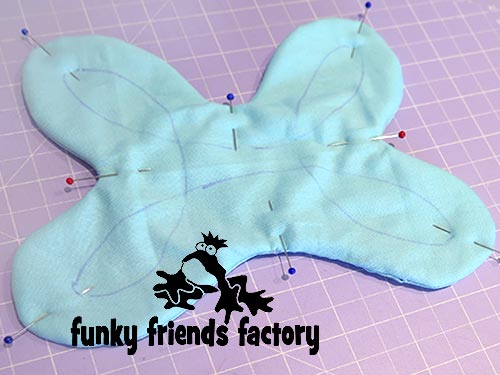
STEP 31a
Use a fabric pen, or tailor’s chalk to draw where to sew the topstitch lines on the WINGS, using the pattern markings to guide you.
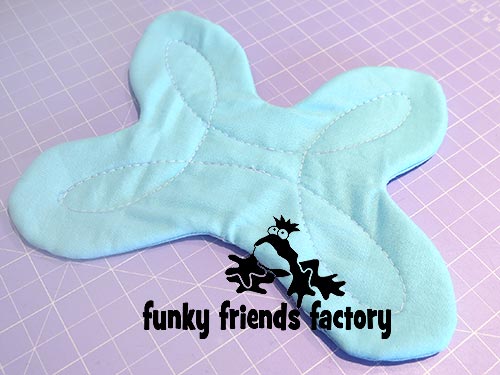
STEP 31b
Sew the topstitch lines with a slightly longer than normal stitch as you are sewing through a lot of layers!
STEP 31c
Sew or glue the WINGS to the THORAX PIECES.
TIP: You can make the WINGS removable by using velcro to attach them!

Your Bumble Bee is ready to LOVE!
Come join the fun on Facebook!
![]()
I LOVE to see how your Funky Friends toys turn out!
When you’ve made your own stuffed toy bees you can come show them off ~>
Post a photo on my Funky Friends Factory Facebook page for me to see and YOU could win a FREE PATTERN!

Till next time,
Happy Sewing,
Pauline
![]()
