
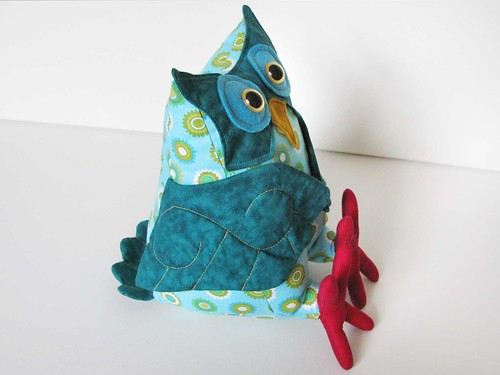
I have put together a photo tutorial to show you just how easy it is to make an owl softie from my Owl Toy Sewing Pattern ~> scroll down for step-by-step photos!
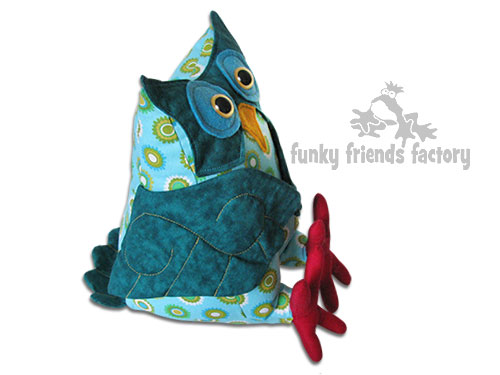
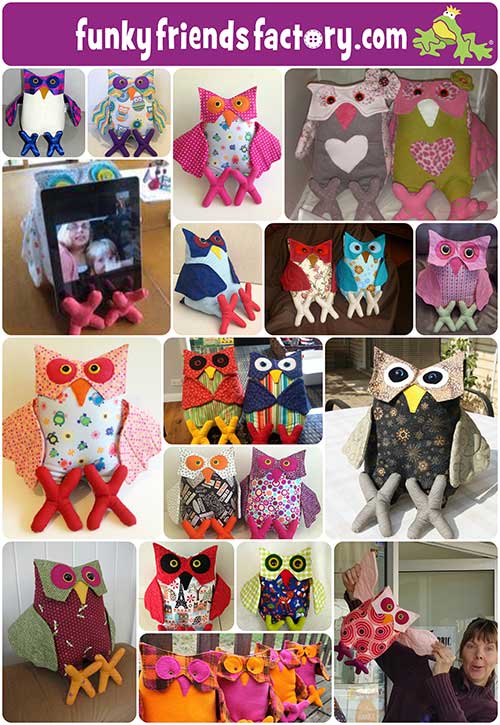
Choose some nice bright fabrics for your toy owl.
I used cotton quilting fabric BUT you can use stretchy/knit fabrics like fleece for a more cuddly feel, or corduroy for some funky texture!
OK, let’s get cracking… with the TUTORIAL!
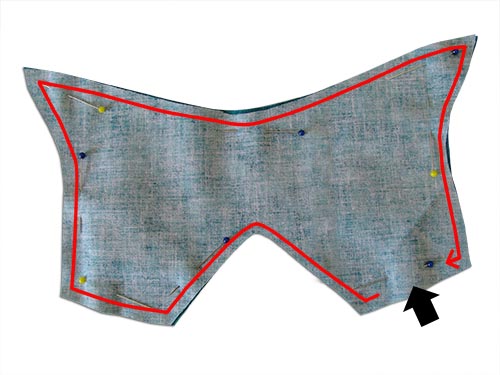
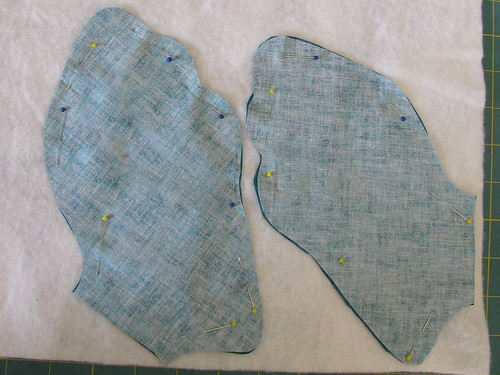
STEP 1a
Sew the owl FACE PIECES together, leaving the gap open for turning.
* I have added a red line in the photo below to show you where to sew.
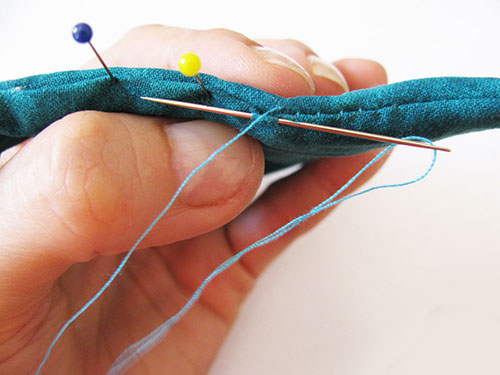
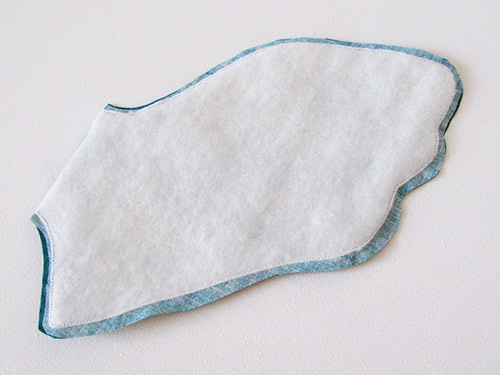
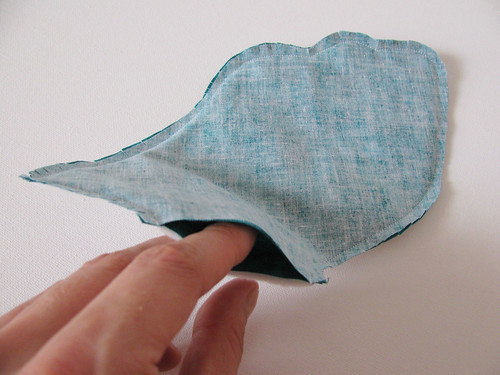
STEP 1b
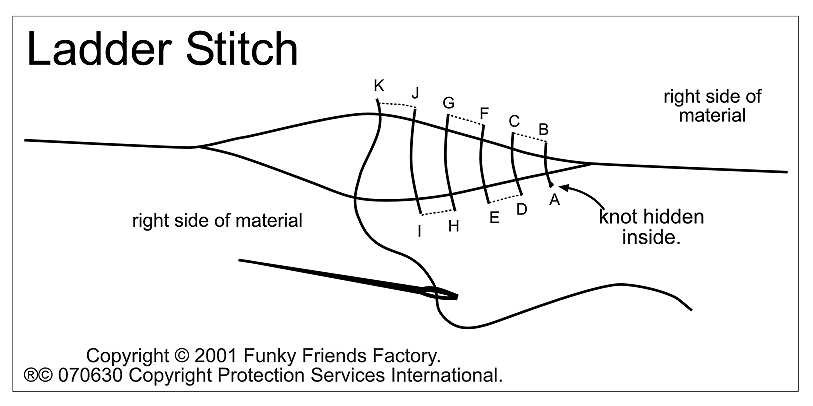
Turn the FACE PIECES right sides out. Tuck the seam allowance under (‘inside’) and pin the FACE PIECES closed at the turning gap. Hand stitch the gap closed with a ladder stitch.
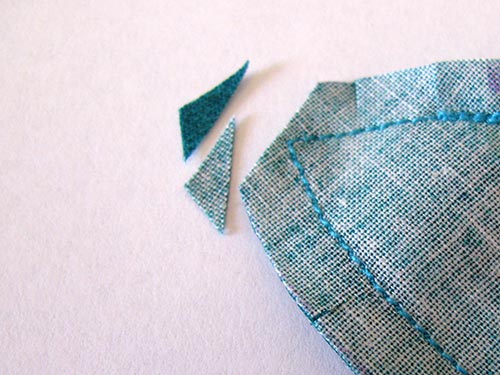
TIP: It is easier to turn the FACE PIECES if you trim the seam allowance at the top ‘corners’.
STEP 1c
Sew a line of stitches around the edges, 5mm (¼inch) in from the edge. This makes the edges of the FACE PIECES nice and firm and also looks good!

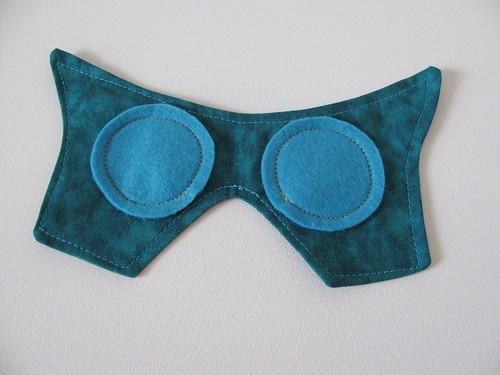
STEP 2
Sew the felt EYE PIECES to the FACE PIECES.
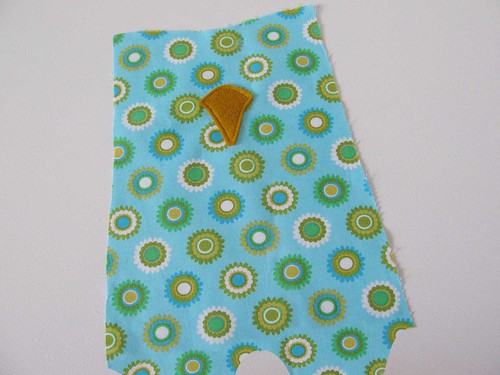
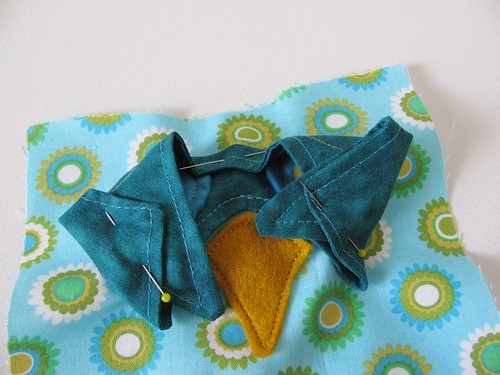
STEP 3
Cut the BEAK PIECE from felt. Use the pattern markings as a guide to position the BEAK PIECE and sew it onto the FRONT PIECE.
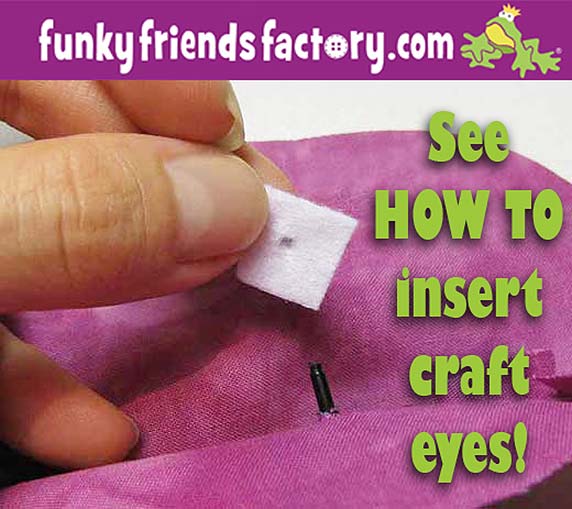
STEP 4
Pin the FACE PIECES in position just above the BEAK PIECE. Use a sharp scissors to cut a hole through all the layers and insert the craft eyes.
TIP: I have a photo tutorial for how to insert craft eyes on my blog ~>
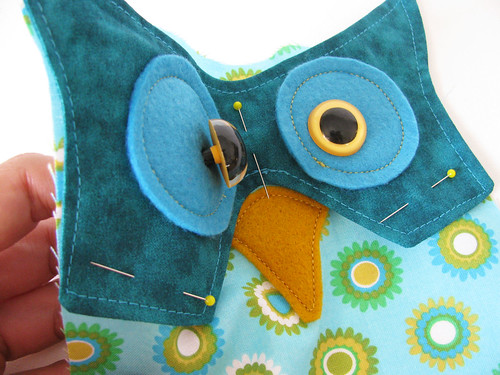
STEP 5
Fold and pin the FACE to the FRONT PIECE so that it will not get caught in the seams when you sew the owl together.
* Poor Owl – looks like he has a HEADACHE!!!!!
STEP 6
Sew the WING PIECES in pairs onto a piece of quilt battling (with right sides of the fabric together)
STEP 7
Trim the battling very close to the sewing line.
STEP 8
Snip the seams of the WING PIECES before turning them right sides out.
STEP 9
Sew the top stitches on the WING PIECES as shown in the pattern markings. You can also make up your own squiggly pattern for the top stitching if you want to! 🙂

STEP 10
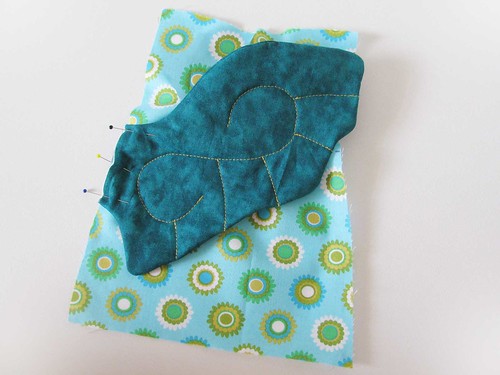
Pin one WING to the BACK PIECE as shown on the pattern markings.
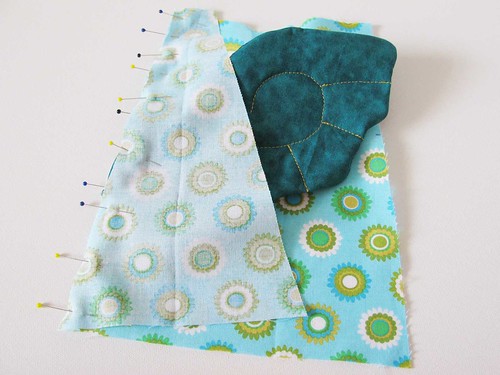
STEP 11a
With the WING in between, sew the SIDE PIECE to the BACK PIECE.
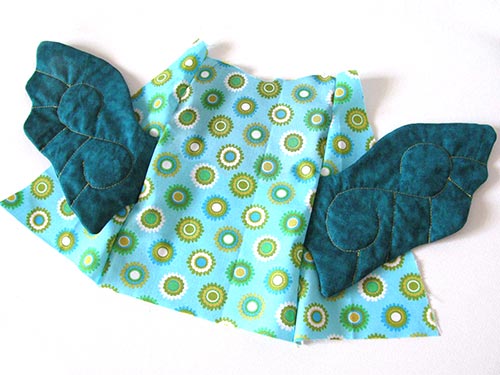
STEP 11b
REPEAT for the 2nd WING on the other side.
STEP 12
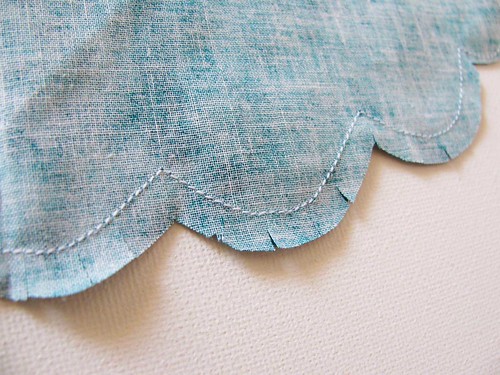
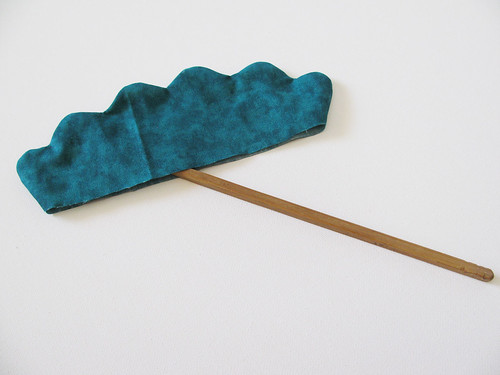
Sew the TAIL PIECES right sides together, leaving the straight edge open. Clip the seams well, especially in between the curves!
TIP: Turn the TAIL PIECES right sides out. I use a wooden chopstick to make sure the seams are nice and smooth!
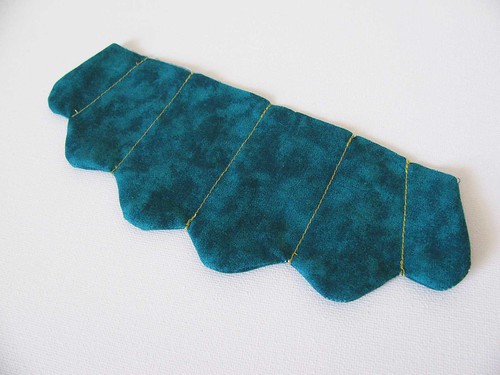
STEP 13
Sew the TAIL top stitching lines as shown in the pattern markings.
STEP 14
Pin and sew the TAIL to the BACK PIECE.
* I have folded the edges of the TAIL and pinned them out the way so you can see the seams better in he photo below.

STEP 15
Sew the FRONT PIECE to the SIDE PIECES on each side.
STEP 16
Pin the SIDE PIECES so that they fold at B, then pin and sew the BACK and FRONT PIECES together at the top. Sew right across the top of the Owl from B – A – B.

STEP 17
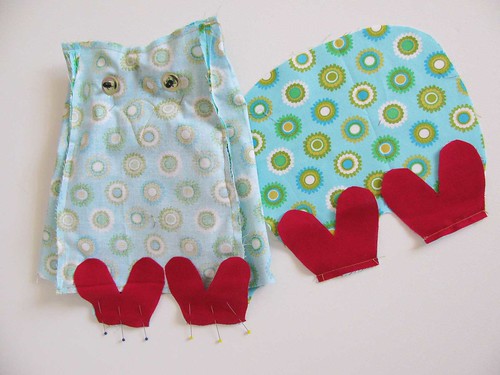
Make sure you have cut out 2 CLAW PIECES and 4 HALF CLAW PIECES.

STEP 18
Sew 2 of the HALF CLAW PIECES to the FRONT PIECE(on the left) and the other 2 HALF CLAW PIECES to the BASE PIECE (on the right).
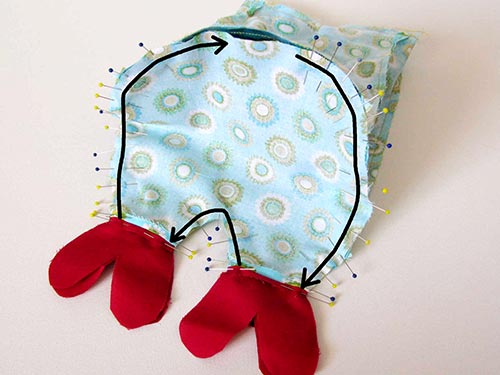
STEP 19
Sew the BASE PIECE to the body and don’t forget to LEAVE A GAP for turning and stuffing!
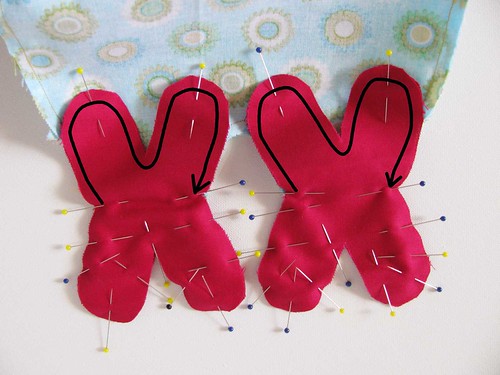
STEP 20
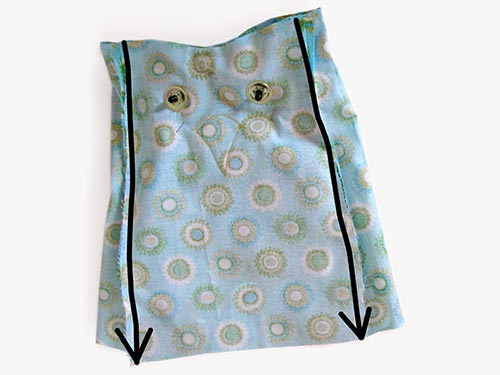
Open up the HALF CLAW PIECES to they look like an X, and pin the CLAW PIECES to them. (Remember to pin the fabric right sides together!)
Sew the CLAW PIECES and HALF CLAW PIECES together. It’s MUCH EASIER if you do this in 2 steps – sew the top FIRST (See the black arrows in the photo below). Turn the CLAWS around and sew the bottom of the CLAWS.
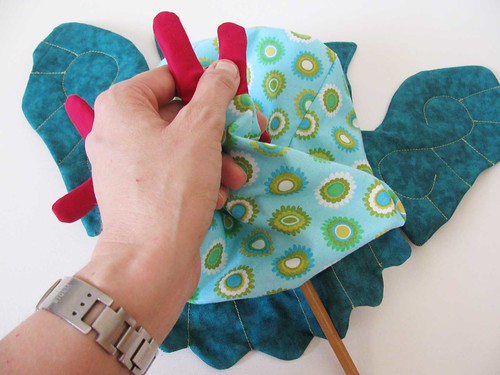
STEP 21
Using a turning tool, turn your owl right sides out. Make sure all the parts are properly turned. ( Again, I used an my wooden chopstick!)
STEP 22
Stuff your owl with toy stuffing. Make sure to stuff the CLAWS very well so they are nice and firm. For the BODY start using small bits of stuffing to get right into the corners, then fill the rest of the body.
TIP: Don’t stuff the BODY too much – the owl must look like a triangle from the side – NOT a circle! 😀
STEP 23
Sew the turning gap closed with a ladder stitch.
Your OWL is ready to LOVE!
Come join the fun on Facebook!
![]()
When you’ve made your own toy owl – come and post some photos of your NEW Funky Friend for me to see on my Funky Friends Factory Facebook page.
You could WIN a FREE PATTERN in the MAKER OF THE MONTH Pattern Giveaway!
I can’t wait to see the Funky Friends you sew!

bye for now,
Pauline
![]()
