
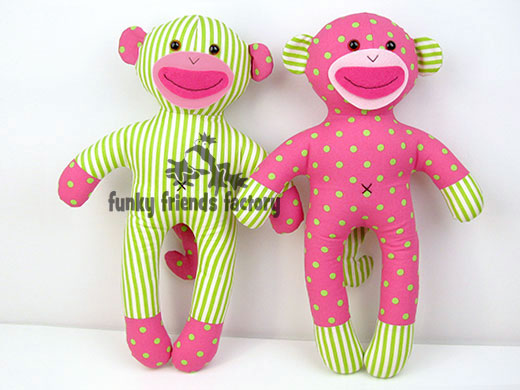
How to sew a NO SOCK Sock Monkey!
This photo tutorial shows you how to sew my Shelby NO SOCK Sock Monkey pattern.
Once you have made your first sock monkey toy you'll find it's such fun you'll want to make a whole JUNGLE of joyful monkeys!!!
*** PLEASE NOTE - this in ONLY a PHOTO TUTORIAL ***
I have made this photo tutorial so people who have purchased the pattern can SEE how to sew my NO SOCK Sock Monkey! (I wanted to explain this so you are not disappointed if you have found this page via a search engine and not from the link in my sock monkey pattern!)
The FULL PATTERN IS NOT included here. It is also NOT A FREE PATTERN.
Right, let's sew a Sock Monkey!
* The NO SOCK Sock Monkey Sewing Pattern is available to buy, from the Funky Friends Factory website as an Instant Download e-Pattern.
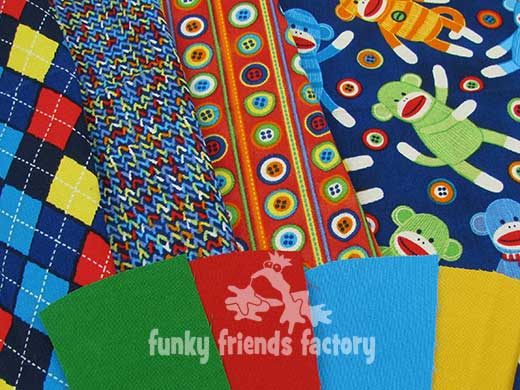
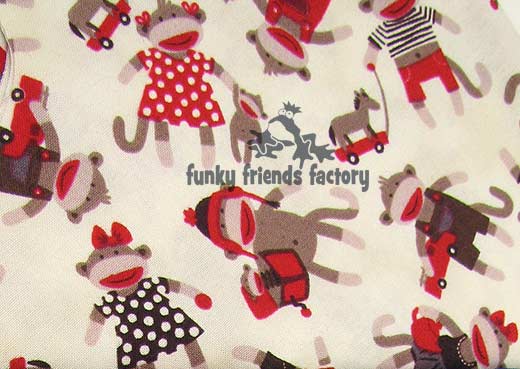
Choose some sock monkey fabric...
STEP 1
I bought some really cute sock monkey fabric and got the matching solid/plain fabrics from Voodoo Rabbit Fabric. This easy pattern looks awesome made up in spots, stripes, plain solids and prints, so go on ~> have a bit of FUN monkeying around with fabrics!
For a traditional Rockford Red Heel Socks sock monkey you can use plain brown and cream BUT it's super cute if you can add a little bit of sock monkey fabric! :)
STEP 2
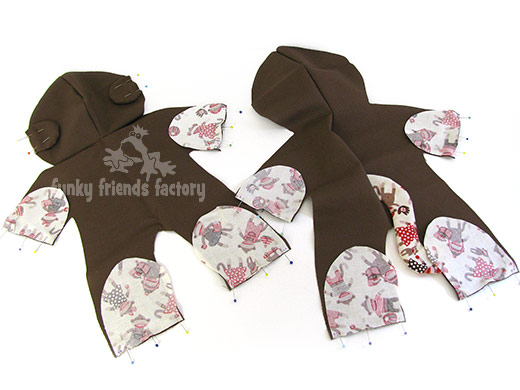
Cut out the FACE PIECES, FRONT PIECE and BACK PIECES from the MAIN FABRIC. (I am using brown for this.) Use the CONTRAST FABRIC for the rest of the pieces.
* The ears can be made from the MAIN FABRIC or CONTRAST fabric, both ways looks cute!
STEP 3
Sew the FACE PIECES together from A – B.
TIP Make sure you sew the FACE PIECES along the middle and not where the ears should be! This is a very EASY mistake to make - I KNOW, I did it myself! :D

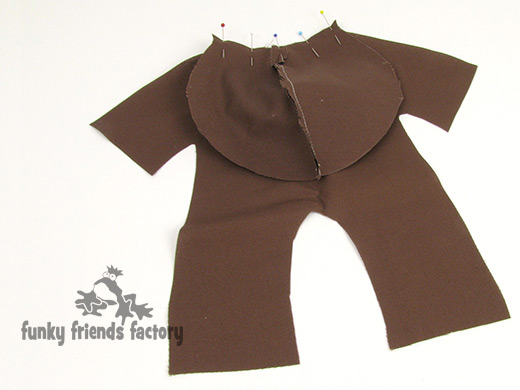
STEP 4
Sew the FACE PIECES to the FRONT PIECE along the neck seam, matching point B.
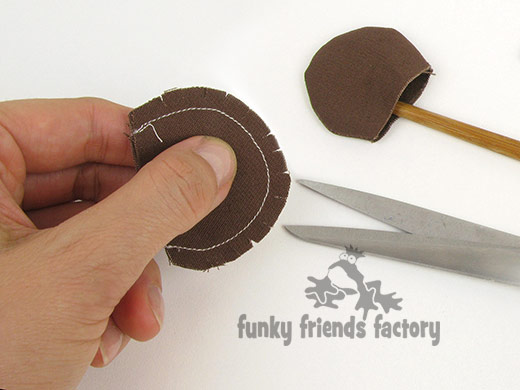
STEP 5
Sew the EAR PIECES together in pairs, clip these curved seams really well and turn them right sides out.
TIP: I use a wooden chopstick to turn the ears. Run it along the stitch line inside the ears to make the seams smooth.
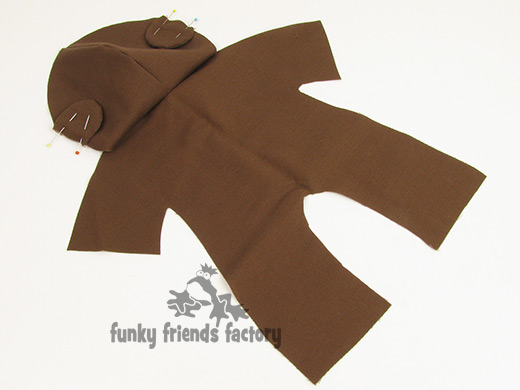
STEP 6
Pin the ears onto the FACE PIECES.
STEP 7
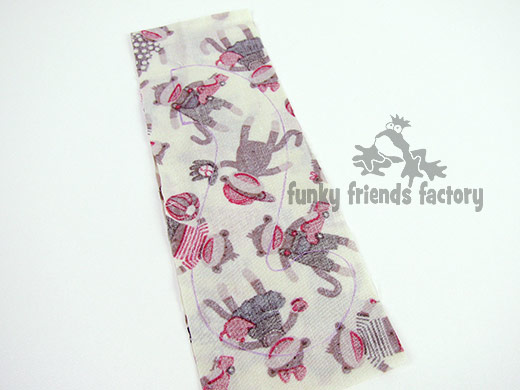
Trace the TAIL PIECE onto the CONTRAST fabric. Sew on the traced line, leaving the straight edge open for turning.
Cut out the TAIL PIECES with a 5mm/¼inch seam allowance. (Outside the sewing line.)
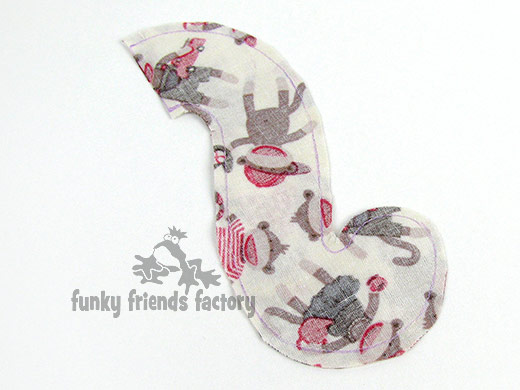
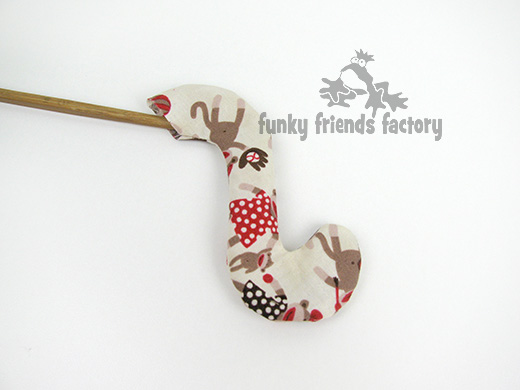
Turn the TAIL PIECES right sides out and use a turning tool to smooth the seams nicely.
STEP 8
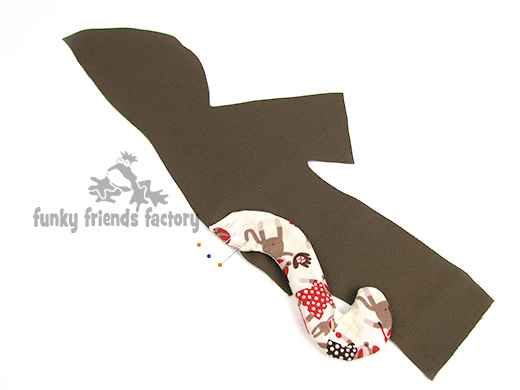
Pin the TAIL PIECES to one of the BACK PIECES using the pattern markings as a guide.
STEP 9
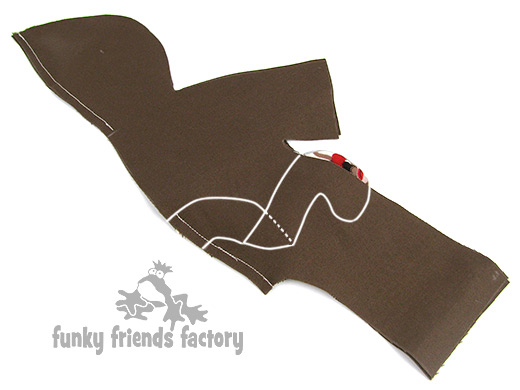
Fold the TAIL PIECES out of the way and pin and sew the BACK PIECES together from A – C, leaving a gap for stuffing your Sock Monkey.
STEP 10
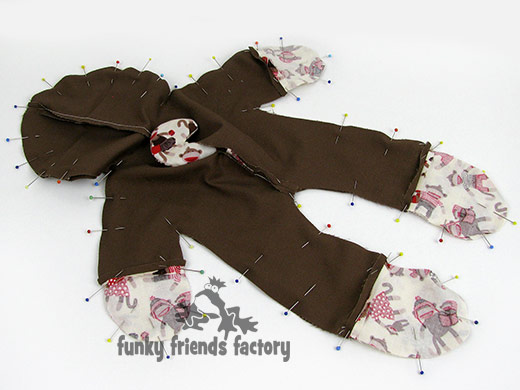
Sew the HAND PIECES and FOOT PIECES to the FRONT and BACK PIECES matching the dots of the pattern markings.
STEP 11
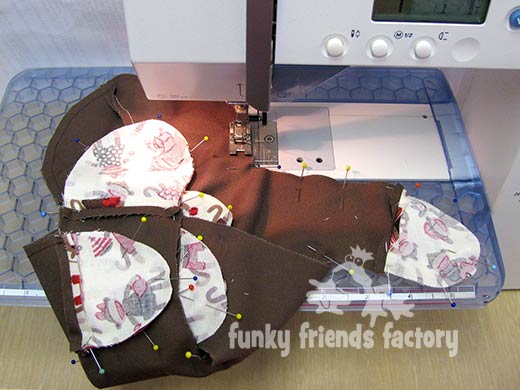
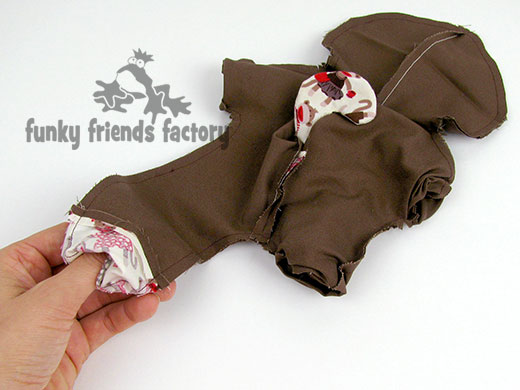
Pin the FRONT PIECE & FACE PIECES to the BACK PIECES and sew right around without a gap.
TIP push the tip of the TAIL out through the stuffing gap in the BACK PIECES. This will make sure that it cannot get stuck in the seam as you sew around the sock monkey!
TIP Fold the arms and legs on top of the tummy while you are sewing around the sock monkey. This makes it easier to move the monkey around as you sew around him.
STEP 12
Clip the seams especially the very curved bits at the neck, underarms and between the legs, so the seams can be turned out nicely.
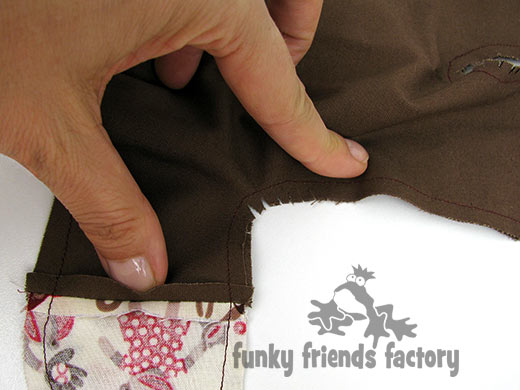
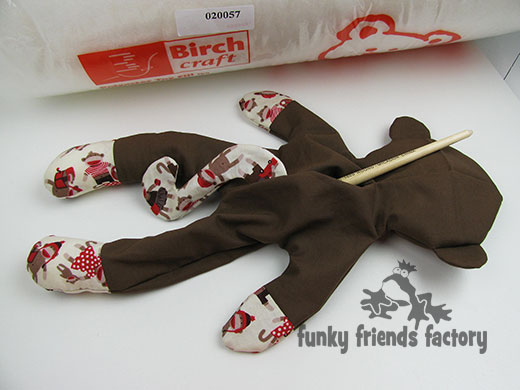
STEP 13
Turn the Sock Monkey right sides out.
TIP Push the HANDS and FOOT PIECES inside the monkey’s body first then push the top of the head out through the turning gap. The rest will follow very easily!
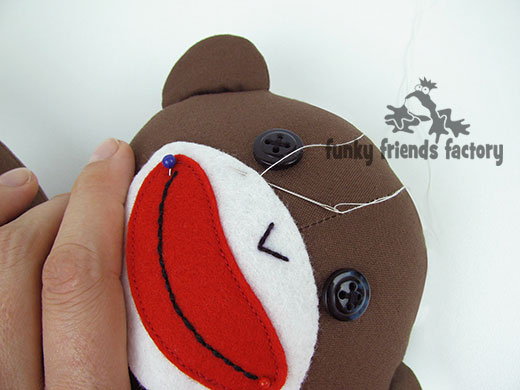
STEP 14
Sew 2 buttons on for your monkey’s eyes. You can also embroider his eyes or use craft eyes for your Sock Monkey.
TIP: If you are going to embroider his eyes, do them AFTER the head is stuffed.
If you are using craft eyes, insert these NOW. I have a photo tutorial for inserting craft eyes on my blog ~> /blog/safety-eyes-picture-tutorial-for-great-looking-peepers/

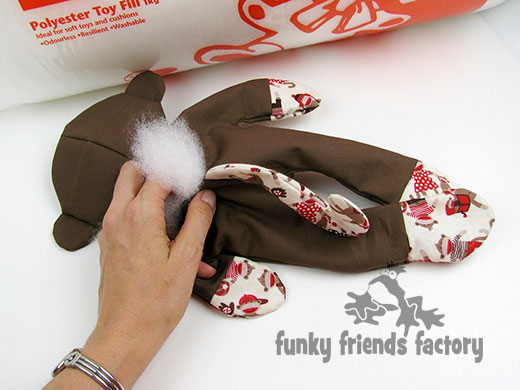
STEP 15
Stuff the monkey with toy stuffing. Stuff the head firmly to make the it nice and round, then stuff the legs, hands and arms. Go back and check the head and neck are nice and firm then finish stuffing the body.
TIP I like to use a long, round, child’s paint brush to push small bits of toy stuffing into the legs. It helps me get the toy stuffing right down to the FOOT PIECES and makes it easier to stuff them firmly.
STEP 16
Cut the MOUTH PIECE from white felt and cut the LIPS PIECE from red felt. Pin them together and embroider the “smile line” and a ‘V’ shape for the nose.

STEP 17
Sew the MOUTH and LIPS to the FACE PIECES just below the eyes.
STEP 18
Sew the stuffing gap closed with a ladder stitch.
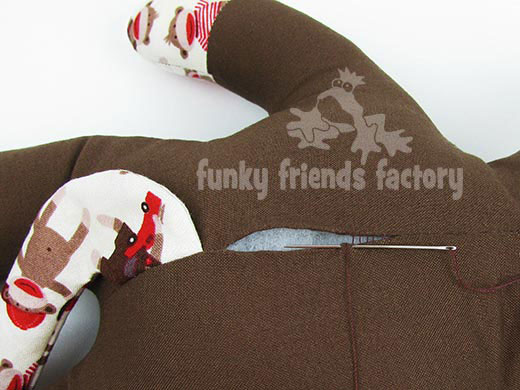
Your NO SOCK Sock Monkey is ready to LOVE!
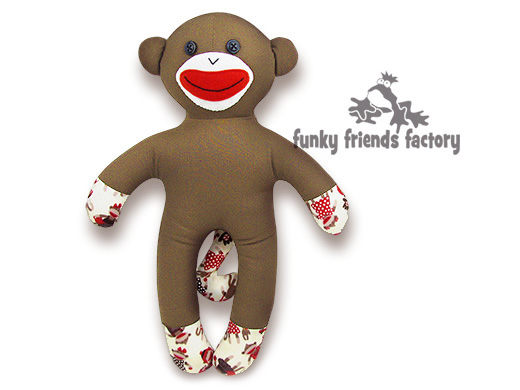
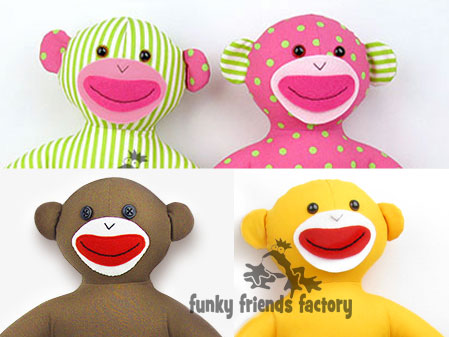
PS: The NO SOCK Sock Monkey pattern is so quick and easy to sew ~>
you can sew one for
EVERY member of your family!
Can't wait to see
YOUR Sock Monkeys...
![]()
I LOVE to see how your Funky Friends Factory toys turn out!
When you've made your own Sock Monkeys - please come and paste a photo of your NEW Funky Friends on my Funky Friends Factory Facebook page for me to see!
You could win a FREE PATTERN
in the MAKE MY MONDAY Pattern Giveaway!

Till next time,
Happy Sewing,
Pauline
xxx