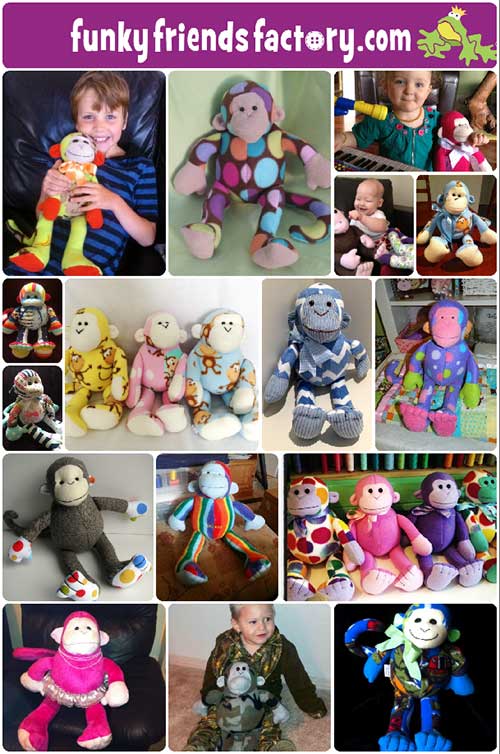
I made this photo tutorial so you can see how to sew my Monkey Sewing Pattern ~> scroll down for step-by-step photos!
Mitch the Monkey is the sweetest little monkey. He’s quite a chubby fellow but that’s what makes him so huggable.
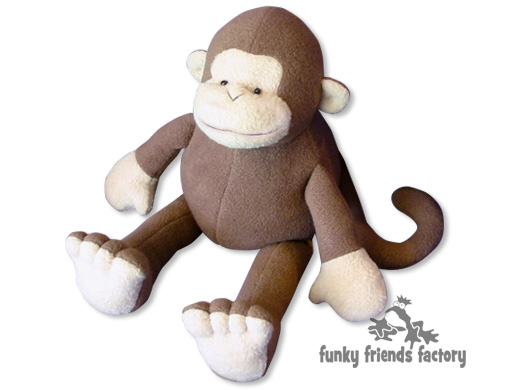
.
*** PLEASE NOTE – this is ONLY a PHOTO TUTORIAL ***
The FULL PATTERN IS NOT included here.It is NOT A FREE PATTERN!
I have made this photo tutorial so people who have purchased my monkey sewing pattern can SEE how to sew a monkey toy! (I wanted to explain this so you are not disappointed if you have found this page via a search engine and not from the link in my Mitch the Monkey Toy Pattern)
Let’s get started!
STEP 1
Choose some monkey fabric… a toy monkey does not have to be brown!
EARS:
STEP 2
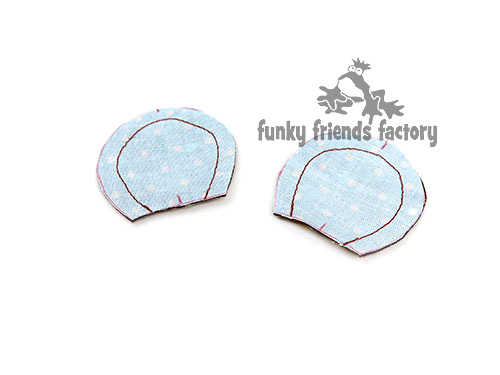
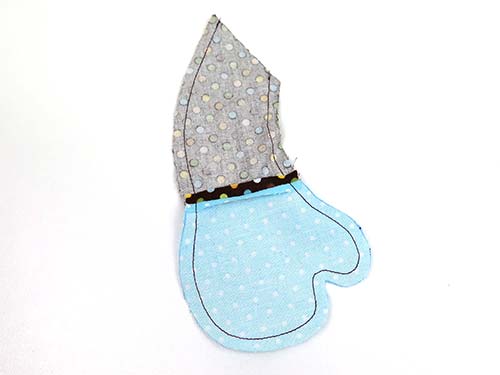
Sew the EAR PIECES together in pairs (one cut from the Main fabric, one from the Contrast fabric) leaving the straight edge open for turning.
STEP 3
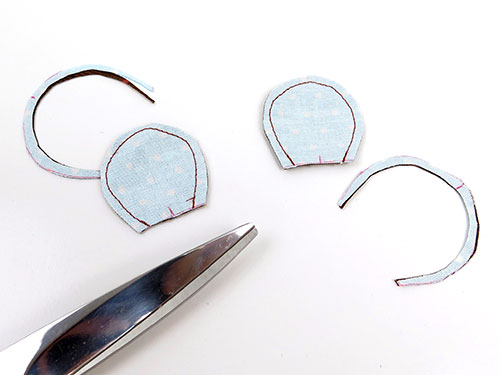
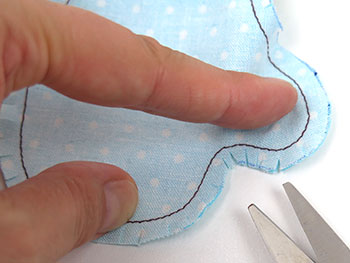
Trim the seam allowance to 3mm (1/8inch) and turn the EARS right sides out.
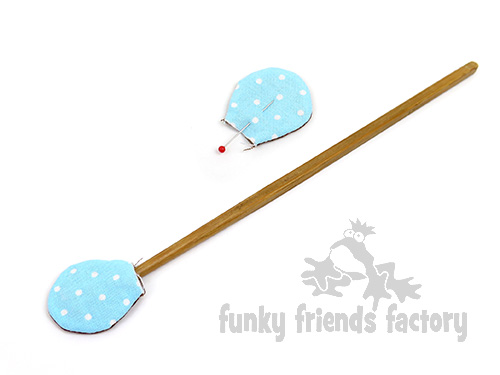
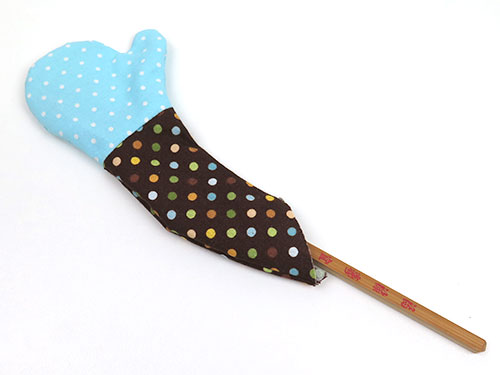
TIP: I use a wooden chopstick to help me turn the EARS. Run the end of the chopstick back and forth along the seam on the inside of the EARS so the seams are nice and smooth.
EYE PIECES:
STEP 4a
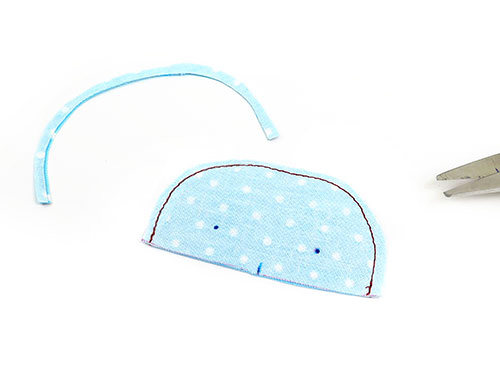
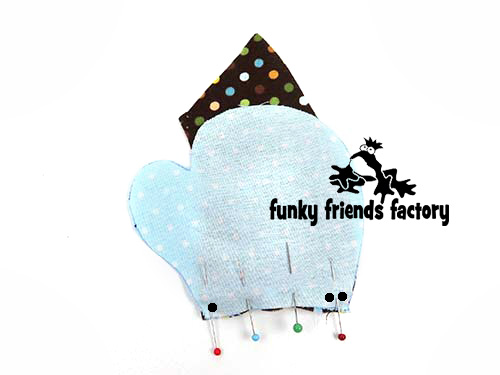
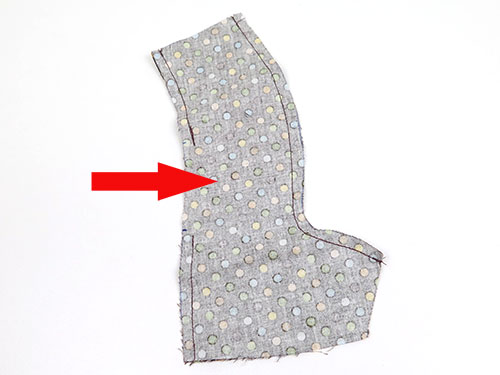
Sew the EYE PIECES right sides together, leave the straight edge open for turning.
STEP 4b
Trim the seam allowance to 3mm (⅛ inch) and turn the EYE PIECES right sides out.
MUZZLE & CHIN:
STEP 5a
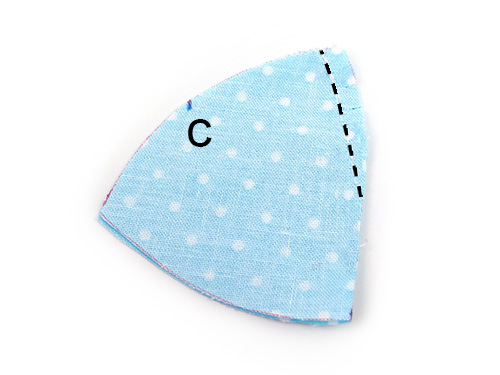
Fold the MUZZLE PIECE right sides together and sew the dart closed at A.
STEP 5b
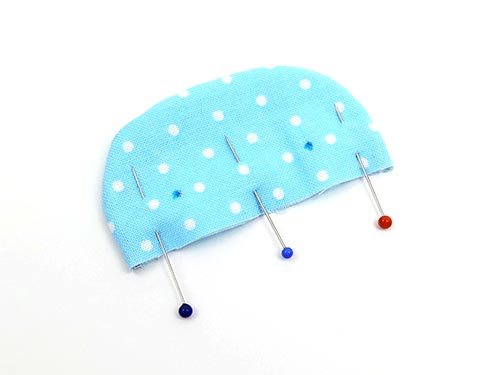
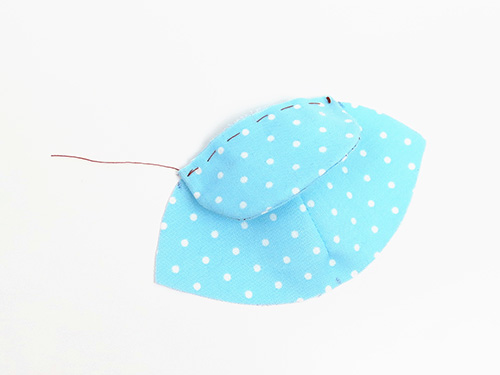
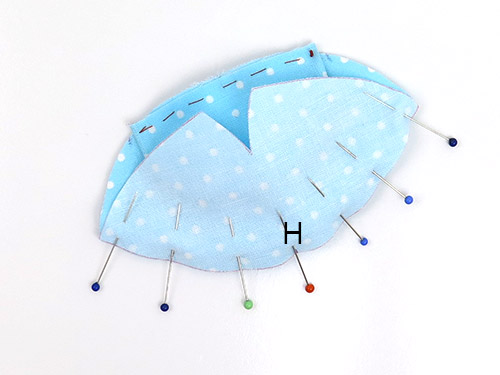
Pin and tack (baste) the EYE PIECES to the MUZZLE PIECE, matching C, A and D, so they lay ‘flat against’ the MUZZLE PIECE.
STEP 5c
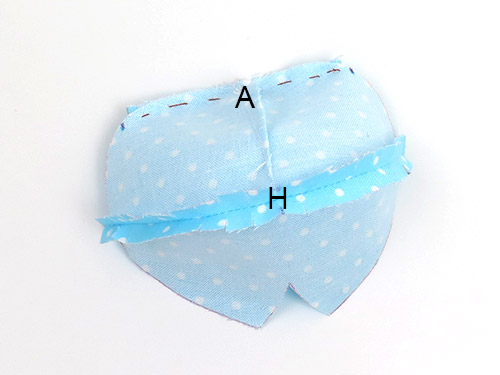
Sew the MUZZLE PIECE to the CHIN PIECE from E – H – F.
TIP: Clip this seam really well so this seam turns nice and smoothly. I like to finger press this seam open.
HEAD and EARS:
STEP 6
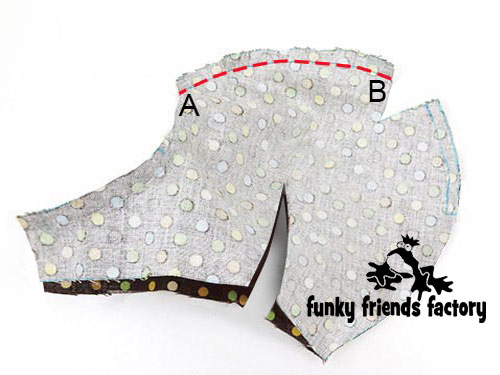
Sew the HEAD PIECES together at the top from A – B.
STEP 7
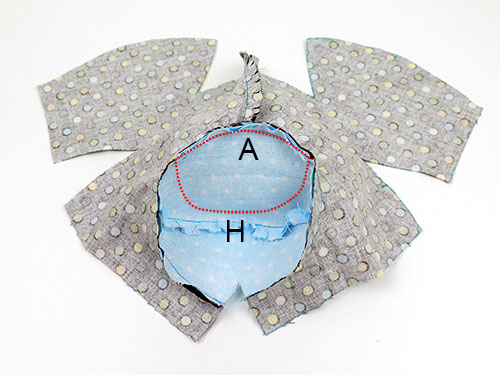
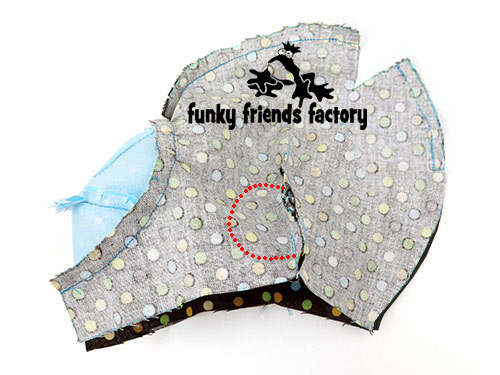
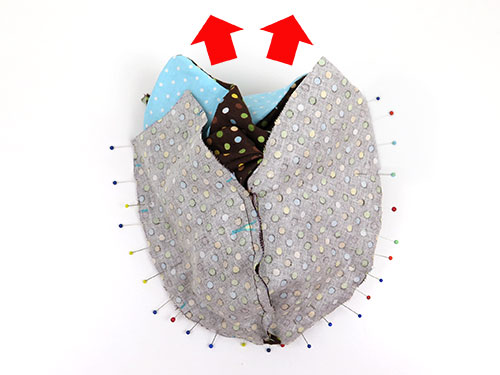
Sew the HEAD PIECES, MUZZLE PIECE and CHIN PIECE together, matching points A, E/F and G.
* I added the red dotted line in the photo below to show you where the EYE PIECES are (behind the MUZZLE PIECE).
STEP 8
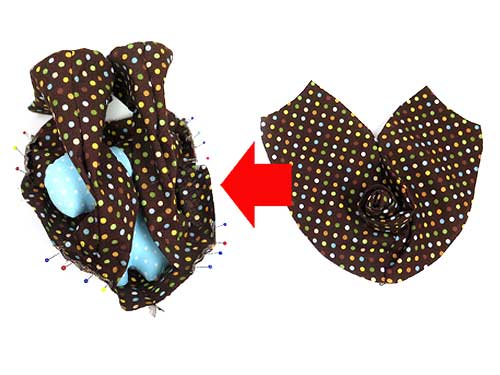
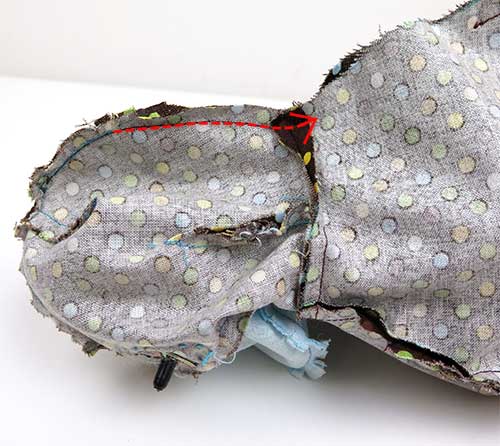
Pin the EARS to the HEAD PIECES at the ear darts. Using the pattern markings to guide you, pin the EARS with the Contrast fabric of EAR PIECE touching the HEAD PIECES. Fold the HEAD PIECES right sides together at the ear darts and sew the darts closed with the EARS inside the darts.
* I added the red dotted line in the photo below to show you where the EARS are (behind the HEAD PIECE).
STEP 9
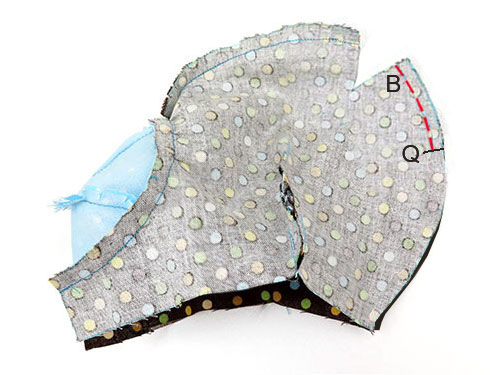
Sew the HEAD PIECES together from B – Q.
STEP 10
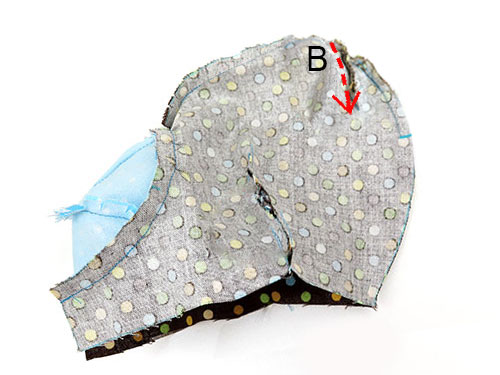
Fold the HEAD PIECES right sides together and sew the dart closed, across the top of the head, at B.
STEP 11
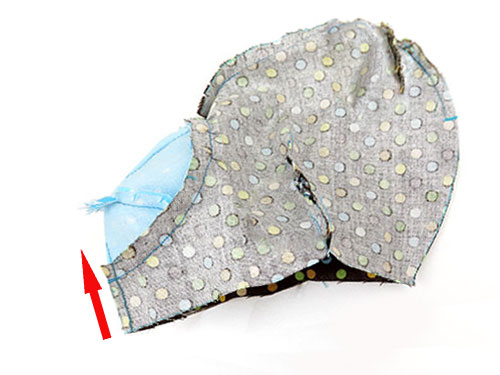
Sew the HEAD PIECES and CHIN PIECE closed at the front from L – G – U. (Leave the HEAD PIECES open, at the back, between Q and O).
EYES:
STEP 12
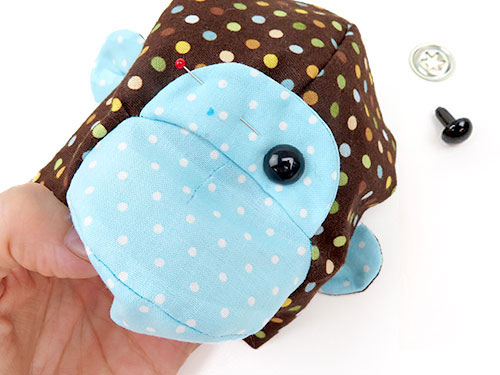
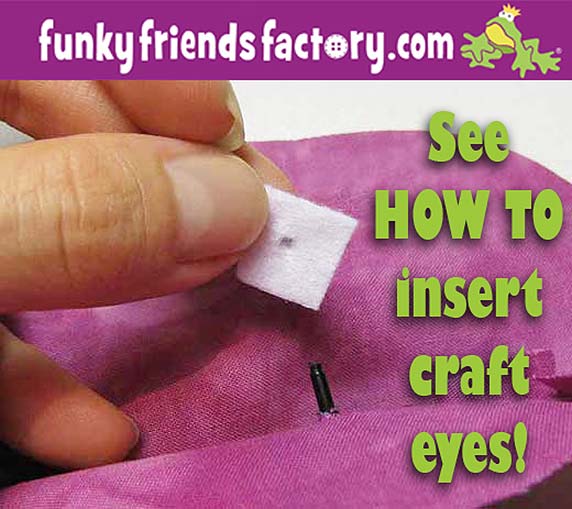
If you are using craft eyes, insert them now. Use sharp scissors to cut a hole for each eye. You will need to cut through both the EYE PIECES and the HEAD PIECES.
TIP: I have a tutorial to show you how to insert craft eyes on my blog ~
STEP 13
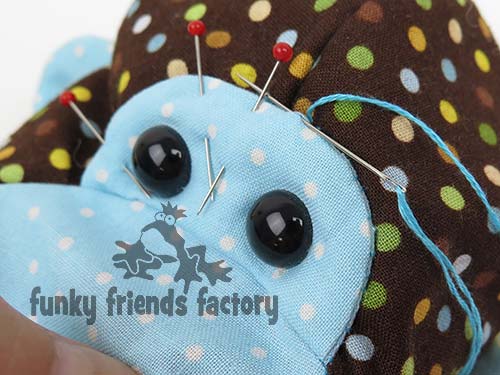
Hand sew the EYE PIECES to the HEAD PIECES.
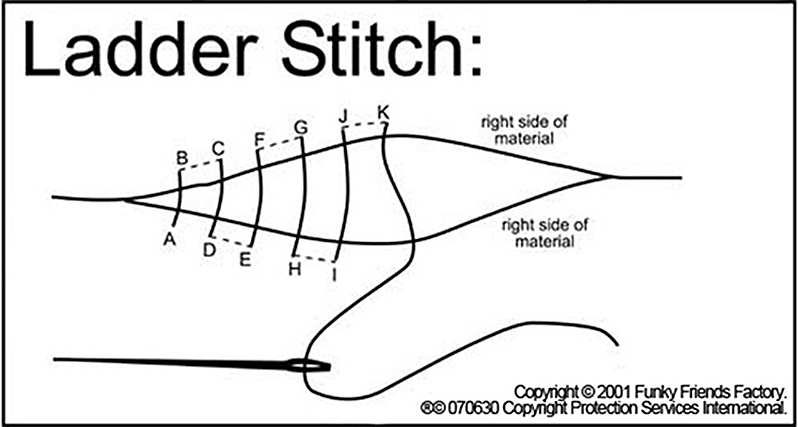
TIP: I use a ladder stitch so you don’t see my stitching but you can use a top-stitch about 3mm (⅜ inch) in from the edge of the EYE PIECES and a contrasting thread to add a fun detail to the EYES.
ARMS:
STEP 14a
Sew the HAND PIECES to the ARM PIECES, matching the dots.
STEP 14b
Sew the ARMS & HANDS PIECES together in pairs.
TIP: Clip the seams well, especially by the ‘thumb’.
STEP 14c
Turn the ARM&HANDS right sides out. Stuff the HANDS and ARMS leaving the top 12mm(½ inch) UNSTUFFED and pin the ARMS closed at the top.
LEGS:
STEP 15a
Sew the LEG PIECES together down the front and back seams, leave a gap to stuff the legs as show on the pattern pieces.
STEP 15b
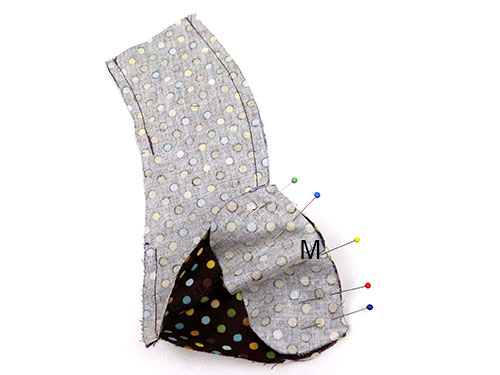
Open the LEG PIECES at M and sew them to the TOES PIECES, matching point M.
STEP 15c
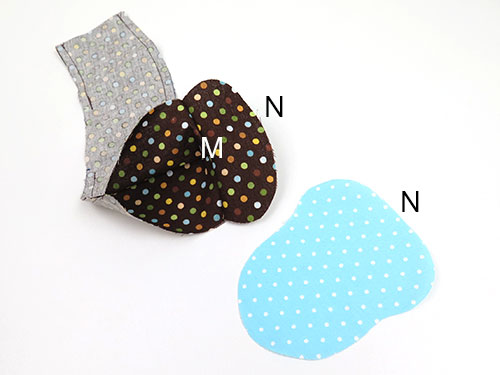
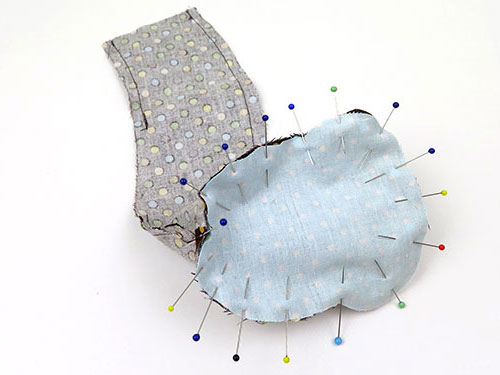
Sew the FOOT PAD PIECES to the LEGS & TOES PIECES, matching point N.
TIP: Use lots of pins so the pieces don’t slip as you sew. ALSO it’s easier if you sew the seam with the FOOT PAD down.
STEP 15d
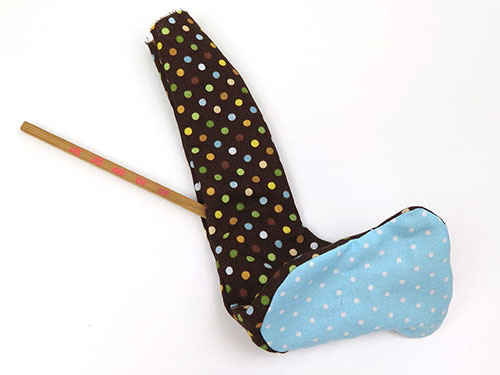
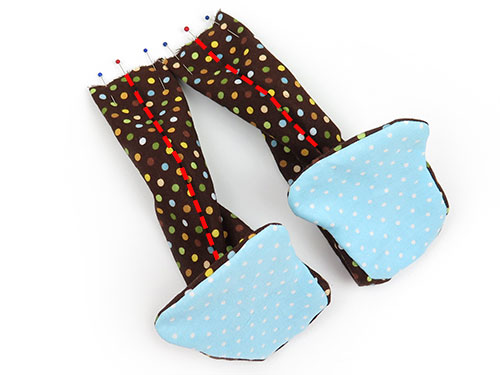
Turn the LEGS right sides out.
** Do NOT stuff the LEGS or they won’t fit inside the monkey’s body when you sew him together!
STEP 15e
Fold the top of the LEG PIECES (see the pattern markings) and pin the seams together at the middle of each leg.
* I added the red dashed line in the photo below to show you where the seams are.
TUMMY:
STEP 16a
Sew the TUMMY PIECES together along the front seam from L – K. Pin the ARMS to the TUMMY PIECES, using the pattern markings to guide you.
STEP 16b
Pin the LEGS to the TUMMY PIECE, using the pattern markings to guide you.
TIP: Unfold the ARMS and LEGS now and check that they are pinned correctly – the thumbs of the hands should face down (or it will look like your monkey is trying to hitch a ride!) and the ‘toes’ should point to the front. It would be a pain to unpick the monkey later on if you have sewn the arms or legs back to front!
TAIL:
STEP 17a
Sew the TAIL PIECES together, leaving the gap to stuff it later.
STEP 17b
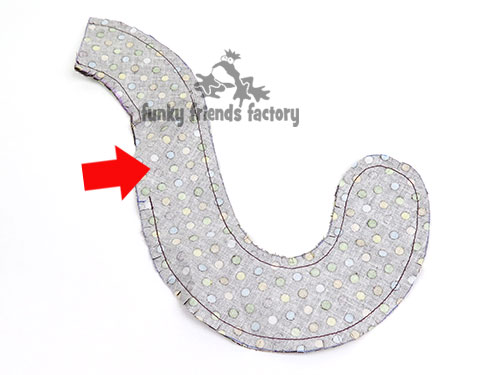
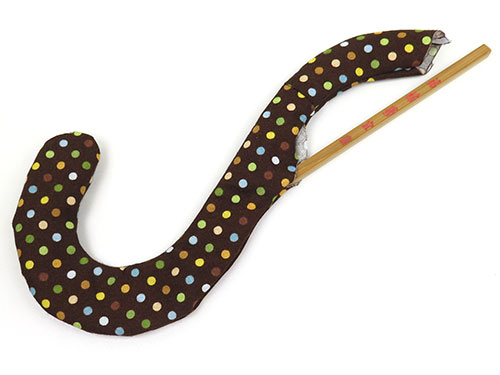
Clip the seams well and turn the tail right sides out. Pin the top of the TAIL closed.
*Do NOT stuff the tail now!*
BACK PIECES:
STEP 18a
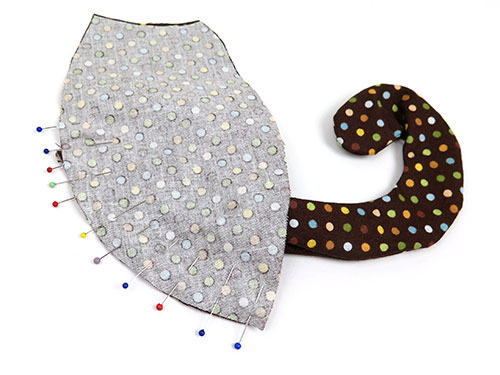
Pin the top of the TAIL to one of the BACK PIECES using the pattern markings to guide you, matching point J. Sew the BACK PIECES together along the back seam from P – K, leaving them open at the top.
STEP 18b
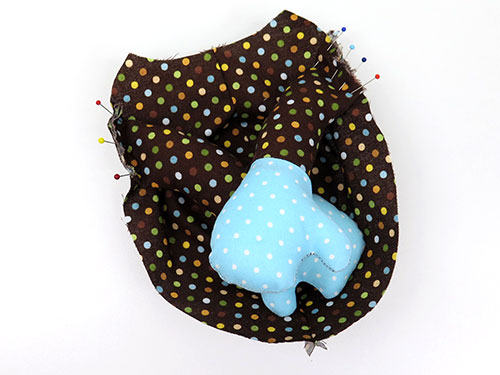
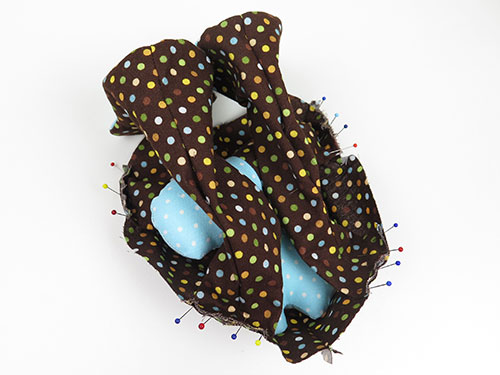
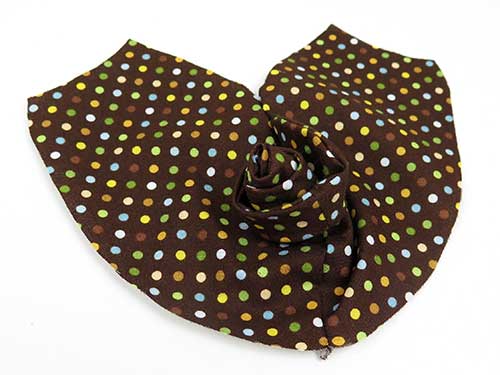
Roll the TAIL into a little ball so you can pin the BACK PIECES to the TUMMY PIECE with the TAIL, ARMS and LEGS in between.
STEP 19
Sew the BACK PIECES to the TUMMY PIECE from T – K – T on the other side.
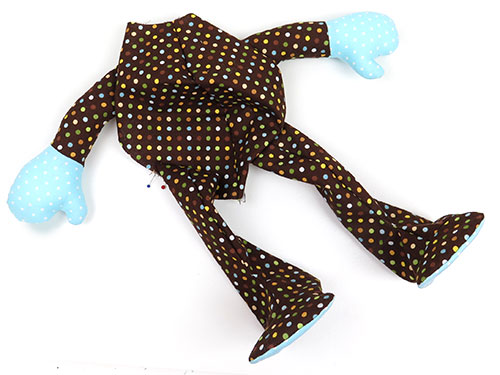
TIP: The LEGS are too big to be inside the BODY, they will be left sticking out the top at the ‘neck’ when you sew it together. Check that you have caught all the layers of the ARMS and LEGS in the seams now so you can unpick and resew them if you haven’t. You can also sew back and forth, across the seams at the tops of the ARMS LEGS and TAIL, with a zig-zag stitch to make them extra secure if the monkey is for a young child.
NECK SEAM:
STEP 20
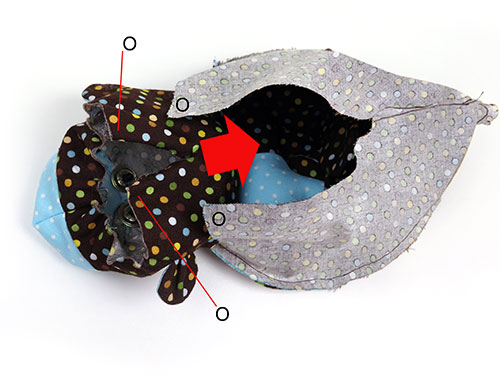
Sew the HEAD PIECES to the TUMMY & BACK PIECES at the neck seam from O – T – L – T – O on the other side.
TIP: I find the easiest way to do this is to turn the HEAD right sides out and push it ‘inside’ the BODY so you can sew them together at the neck, with the fabric right sides together.
STEP 21
Pull the HEAD back out of the BODY and sew HEAD and BACK PIECES closed from Q – O – S, leaving the BACK PIECES open from S – P for turning and stuffing.
ASSEMBLY:
STEP 22
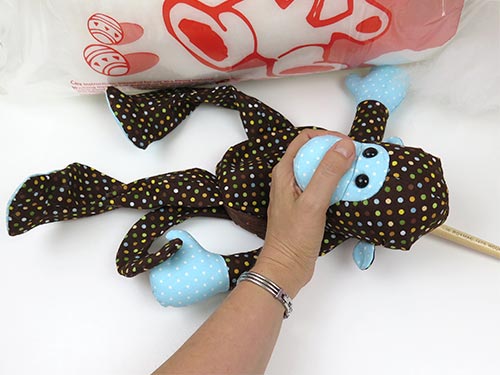
Turn your monkey right sides out. Stuff the LEGS and TAIL with toy stuffing. Stuff the MUZZLE and HEAD very well before stuffing the BODY.
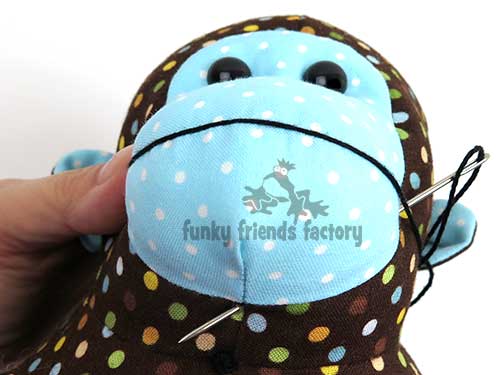
TIP: The face should be stuffed nice and firm so it’s nice and round. This will also make it easier to embroider the nose and mouth.
NOSE, MOUTH and TOES!
STEP 23a
Using the pattern markings to guide you, sew a long straight stitch for the mouth and an upside down ‘V’ for the nose, with black embroidery thread.
STEP 23b
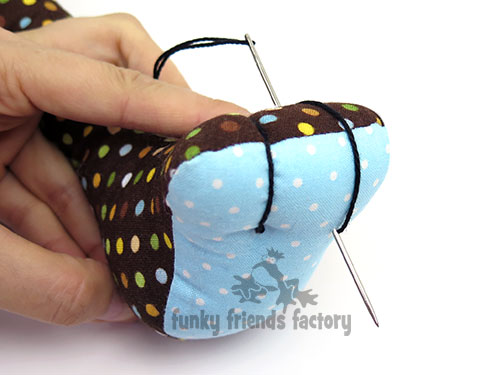
Using the TOE SEWING DIAGRAM as a guide, sew the toes with embroidery thread.
STEP 24
Use a ladder stitch to close the openings on the BACK PIECES and the LEGS and TAIL.
Your Monkey is ready to LOVE!
Come join the fun on Facebook!

I LOVE to see how your Funky Friends toys turn out!
When you’ve made your own stuffed toy monkey you can come show it off ~>
Post a photo on my Funky Friends Factory Facebook page for me to see and YOU could win a FREE PATTERN!
Till next time,
Happy Sewing,
Pauline


