
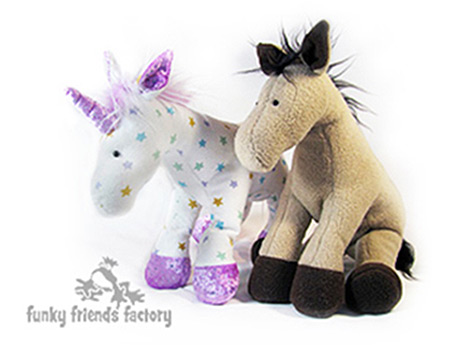
Yeeeeehar!!!! my Horsey Horse Sewing Pattern photo tutorial is ready to go! 🙂 This pattern shows you how to sew a horse or a unicorn toy!
.
*** PLEASE NOTE – this is ONLY a PHOTO TUTORIAL ***
The FULL PATTERN IS NOT included here.It is NOT A FREE PATTERN!
I have made this photo tutorial so people who have purchased my Horse and Unicorn Pattern can SEE how to sew a horse toy! I wanted to explain this so you are not disappointed if you have found this page via a search engine and not from the link in my Horsey Horse and Unix Unicorn Sewing Pattern.
Choose some Horse fabric:
You can sew a Horse or Unicorn in almost any fabric!
OK, let’s start sewing…
LEGS and GUSSET:
STEP 1
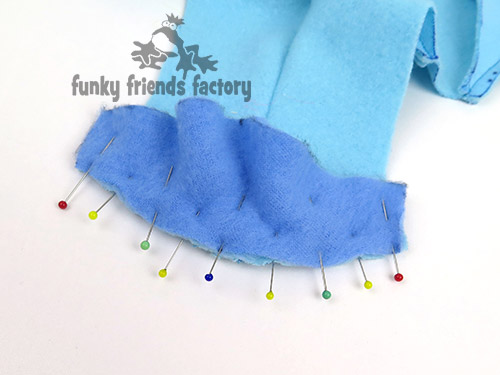
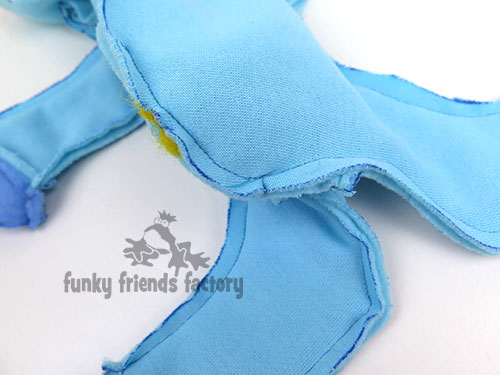
Pin and sew the FRONT AND BACK LEG PIECES to the BODY GUSSET PIECE making sure to match the dots. Sew from A-B and C-D on both sides.
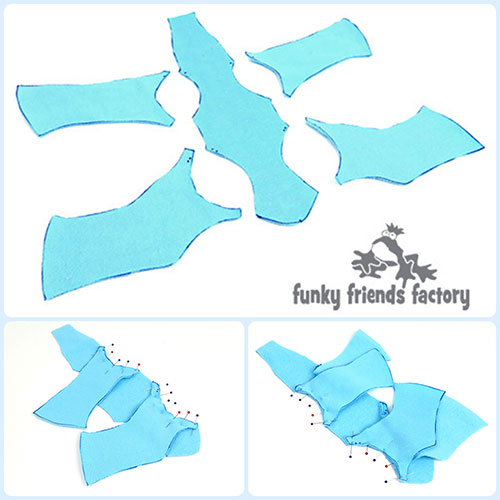
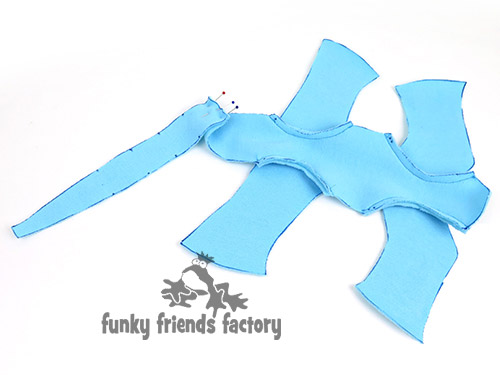
STEP 2
Sew the BODY GUSSET PIECE to the NECK GUSSET PIECE at the neck seam. (This forms a seam which you will line up with the seam between the HEAD AND BODY PIECES when you sew the gusset in place.)
EARS:
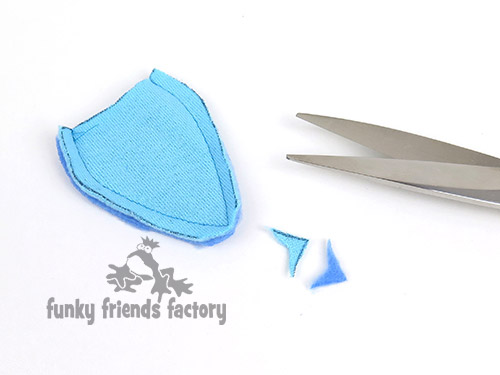
STEP 3
Sew the EAR PIECES together (one main and one contrasting fabric piece). Trim the seam allowance a bit closer to the sewing line around the tip so that it will lie better when turned right side out.
TIP: Use a wooden chopstick to push the tips of the ears out to form nice pointed EARS.

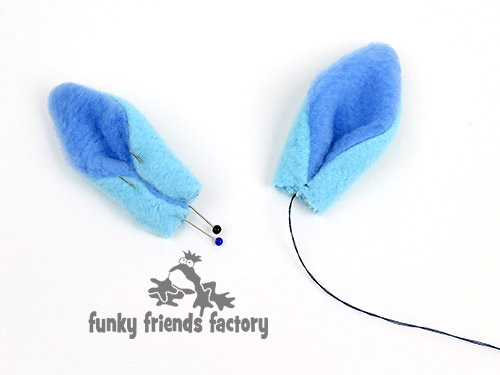
STEP 4
Turn the EARS right sides out and fold the open edge of each ear inwards to the centre to form the ear shape. Pin and tack the ears in this position. This will stop them from slipping when you sew them in place.
MANE:
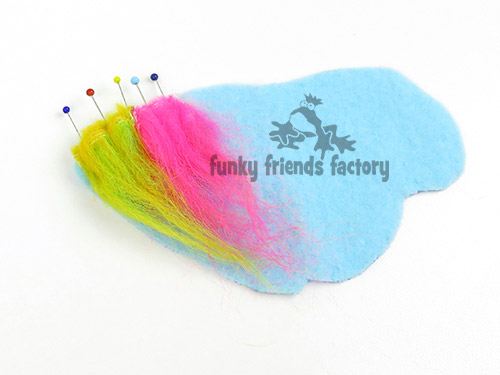
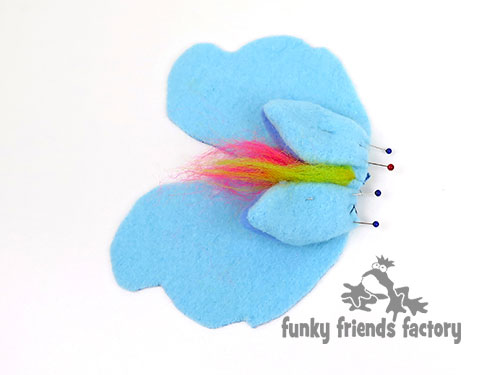
STEP 5
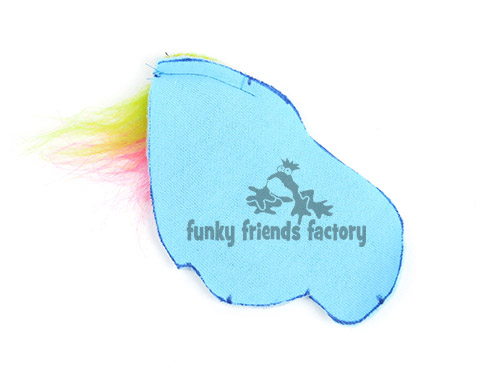
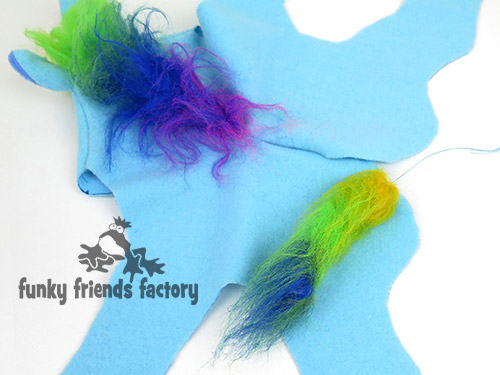
Cut a strip of fur about 1cm/ ½inch wide by 13cm / 5inches long. *** REMEMBER to cut through the backing only and NOT through the fur pile itself. Cut a 4cm / 1½inch length off the strip and place it in position for the mane, between the HEAD PIECES, as indicated on the pattern pieces.
TIP: The fur must be inside the head with the backing strip placed just outside the sewing line. I find it best to tack the backing strip in position to make sure it doesn’t slip and show on the right side when I sew this seam.
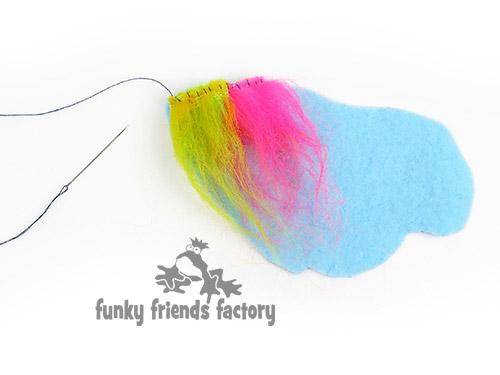
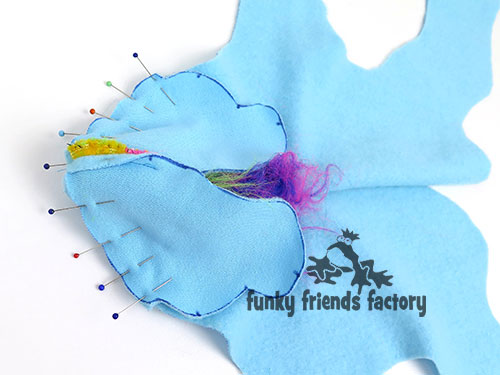
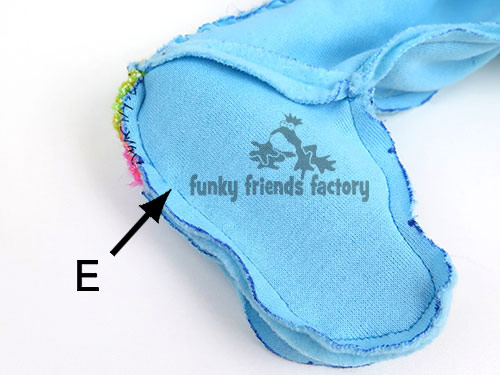
STEP 6
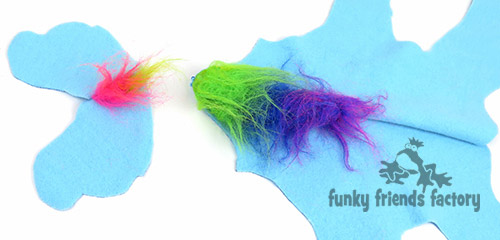
Sew the HEAD PIECES together from E – F, with the fur ‘sandwiched’ in between.
STEP 7a
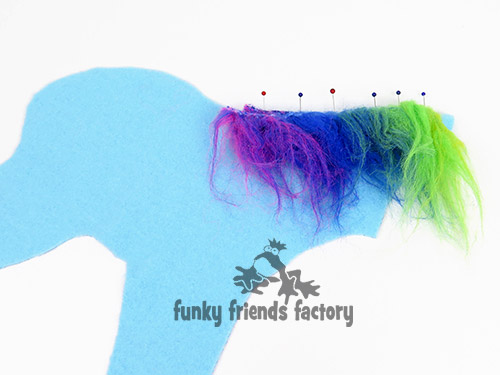
Take the remaining piece of fur and place it between the BODY PIECES at the neck, as indicated on the pattern pieces. Tack it in position, like you did before.
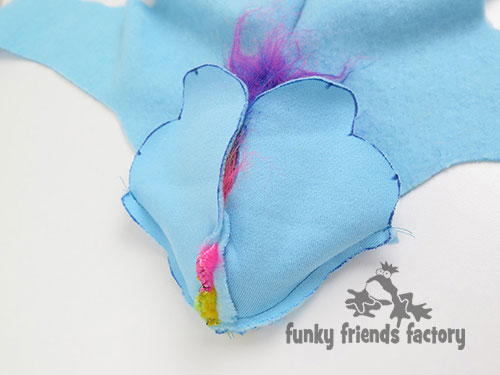
STEP 7b
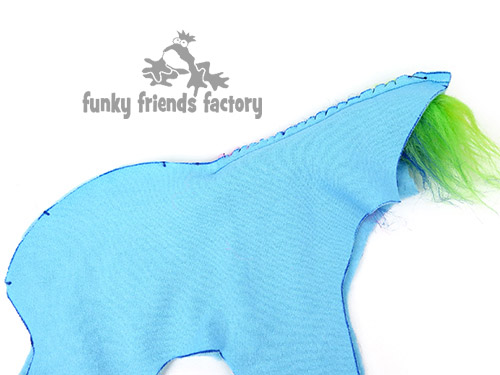
Sew the BODY PIECES together from G – H, with the fur ‘sandwiched’ in between.
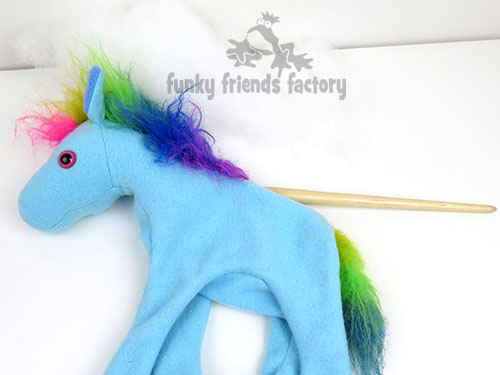
TIP: This is what the fur should look like.
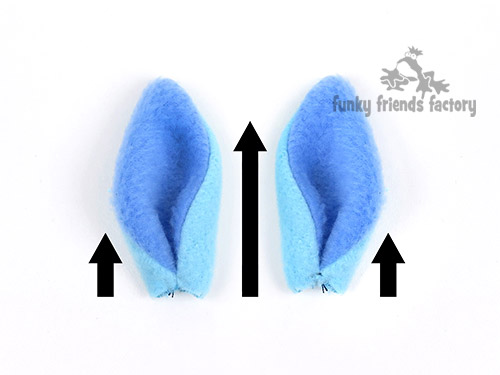
STEP 8a
Use the EAR DIAGRAM to work out which ear is right and which is left! The centre fold is longer and the shorter fold of each EAR is placed towards the sides.
STEP 8b
Pin the ears in position on the HEAD PIECES , match the fold in the ear to the pattern marking on the HEAD PIECE. This will make sure that the ears are facing forwards!
STEP 9
Pin the HEAD PIECES and BODY PIECES together with the ears sandwiched in between. Sew the HEAD PIECES to the BODY PIECES from J- G – and on to J on the other side.
TIP: Use lots of pins for this seam and sew slowly and carefully to make sure you catch the fur nicely in the seam.
TAIL:
STEP 10
For the TAIL, cut another strip of fur about 2cm/ ¾inch by 10cm/4inches. *** REMEMBER to cut through the backing only and NOT through the fur pile. Roll the sides of the strip to the centre, tuck the rough edges under and sew these together with a matching coloured thread. Make sure the fur forms a nice tassel at the end for the horses TAIL. Place the TAIL in position between the BODY PIECES and tack/baste it in place.
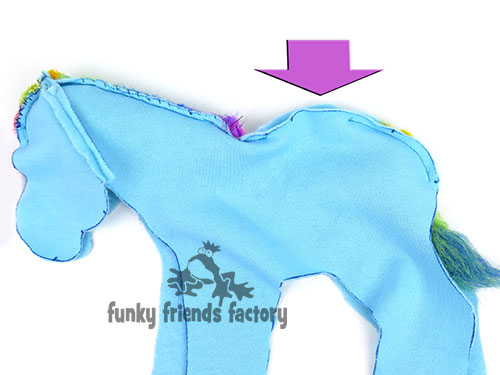
STEP 11b
Sew the BODY PIECES together at the back from K – L, with the TAIL sandwiched in between.
*Don’t forget to leave the gap open on the BODY PIECES for stuffing your Horsey.
LEGS and HOOF PIECES:
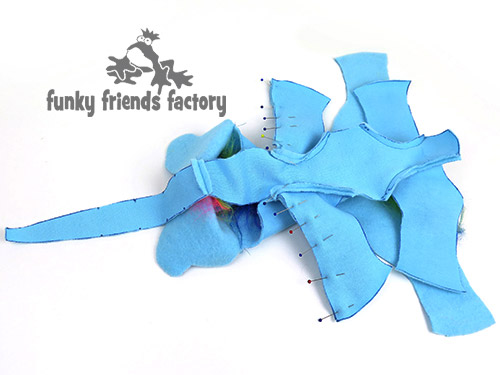
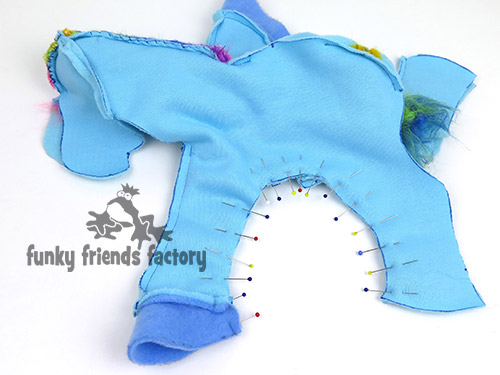
STEP 12
Pin and sew the FRONT LEGS to the BODY PIECES from M- N.
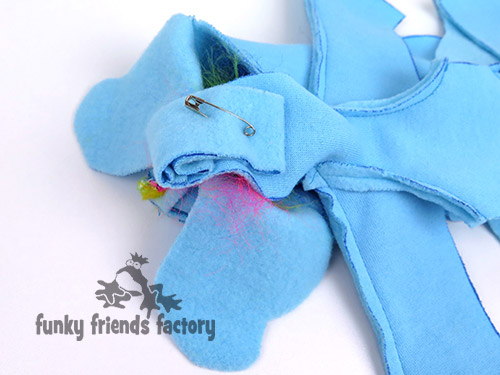
TIP: Roll up the GUSSET PIECE and use a safety pin it out of the way while you sew the LEGS in place.
STEP 13
Sew one of the HOOF PIECES to each front leg at the hoof seam.
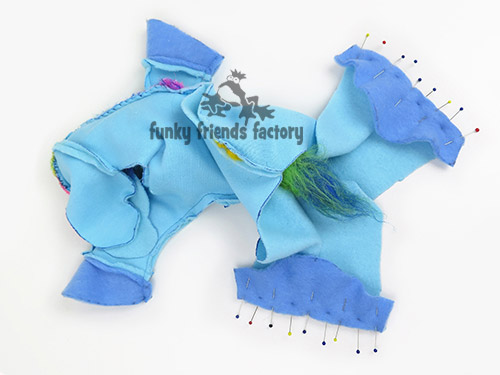
STEP 14
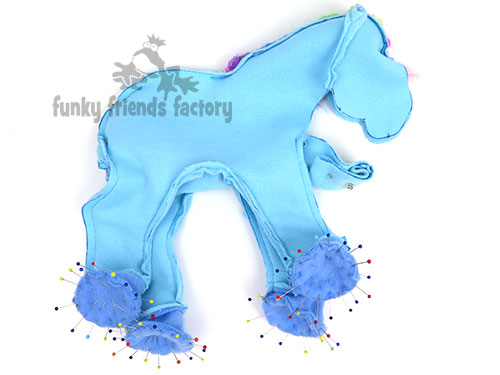
Sew the front legs closed. Start at the base of the HOOF PIECES at O and sew through P, up the back of each front leg along the side and down the front of each back leg from Q – R.
STEP 15
Sew the 2 remaining HOOF PIECES to the back legs at the hoof seams.
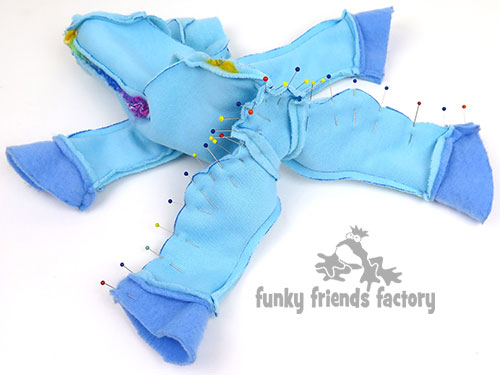
STEP 16a
Sew the back legs closed, one at a time. Sew from the base of one HOOF at O through T, up the back of the leg to L.
STEP 16b
Then sew the other back leg closed from the base of the HOOF to L.
TIP: Check that the seams meet up nicely at L.

STEP 17
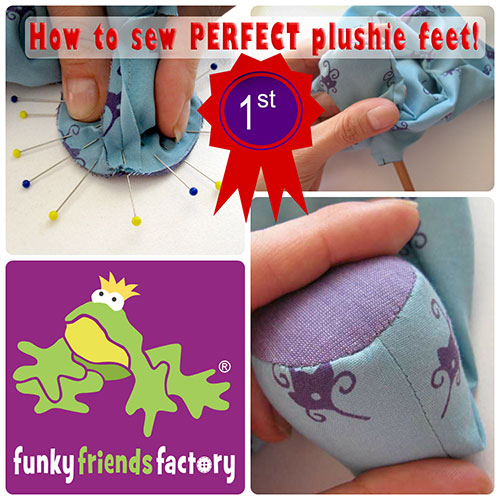
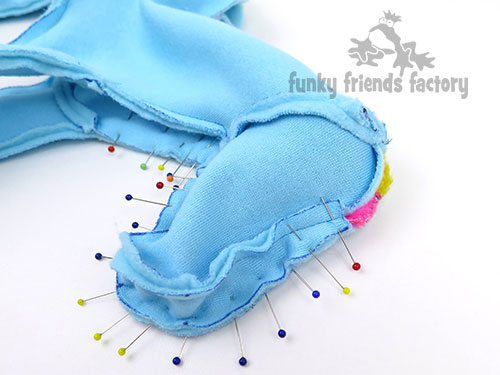
Pin and sew the FOOT PAD PIECES in place.
TIP: I have a tutorial to show you how to sew the footpads in place. Click the picture below to check it out!
STEP 18
Sew the NECK GUSSET PIECE to the HEAD PIECE on one side, matching the pattern markings, from M – through J – E. ( I use LOTS of pins as this is a bit fiddly!)
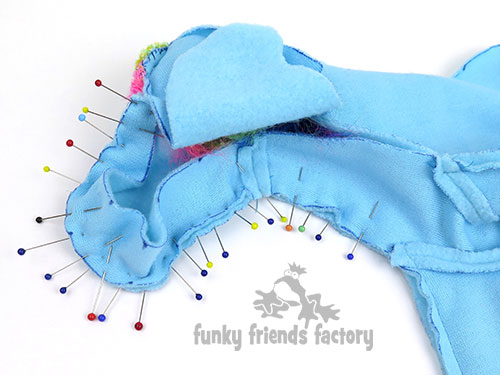
STEP 19
Sew the other side of the NECK GUSSET closed.
TIP: Make sure that the seam is completely closed at the front of the mane at point E. If there is a gap there – sew it closed.
ASSEMBLY:
STEP 20
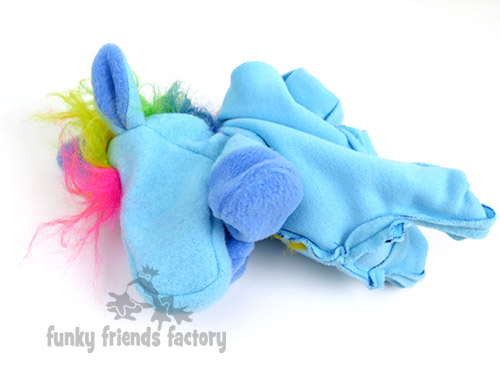
Turn the horse right side out through the gap left at the back.
STEP 21
If you are using craft eyes insert them now.
STEP 22
Stuff the snout and head area quite firmly first. Stuff the hooves and legs with toy stuffing then stuff the rest of the body. Keep stuffing the body and neck until the horsey is able to sit up firmly on it’s own! (If you are making your Horsey from fleece and you want him to be able to sit, stuff the body a bit less so he stays in a seated pose.)
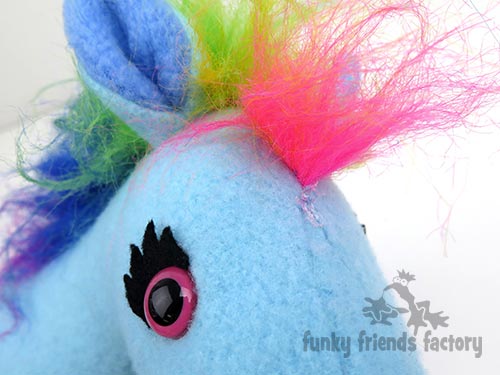
If you are embroidering the eyes, use black thread to embroider some eyes for your horsey after the head is stuffed.
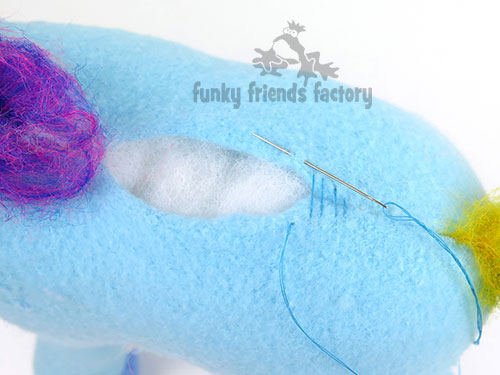
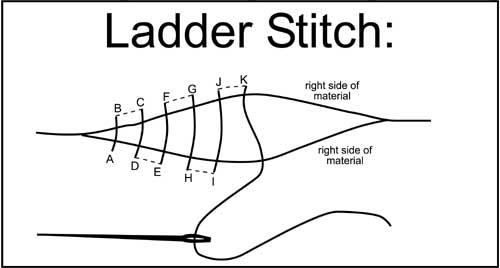
STEP 23
Use a ladder stitch to close the opening on the BODY PIECES.
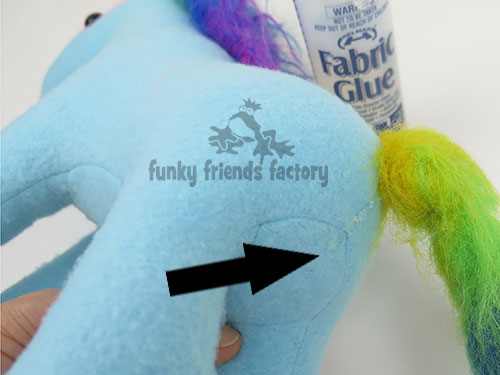
STEP 24a
Sew the TAIL to the BODY PIECES for the first 3cm/ inch (or glue it down) so that it lies flat like a horse’s TAIL.
STEP 24b
Sew (or glue) the MANE to the GUSSET PIECE for 12mm/half inch or so. You can leave he mane to stick up if you like!
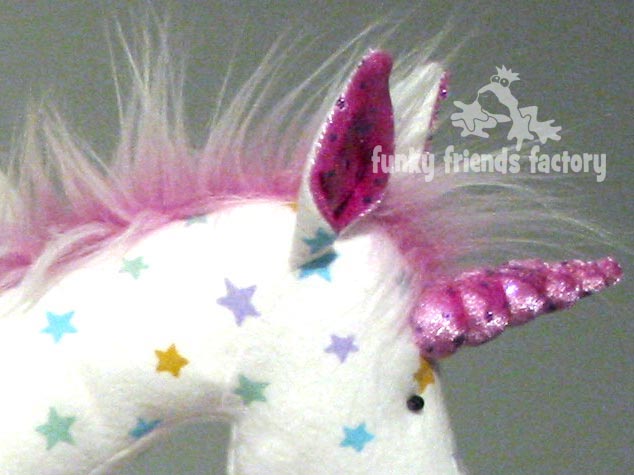
ADD A HORN for a UNICORN:
STEP 25a
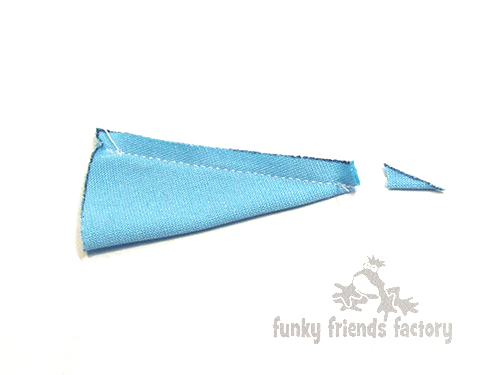
Cut one HORN PIECE out of stretchy fabric. Fold the HORN PIECE in half lengthwise and sew the side seam.
STEP 25b
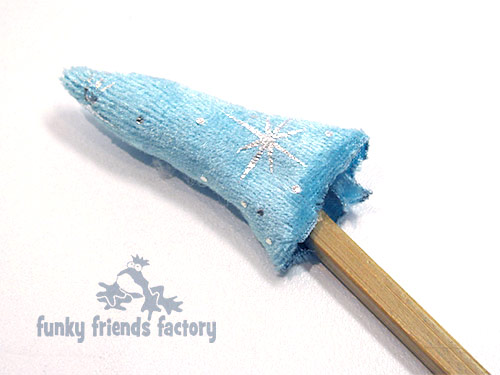
Using a pointed tool, like a wooden chopstick,
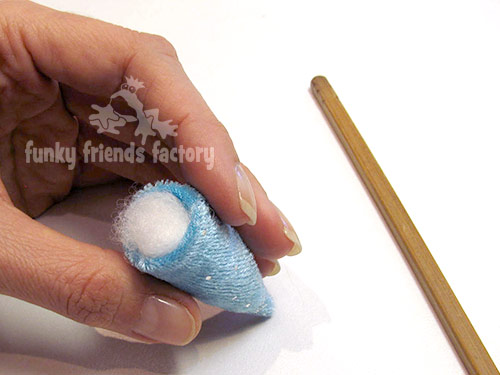
STEP 25c
Stuff the horn very firmly with toy stuffing giving the base a nice round shape.Fold under a 5mm/¼inch seam at the base of the horn.
STEP 25d
Position the horn to stand upright at the front end of Unix’s mane and sew it on using ladder stitch.
STEP 25e
Secure the end of the embroidery thread at the base of the horn with a double knot. Wind the thread in a spiral around the horn. Pull firmly as you go to indent the horn material. Sew a knot at the tip, and then sew the thread back inside the horn to finish off.
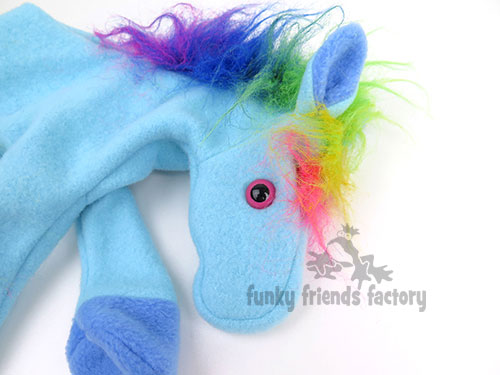
Your Horsey is ready to LOVE!
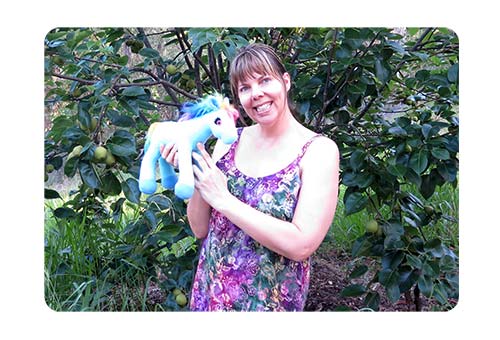
Here I am with a Horsey I sewed for my BIG brother who
said he wanted a rainbow pony!!!!! 😀
(I added the eyelashes from my Seahorse Sewing Pattern!)
Come join the fun on Facebook!
![]()
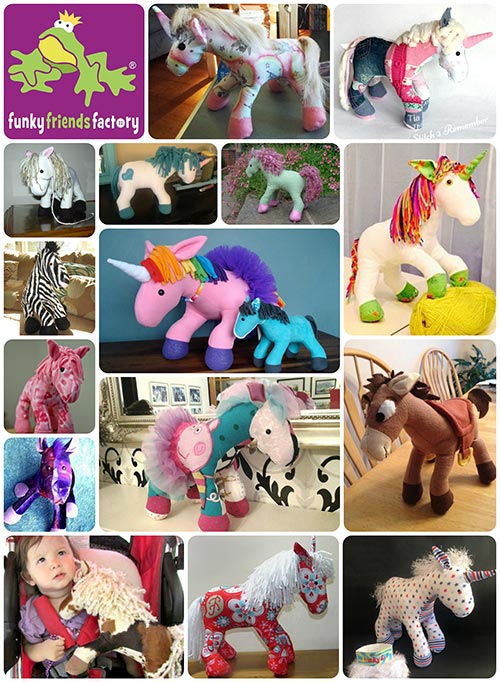
I LOVE to see how your Funky Friends toys turn out!
When you’ve made your own stuffed toy Horses you can come show them off ~>
Post a photo on my Funky Friends Factory Facebook page for me to see and YOU could win a FREE PATTERN!

Till next time,
Happy Sewing,
Pauline
