
I made this photo tutorial so you can see how to sew my Giraffe Sewing Pattern ~> scroll down for step-by-step photos!
.
*** PLEASE NOTE – this in ONLY a PHOTO TUTORIAL ***
The FULL PATTERN IS NOT included here.It is NOT A FREE PATTERN!
I have made this photo tutorial so people who have purchased my Giraffe Sewing Pattern can SEE how to sew a giraffe toy! (I wanted to explain this so you are not disappointed if you have found this page via a search engine and not from the link in my Giraffe Sewing Pattern.
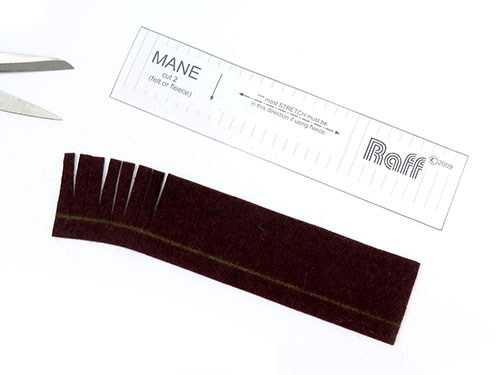
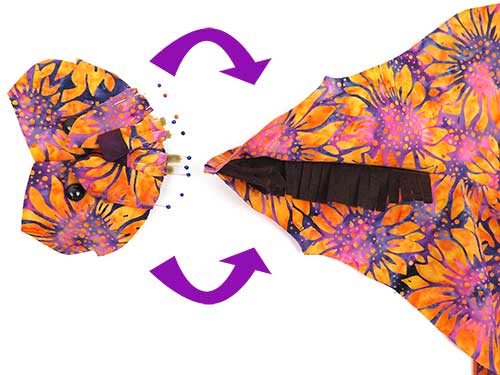
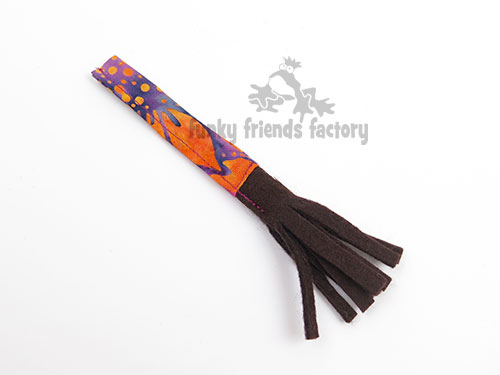
We start with the MANE:
STEP 1
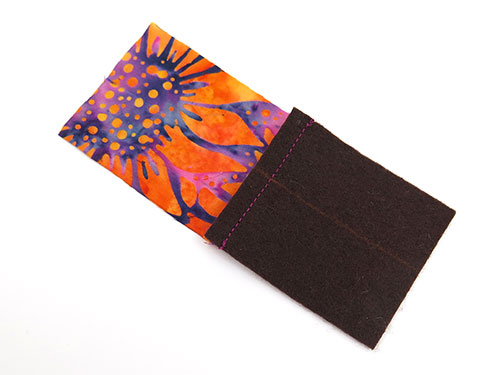
Cut the tassels of the MANE PIECES as shown on the pattern markings (about 5mm/¼inch in thickness.)
TIP: I drew a chalk line on the felt so I could keep all the tassels the same length.
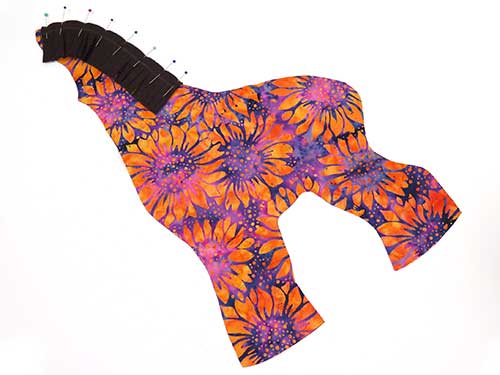
STEP 2
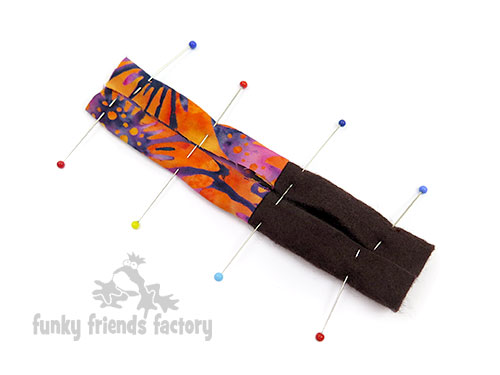
Pin the MANE PIECES to one of the BODY PIECES at the neck, as indicated on the pattern pieces.
BODY:
STEP 3
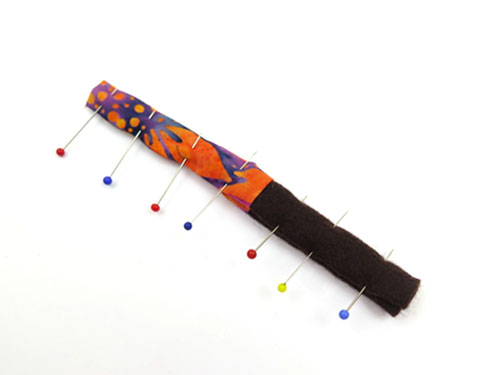
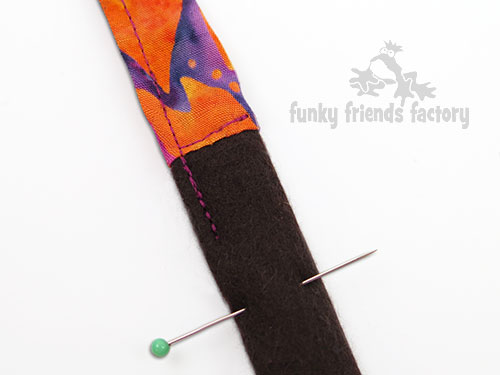
Pin the other BODY PIECE to the first BODY PIECE with the MANE in between. With the MANE PIECES in place, sew the BODY PIECES together from F – L, remembering to leave a gap open for stuffing later.
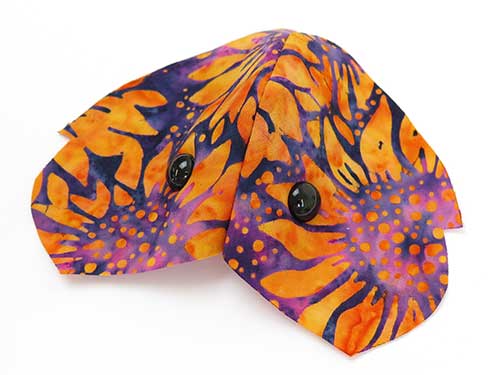
HEAD and HORNS:
STEP 4
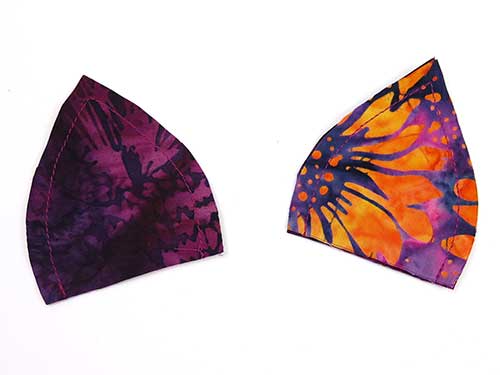
Sew the HEAD PIECES together from E – F.

EYES:
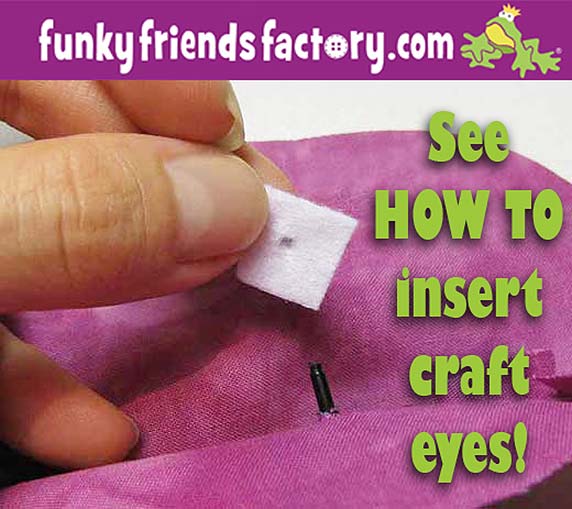
STEP 5
If you are using CRAFT EYES insert these now.
TIP: I have a tutorial to show you how to insert craft eyes on my blog.
STEP 6a
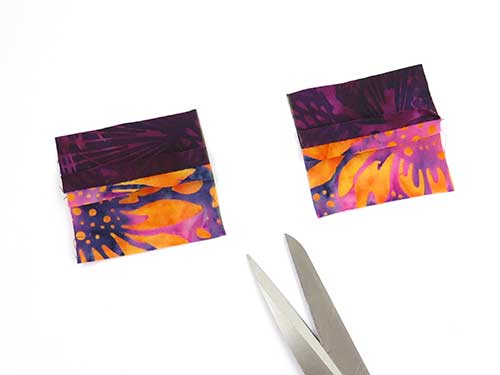
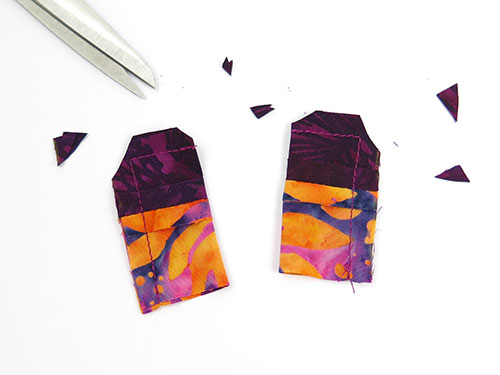
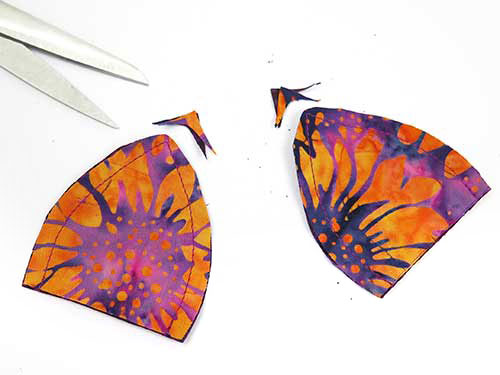
Sew the HORN PIECE to the HORN TIP PIECE.
STEP 6b
Cut this one piece in half, as shown on the pattern markings, to make 2 pieces.
STEP 6c
Fold each piece (right sides together) and sew them along the side and top. Clip the ‘corners’ of the seam allowance at the ‘tip’ of each horn and turn them right sides out.
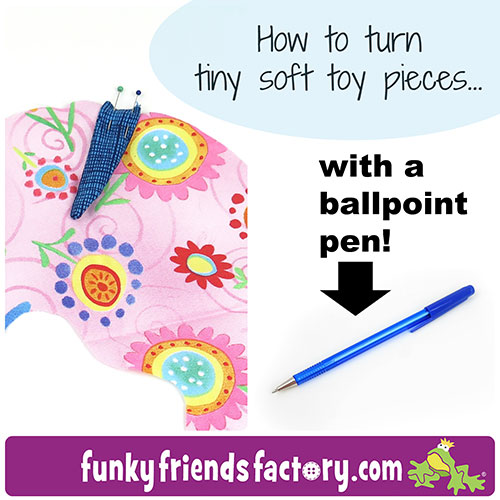
TIP: The horns are small and can be hard to turn. I have a blog post to show you how to turn small softie pieces.
STEP 7
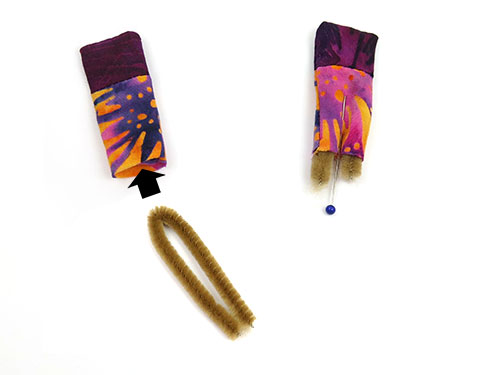
Fold two 5cm (2inch) pieces of wire/chenille sticks in half and push the folded ends into each horn. (These help the horns stay up straight!)
TIP: It’s NOT good to sew over chenille sticks (wire) – it can damage your needle and your machine if you hit the wire with the needle. Stop stitching on either side of the HORNS and sew them in place by hand.
EARS:
STEP 8
Sew the EAR PIECES together (one main and one contrast piece for each ear).
STEP 9
Trim the seam allowance at the tip of the EAR PIECES then turn them right sides out.
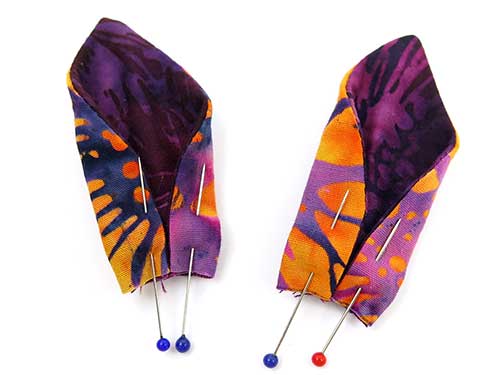
STEP 10
Fold the sides of the EAR PIECES to the centre. Pin or tack (baste) them in this position to stop them slipping when you sew them in place.
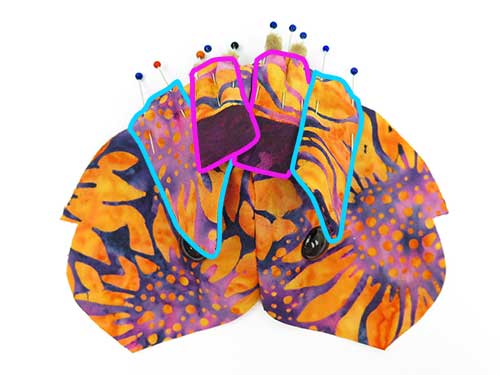
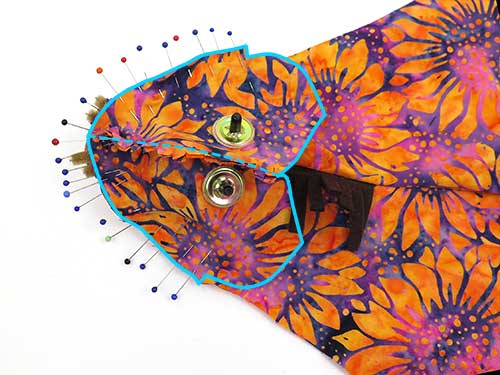
STEP 11
Pin the horns and ears in position on the HEAD PIECES. The inside of the ear (contrast fabric) should be facing/touching the HEAD PIECES.
*The EARS are outlined in blue
and the HORNS are outlined in pink in the photo below.
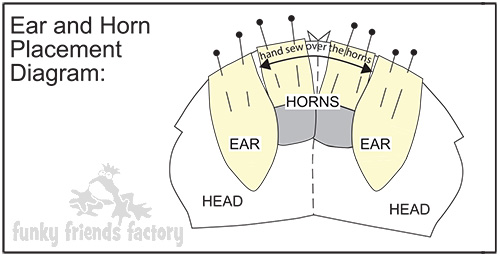
STEP 12
Pin the HEAD PIECES to the BODY PIECES, at the neck seam, with the horns and ears in between. Sew over the horns by hand then sew the rest of the neck seam by machine.
TIP: This is a tricky seam to sew, so use LOTS of pins or baste(tack) all the layers together so that the pieces won’t slip as you sew.
LEGS and GUSSET:
STEP 13
Pin the FRONT LEG PIECES and BACK LEG PIECES to the GUSSET PIECE, matching the dots, and sew them in place, from A-B and C-D on both sides.
TIP: You can sew one side at a time if you find it easier!

STEP 14
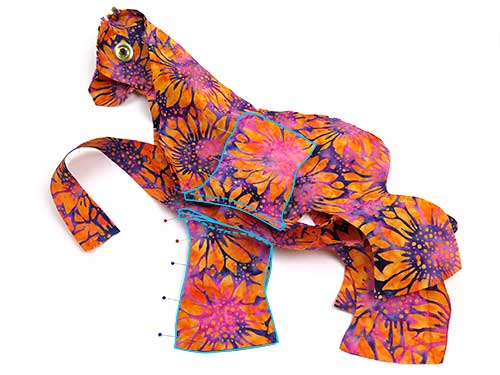
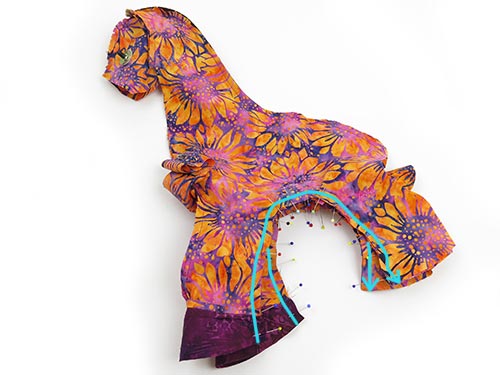
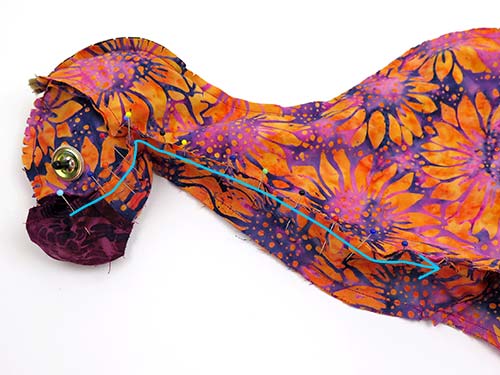
Sew the FRONT LEG PIECES to the BODY PIECES from M- A on both sides.
* I have outlined the INNER FRONT LEGS
in blue in the photo below.
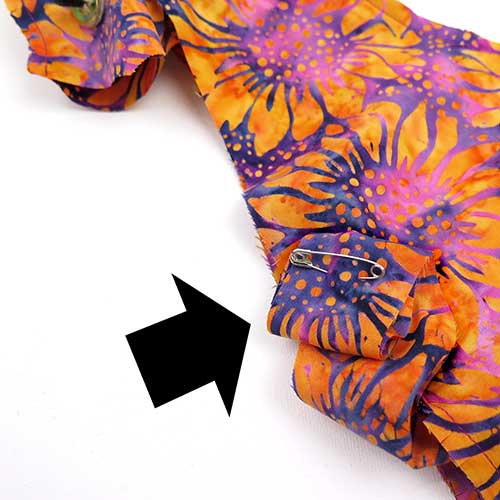
TIP: Roll up the front of the GUSSET PIECE and pin it out of the way with a safety pin!
STEP 15
Sew one of the HOOF PIECES to each front leg at the hoof seam.
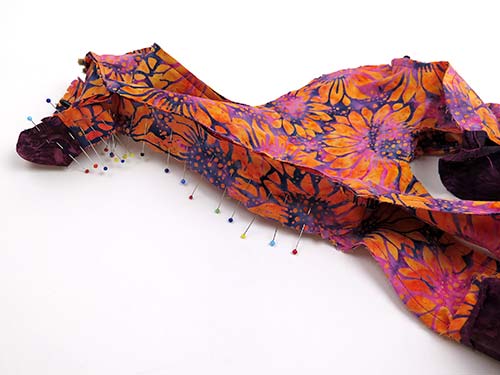
STEP 16
Sew up the back of each front leg, starting at the base of the HOOF PIECE at O and sewing through P, continue along the Giraffe’s sides and down the front of each back leg from Q – R.
STEP 17
Sew the 2 remaining HOOF PIECES to the back legs at the hoof seams.
*** Prepare the tail BEFORE
you sew the back legs closed.***
TAIL:
STEP 18
Sew the TAIL PIECE and the TAIL TIP PIECE together.
STEP 19a
Fold the long (side) edges of the tail to the center with the WRONG sides of the fabric together.
STEP 19b
Fold the tail in half (lengthwise again) to form 4 layers.
STEP 19c
Sew a line of stitching down the tail to hold it closed, you don’t need to sew the whole way down the TAIL TIP PIECE, perhaps about 1cm (½ inch) at most.
STEP 19d
Cut the tassels in the TAIL TIP PIECE about 5mm (¼inch) thick.
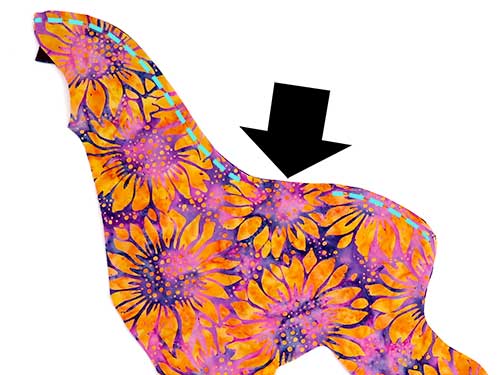
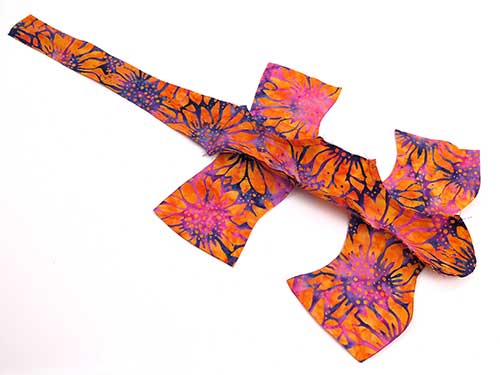
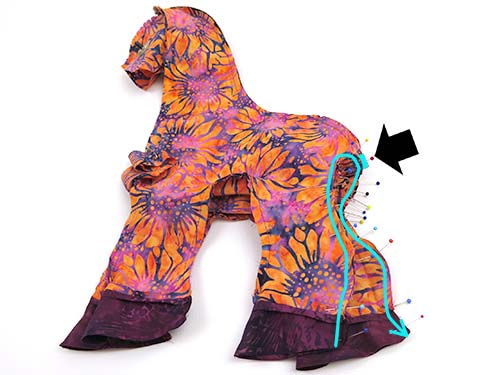
STEP 20
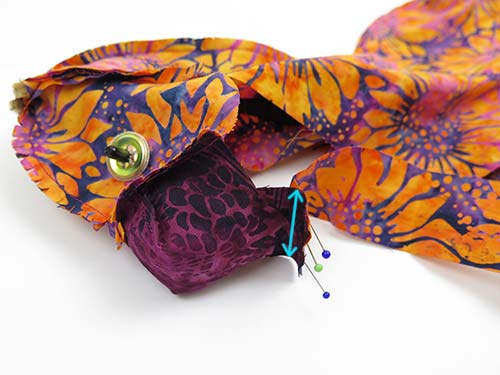
With the tail in position between the BODY PIECES and the GUSSET PIECE, sew the back legs closed. Sew from the base of one HOOF PIECE at O through T, up the back of the leg to L, then sew down the back of the other back leg to the base of the hoof, on the other side.
* The black arrow is pointing to the tip of the tail
which I coloured in blue in the photo below.
HOOF PADS:
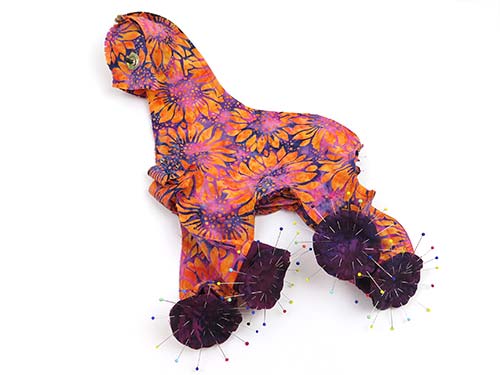
STEP 21
Pin and sew the HOOF PAD PIECES in place.
TIP: I have a tutorial on my blog to show you how to sew perfect plushie feet – it’s easy when you know how!

SNOUT:
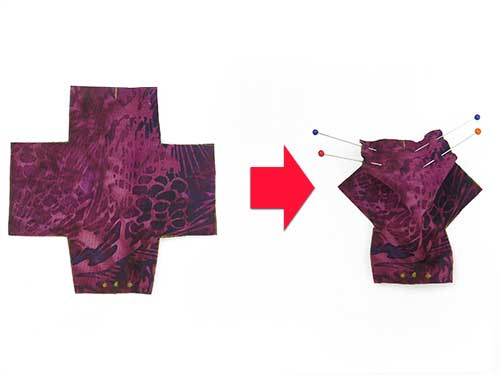
STEP 22
Fold and sew dart 1 and dart 2 in the SNOUT PIECE. (Remember – pin the fabric right sides together!)
STEP 23a
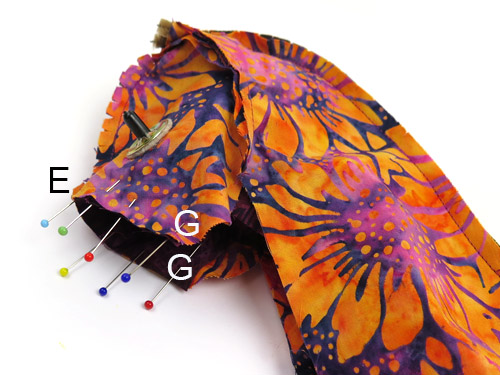
Pin the SNOUT PIECE to the HEAD PIECES. (Remember to pin the pieces with the fabric right sides together!)
STEP 23b
Sew the SNOUT PIECE to the HEAD PIECES from G – E – G.

STEP 24
Remove the safety pin and sew the SNOUT PIECE to the GUSSET PIECE (match the 3 dots pattern markings).
STEP 25a
Sew the snout and neck closed. Sew one side at a time from A on the GUSSET PIECE to Z on the SNOUT PIECE, closing dart 3 and dart 4 of the SNOUT PIECE.
STEP 25b
Sew the snout and neck closed. Sew one side at a time from A on the GUSSET PIECE to Z on the SNOUT PIECE, closing dart 3 and dart 4 of the SNOUT PIECE.
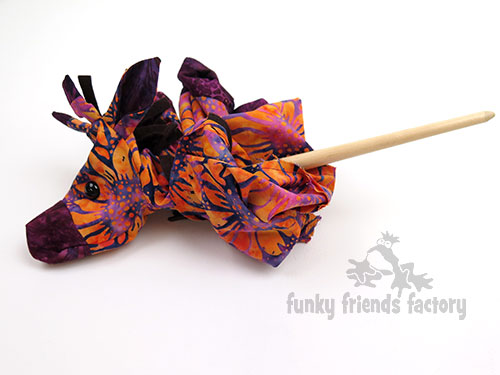
ASSEMBLY:
STEP 26
Turn your giraffe right side out through the gap left at the back. (I use a children’s paintbrush to push out the seam snicely, it’s also great for getting the stuffing right down into the legs too!)
STEP 27a
Stuff the SNOUT, HEAD and neck area quite firmly with toy stuffing. If you are embroidering the eyes or using beads, sew these in place now.
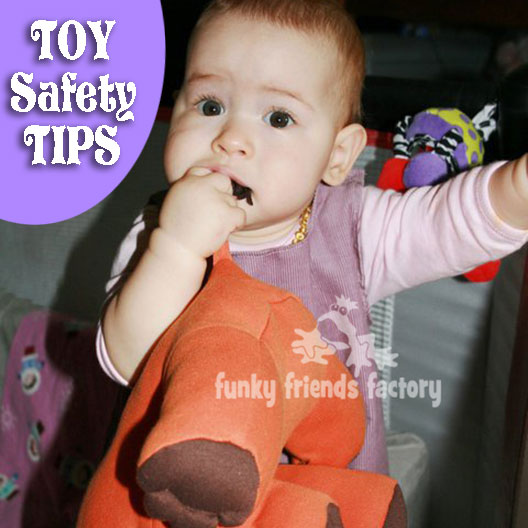
STEP 27b
If you are embroidering the eyes or using beads, sew these in place now.
TIP: If the Giraffe is for a young child, use a thick embroidery thread and French knots rather than craft eyes or beads. I have a post about toy safety on my blog with more toy safety tips and guidelines.
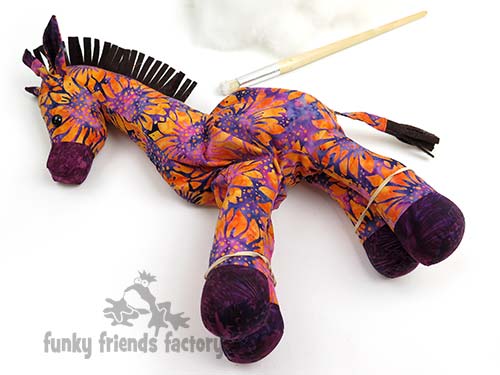
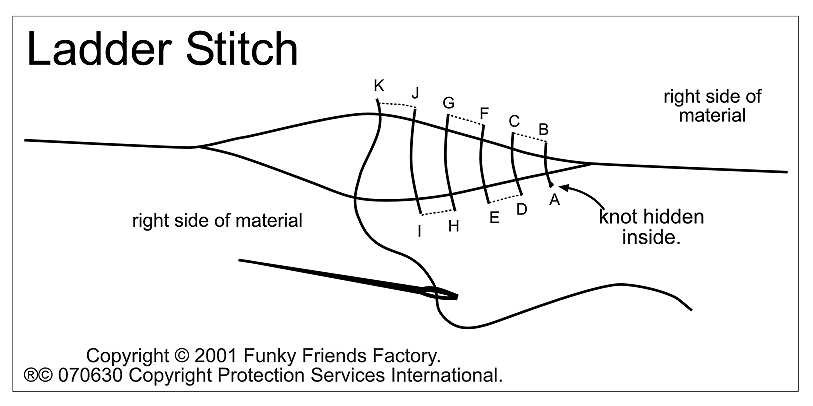
STEP 28
Stuff each hoof very firmly, then stuff each leg, and lastly the body. Go back and check that the neck and top of the legs are stuffed firmly. Use a ladder stitch to close the opening on the Giraffe’s back.
SPOTS:
STEP 29
Cut the giraffe SPOTS or the 2x2cm (about 1 inch) SQUARES from left-over contrast fabric (or felt) and pin them in place on your giraffe. When you are happy with the way the SPOTS look, sew them on by hand with embroidery thread. If you don’t want to sew on lots and lots of giraffe spots you can use a bright funky fabric with a ‘busy’ print instead!
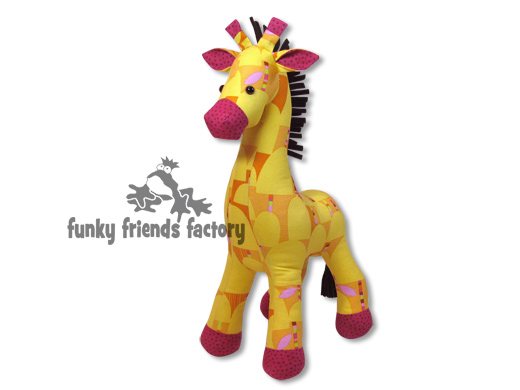
Raff Giraffe looks great in all sorts of fabric prints!
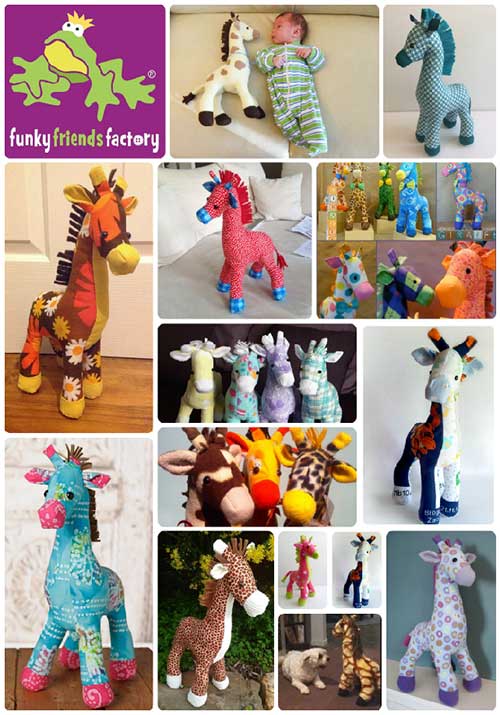
Your Giraffe is ready to LOVE!
Come join the fun on Facebook!
![]()
I LOVE to see how your Funky Friends toys turn out!
When you’ve made your own stuffed toy Giraffe you can come show it off ~>
Post a photo on my Funky Friends Factory Facebook page for me to see and YOU could win a FREE PATTERN!

Till next time,
Happy Sewing,
Pauline
