
If you’re up in the middle of the night… you might as well be sewing a cute Teddy Bear! Izzy INSOMNIAC and Sleepy Sheepie would love to keep you company while you are waiting to fall ASLEEEEEEEP!
I made this photo tutorial so you can see how to sew Izzy Insomniac Teddy Bear and Sleepy Sheepie ~> scroll down for step-by-step photos!

*** PLEASE NOTE – this in ONLY a PHOTO TUTORIAL ***
The FULL PATTERN IS NOT included here. It is NOT A FREE PATTERN.I have made this photo tutorial so people who have purchased the pattern can SEE how to sew this stuffed toy teddy bear and sheep toy! (I wanted to explain this so you are not disappointed if you have found this page via a search engine and not from the link in my Izzy Insomniac Teddy Bear sewing pattern!)
Right, let’s sew a teddy bear!
First you need to choose some fabric for your Teddy Bear. You can make Izzy from any colour fleece – or similar knit (stretchy) fabric.
WE’LL START WITH THE EARS…
STEP 1
Pin and sew the EAR PIECES right sides together in pairs, leaving the straight edge open. Turn the ears right sides out and set them aside.

STEP 2
Sew the ARM PIECES right sides together, in pairs. Leave the straight edge open, and REMEMBER to leave a gap open on the side for stuffing the arms later.

STEP 3a
Turn the ARM PIECES right sides out.
STEP 3b
Pin them closed at the top with the seams together at the centre.


STEP 4
Sew the FRONT PIECES together along the centre seam.

STEP 5
Pin the arms in place on the FRONT PIECES using the pattern markings to guide you. Make sure that the stuffing gaps are facing up/are on the top side of the arms when you pin them in position.

STEP 6
Sew the LEG PIECES right sides together, in pairs. Leave the straight edges at the top and bottom of the legs, and REMEMBER to leave a gap open on the side for stuffing the legs later.

STEP 7
Pin the FOOT PAD PIECES to the LEG PIECES. Use lots of pins so the FOOT PADS won’t slip. Sew them in place then turn the legs right sides out through the top of the leg.
TIP: I like to sew the foot pad seam with the leg in a ‘standing position’, with the wrong side of the FOOT PAD PIECE on the sewing surface.

STEP 8
Turn the legs right sides out and pin them closed at the top with the seams together at the centre.

STEP 9a
Pin the LEGS to the FRONT PIECES.
STEP 9b
Fold the legs and the FRONT PIECES up so that you can pin the darts of the FRONT PIECES closed with the legs in between.
STEP 9c
Sew the darts next and CHECK that all the layers at the top of the legs are caught in the darts of the FRONT PIECES.


STEP 10
Pin and sew the SNOUT PIECE to the FACE PIECE next, matching points A and B.

STEP 11
If you are using safety eyes, cut some small holes in fabric and fit them in place now. Use the pattern markings on the FACE PIECE to guide you.If you are sewing on beads or buttons you can sew them on after the teddy bear is stuffed.

STEP 12
Pin the dart closed on the FACE PIECE and pin the FACE AND SNOUT PIECES closed at the front from C – B – D. Sew both of these seams (the dart and from C – B – D!).

STEP 13
Pin and sew the FACE PIECES to the FRONT PIECES, matching point D. Your teddy bear is taking shape!

STEP 14
Pin the ears in place on the FACE PIECE using the pattern markings to guide you.

STEP 15
Place the wrong side of the FACE and FRONT PIECES touching the table then tuck in the arms and legs to the centre.

STEP 16
Pin the BACK PIECES together and sew the centre seam, remember to leave a gap open for turning and stuffing your teddy bear!

STEP 17
Pin the BACK PIECES to the FACE AND FRONT PIECES.
TIP: I like to use lots of pins so the pieces don’t slip as I sew this seam, that way the teddy bear turns out perfect every time!

STEP 18
Turn the teddy bear right sides out through the gap left in the BACK PIECES.

STEP 19
Stuff the head and body nice and firmly, especially the snout. Stuff the arms and legs with toy stuffing and sew the stuffing holes closed using a ladder stitch.


STEP 20
Use the NOSE template to cut a nose from felt and sew this in place with embroidery thread and a blanket stitch.

STEP 21
Following the Mouth Stitching Diagram, sew the mouth with brown embroidery thread.

STEP 22
Sew all the stuffing holes closed using a ladder stitch, then tie a cute ribbon around Izzy’s neck.

STEP 23
Cut a blanket from flannelette fabric about 14inches/35cm square. You can hem this, or finish it with satin bias binding or use pinking shears if you don’t want to have to sew the edges! Make Sleepy Sheepie to keep your insomniac teddy company!

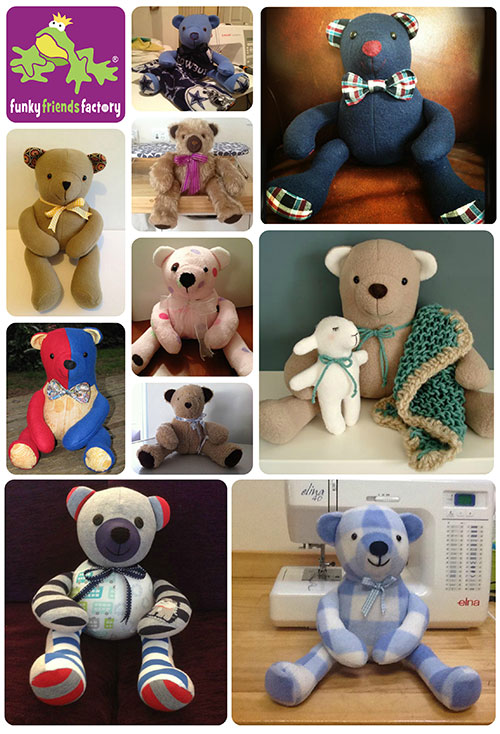
I can’t wait to see
YOUR teddy bears!
Come join the fun on Facebook!
![]()
I LOVE to see how your Funky Friends toys turn out!
When you’ve made your own Izzy teddy bears you can come show them off ~>
Post a photo on my Funky Friends Factory Facebook page for me to see and YOU could win a FREE PATTERN!

Till next time,
Happy Sewing,
Pauline
